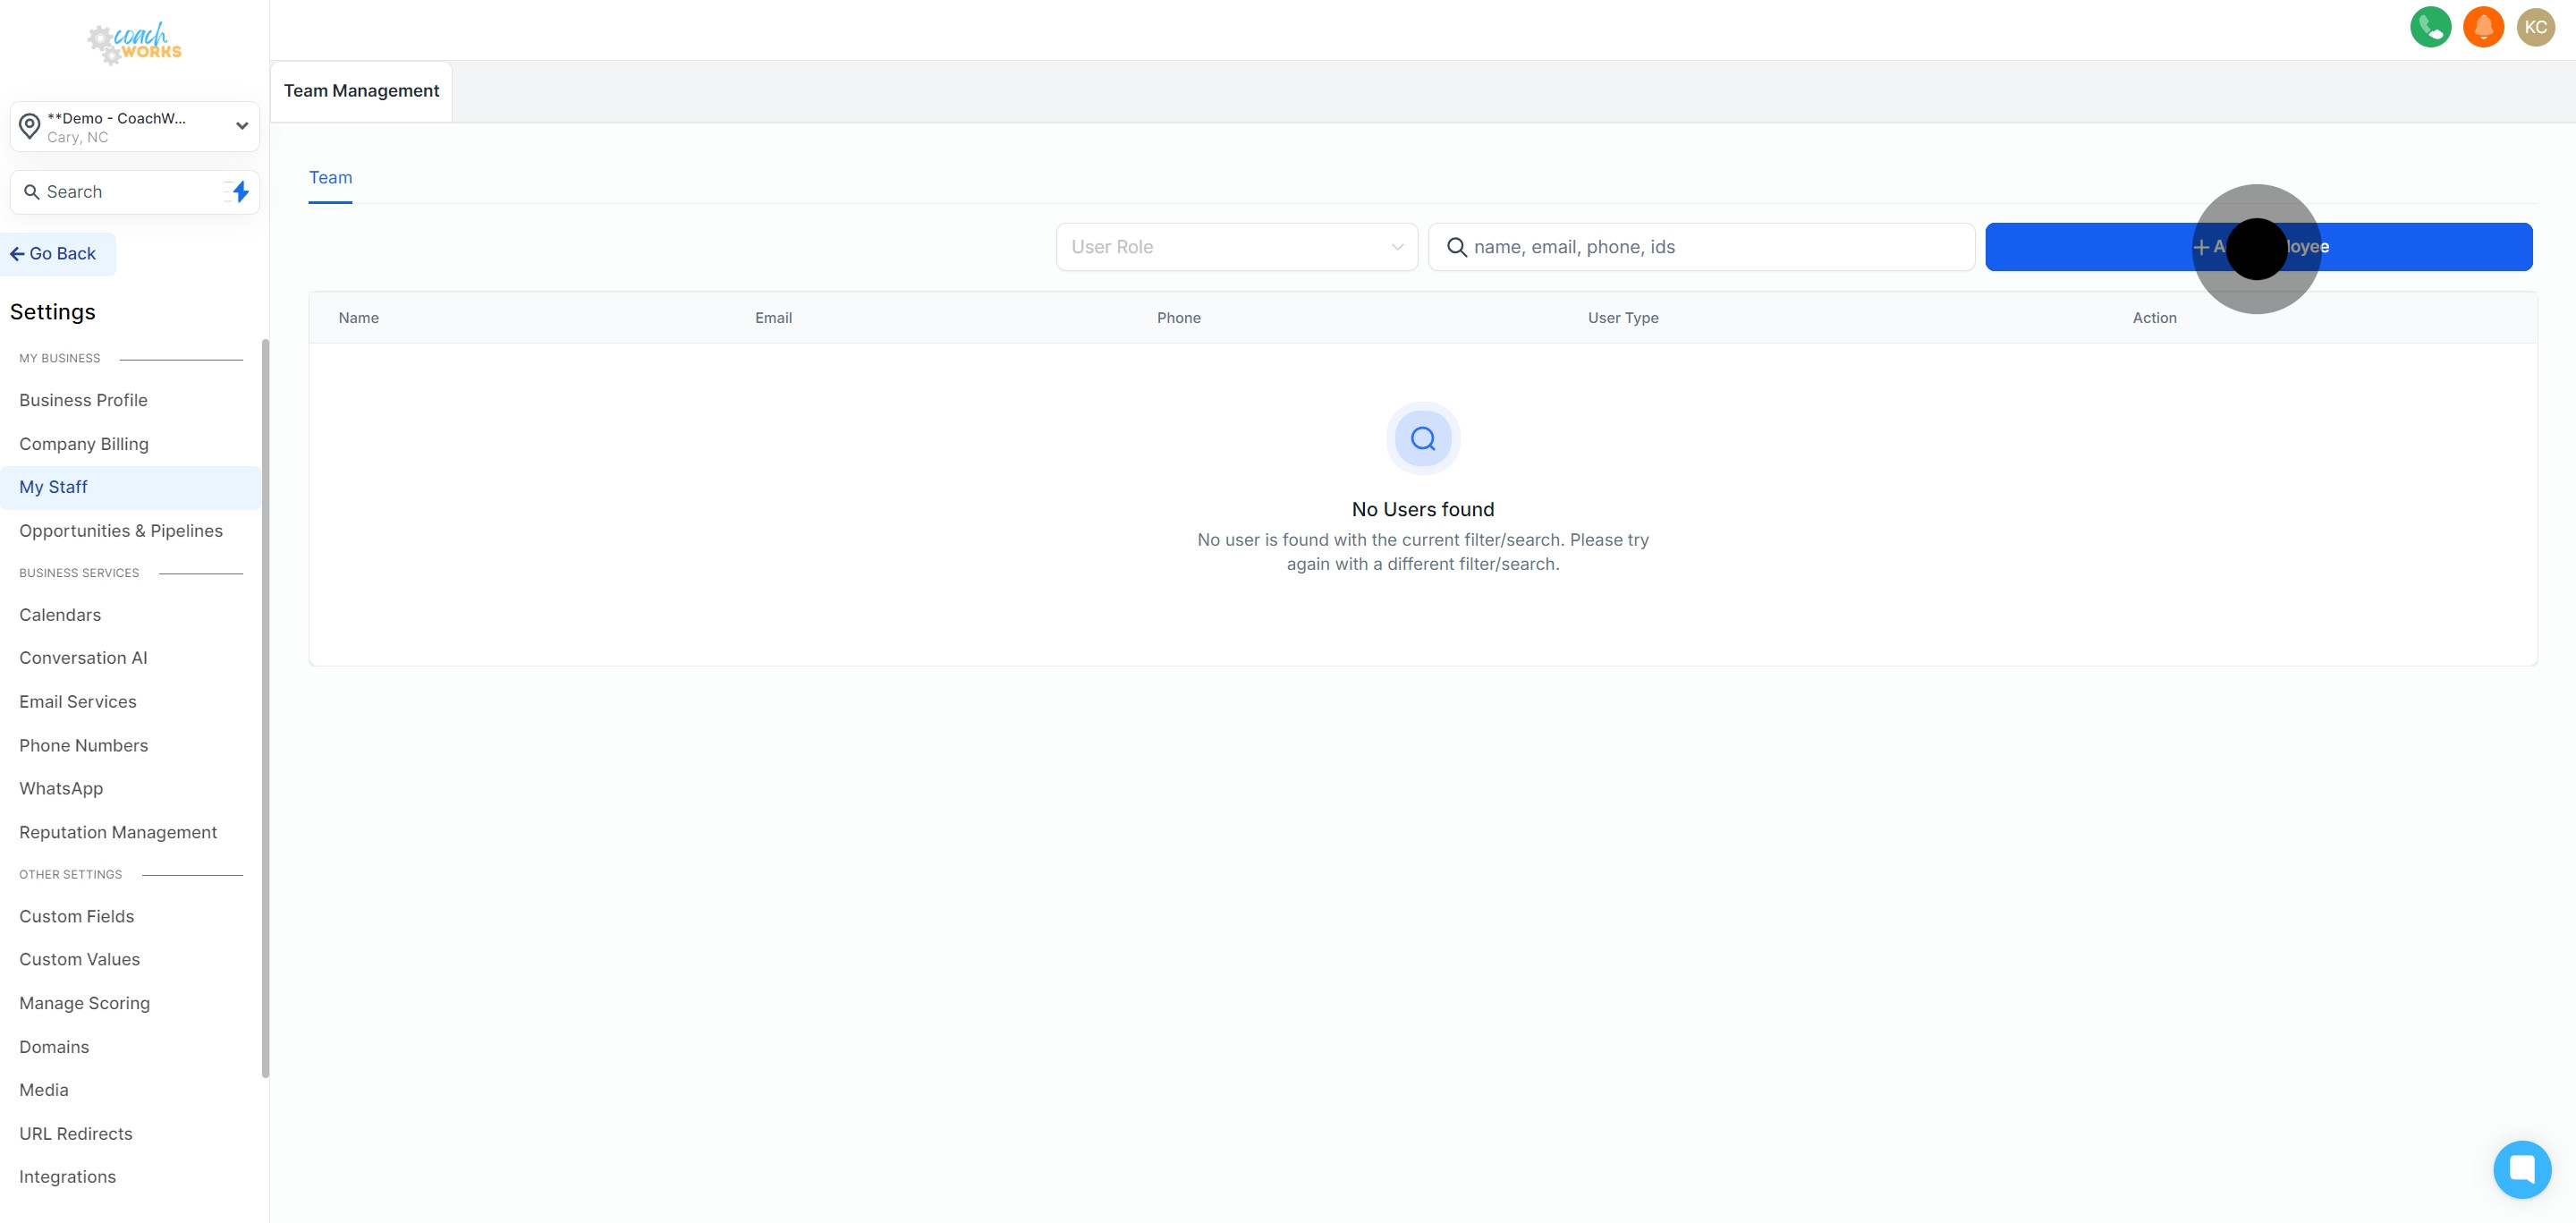
Navigate to your dashboard and click on the 'Settings' option.

Inside the Settings menu, select the 'My Staff' tab to proceed.
Click the 'Add Employee' button to start the process of adding a new team member.
Choose and upload a profile image for the new employee to personalize their profile.
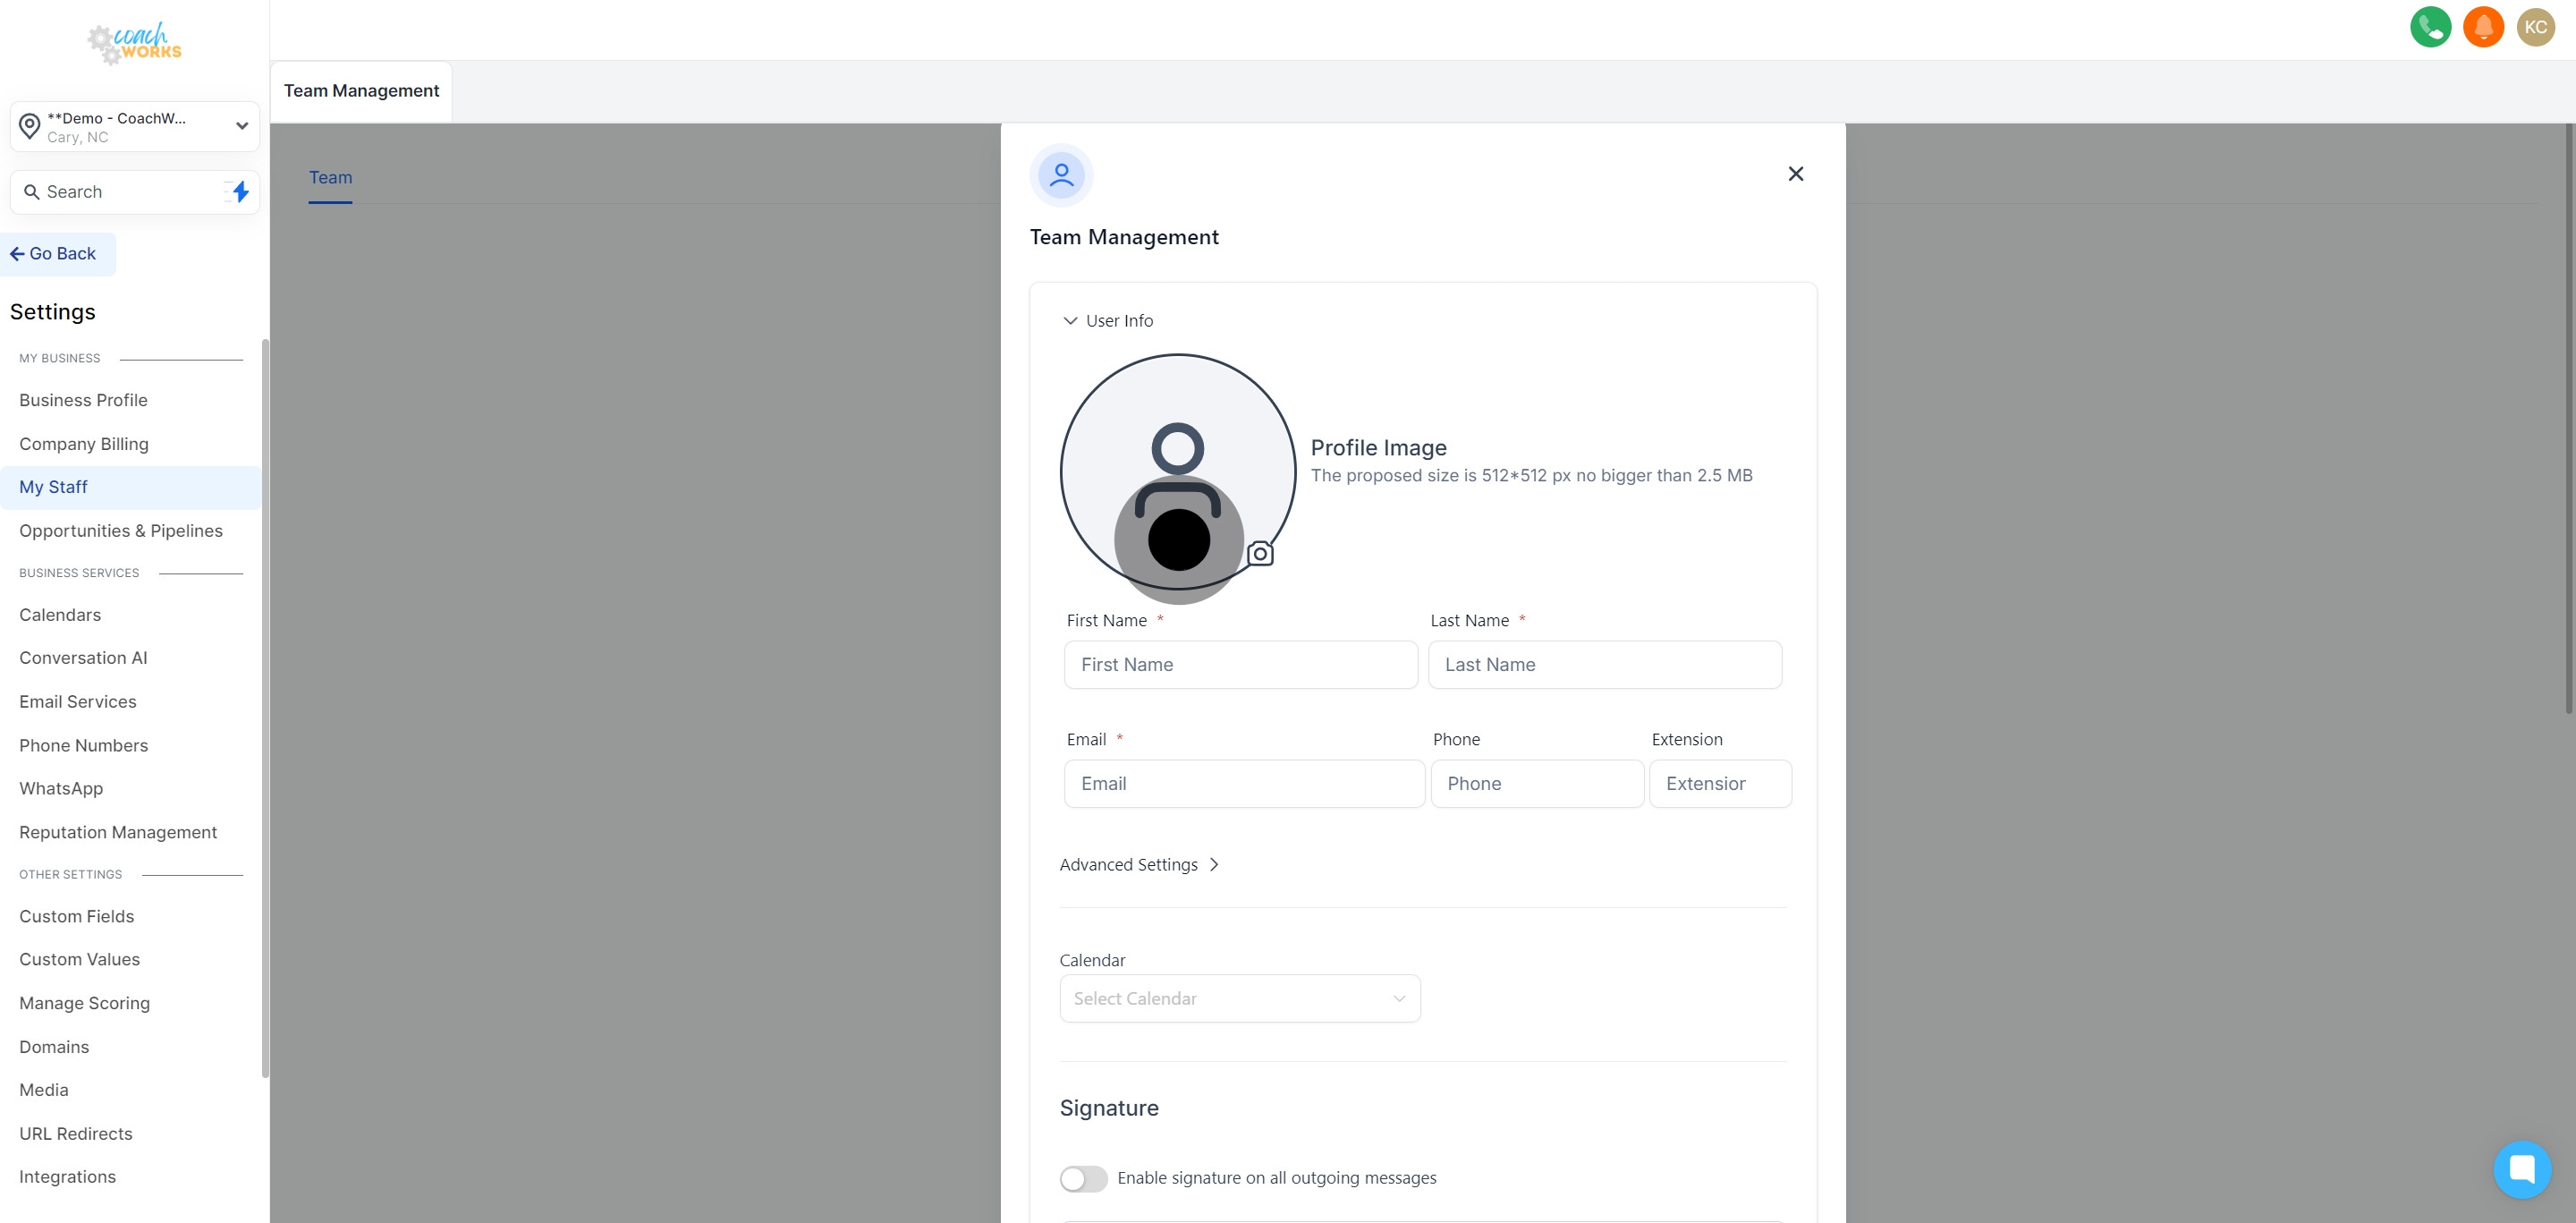
Fill in the essential information such as name, contact details, and any other relevant data.

Create and enter a secure password for the new employee’s account.
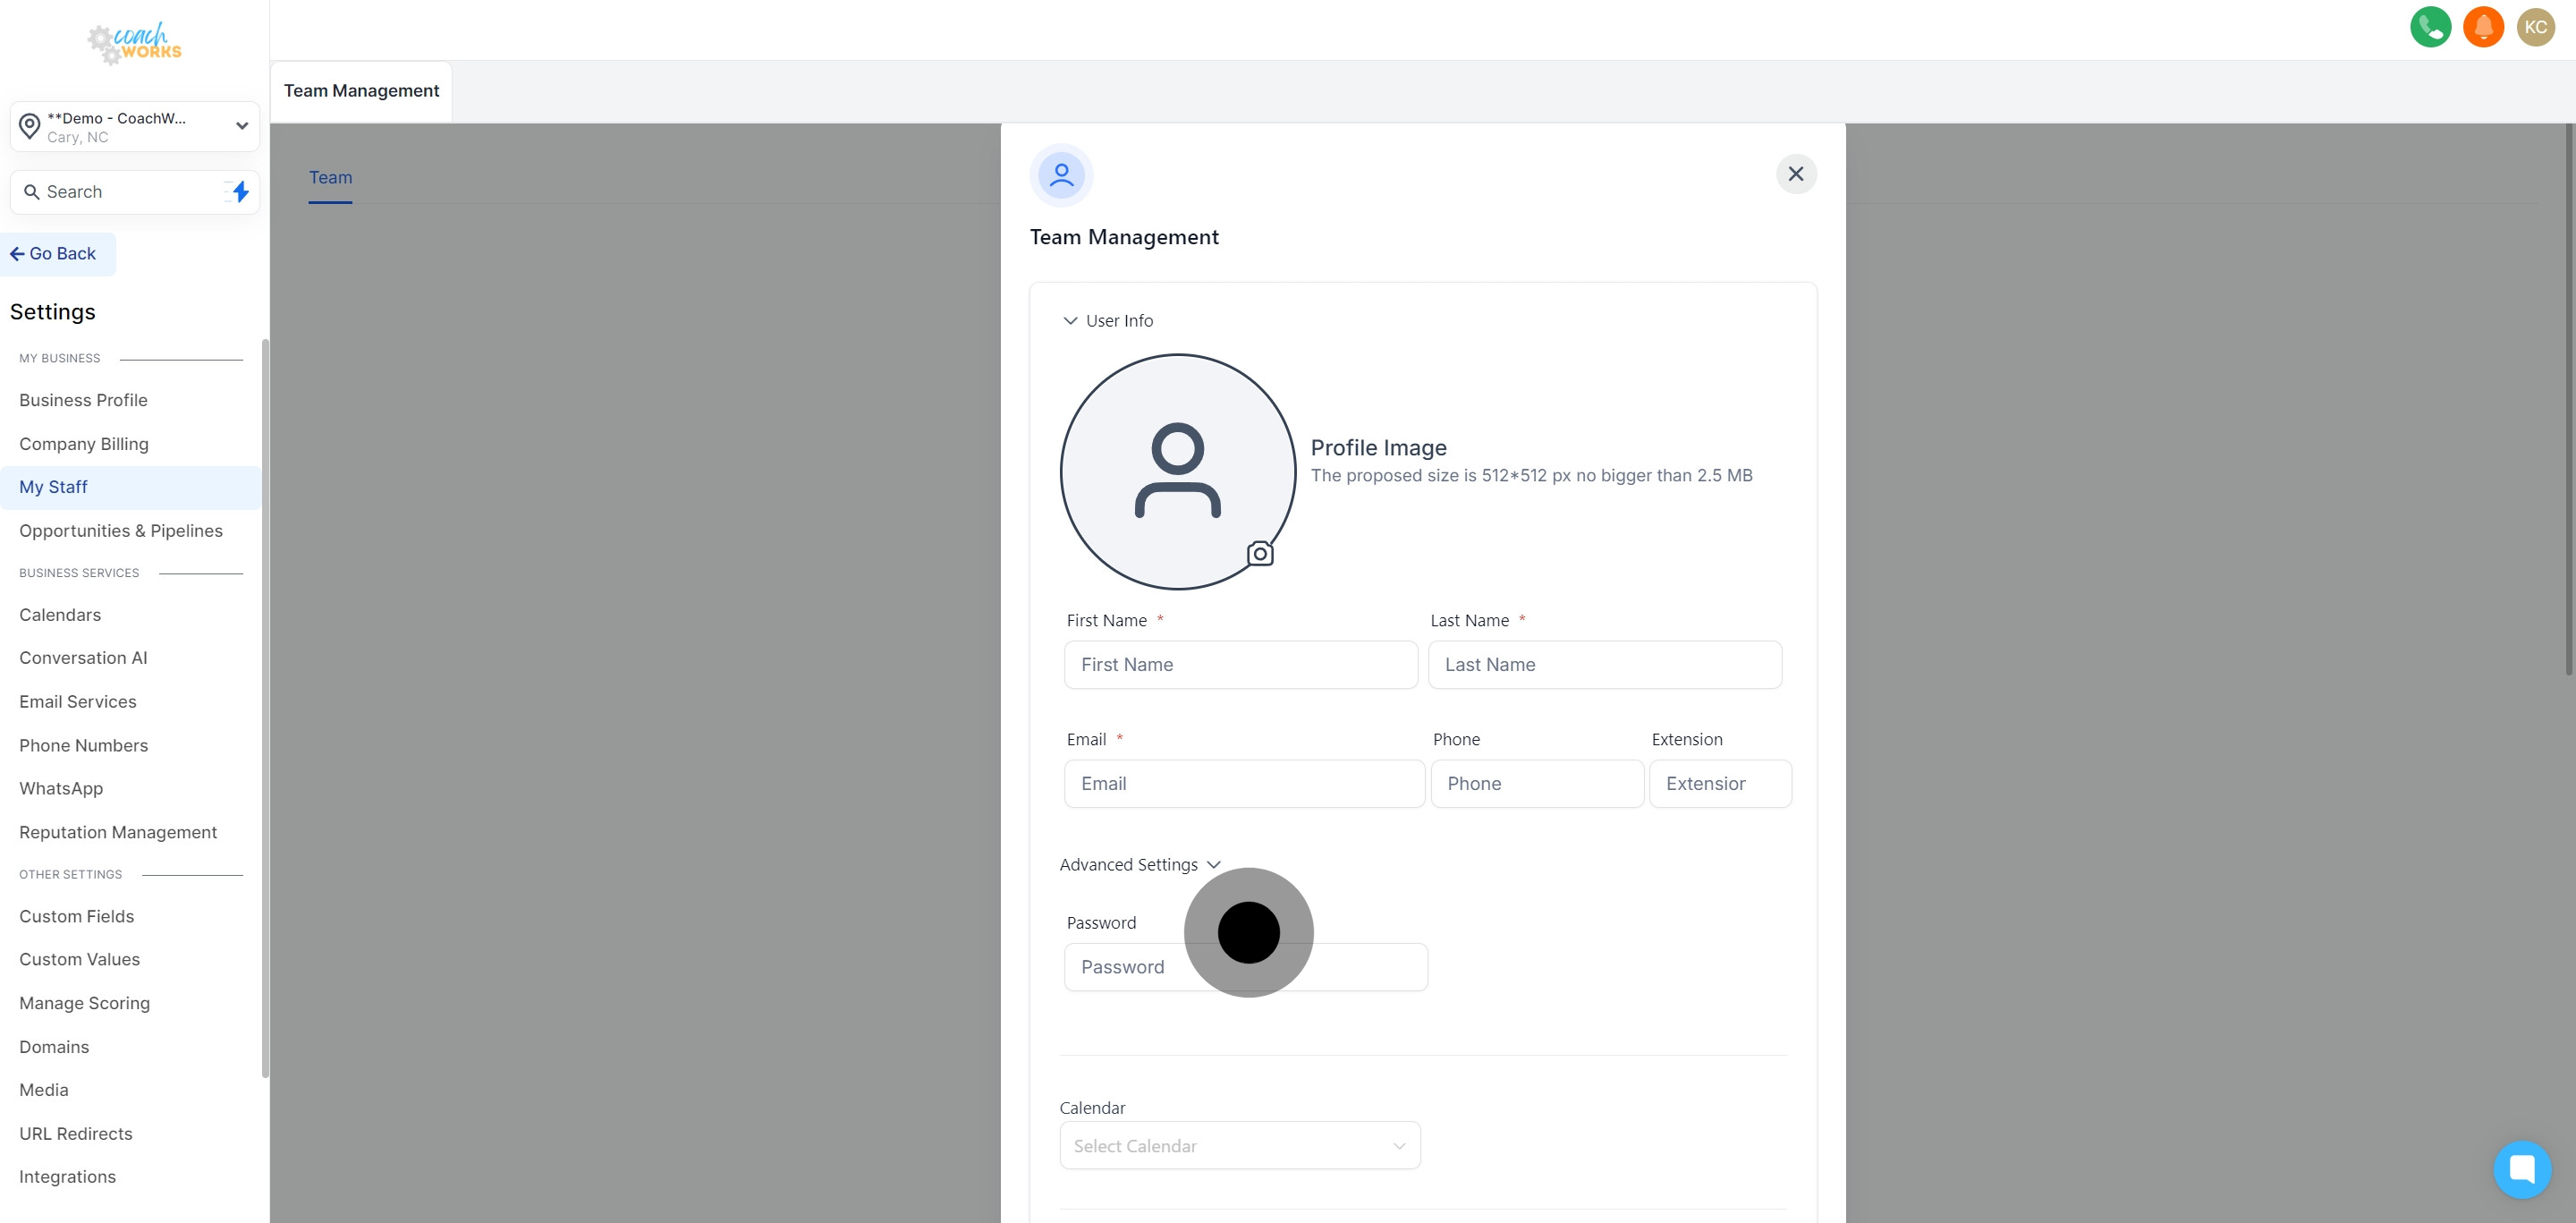
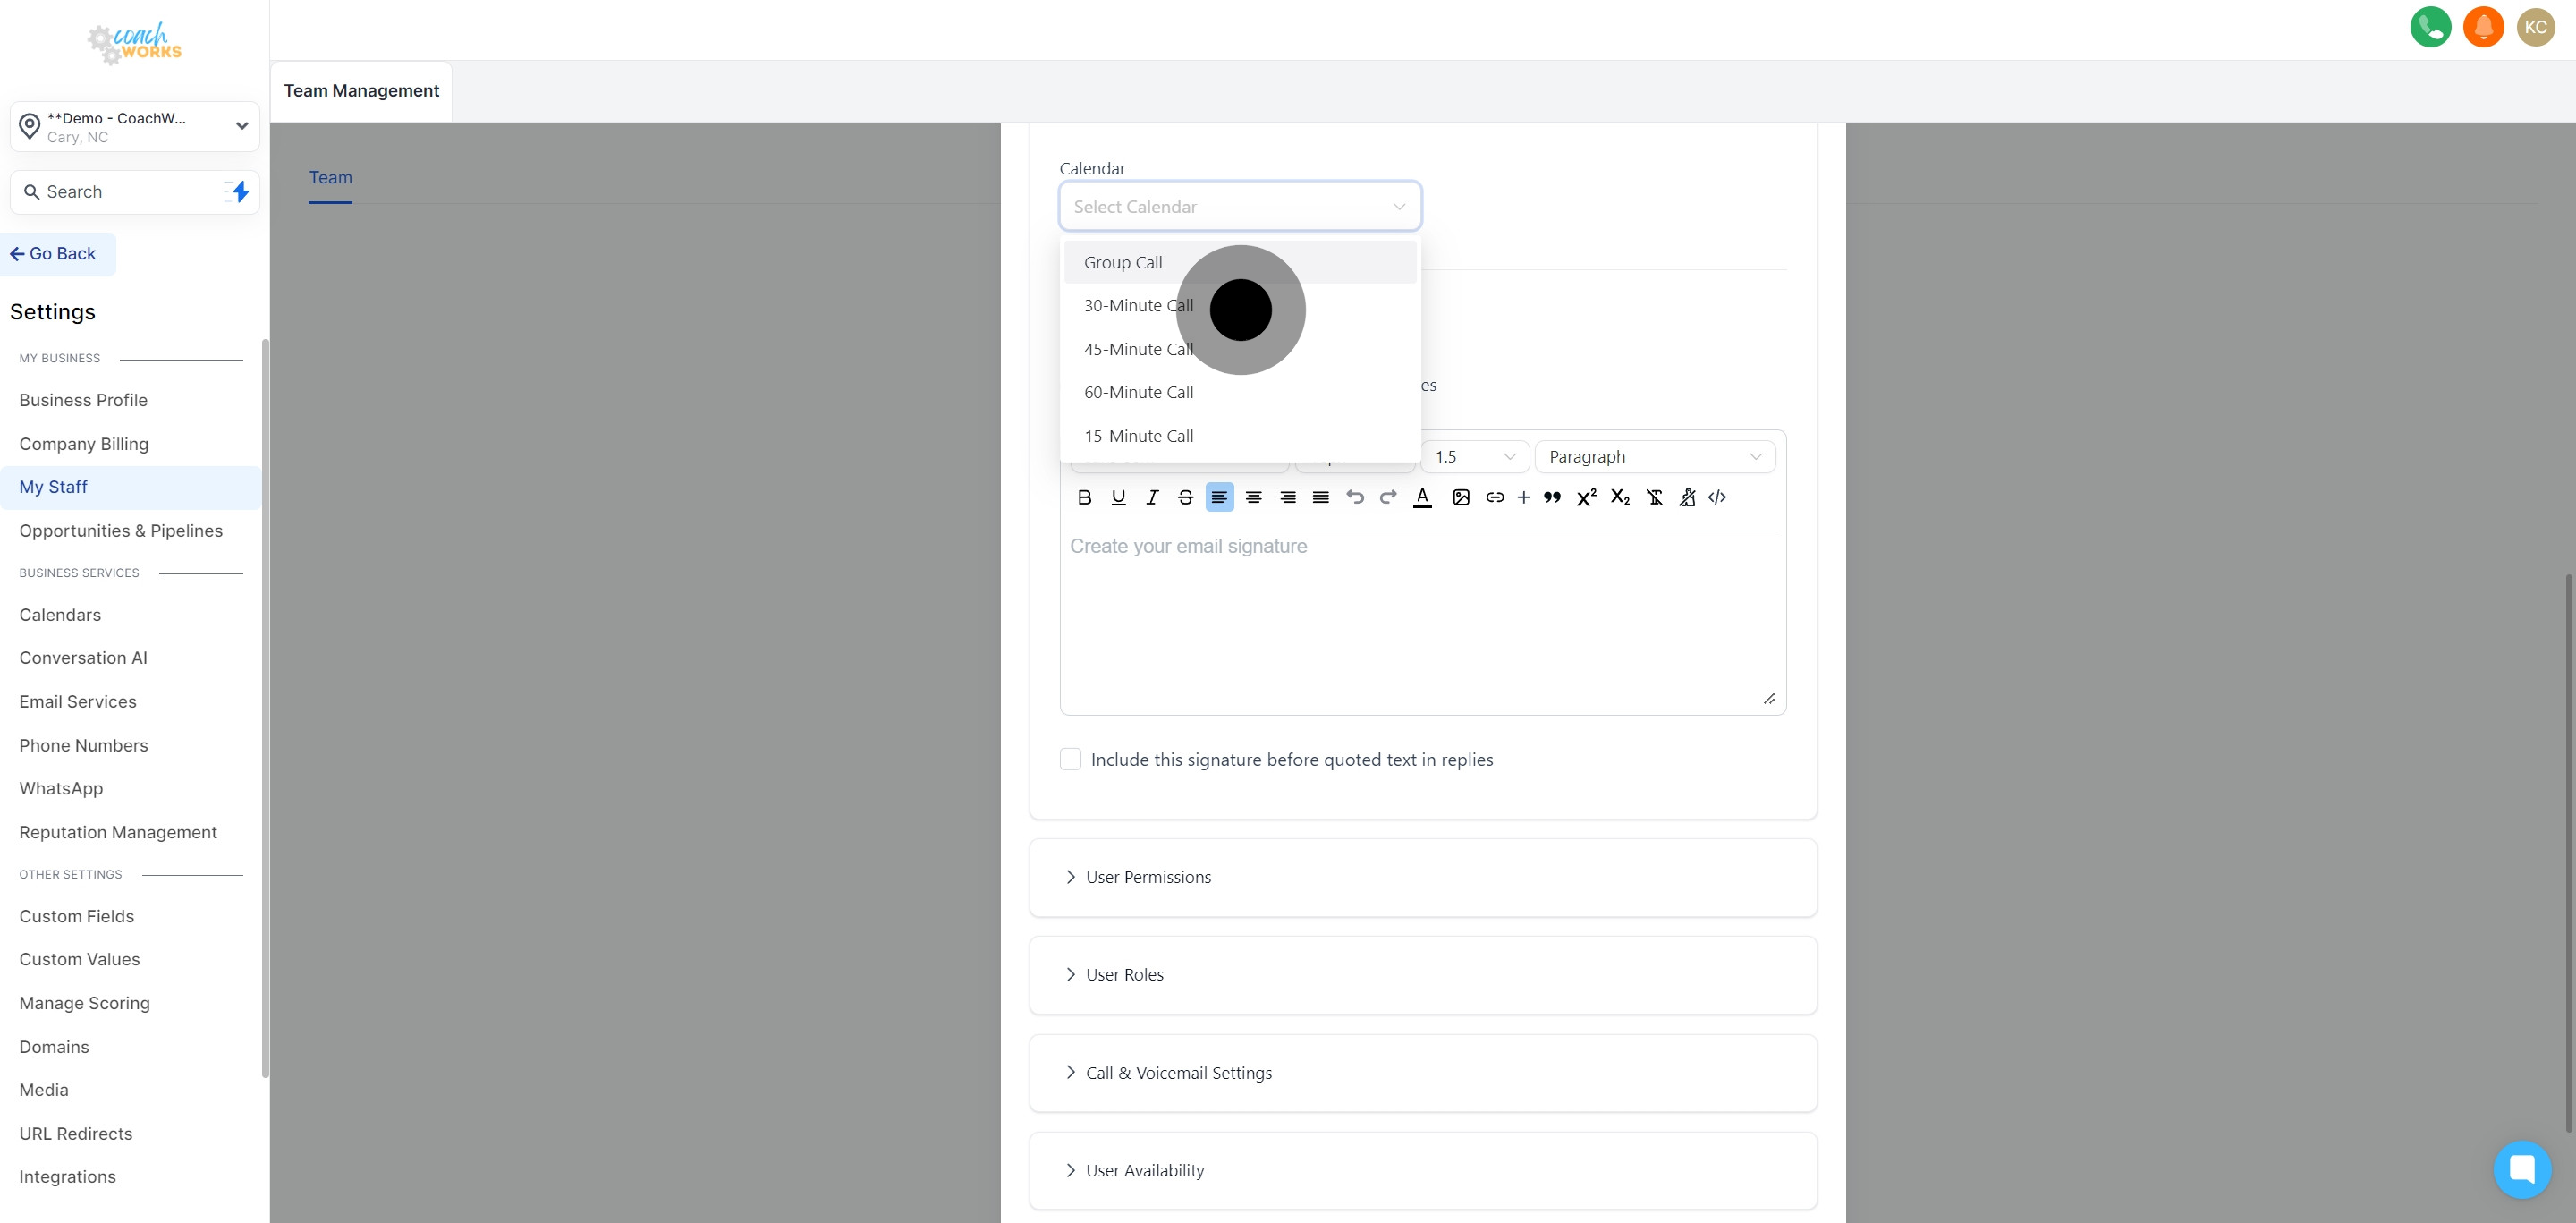
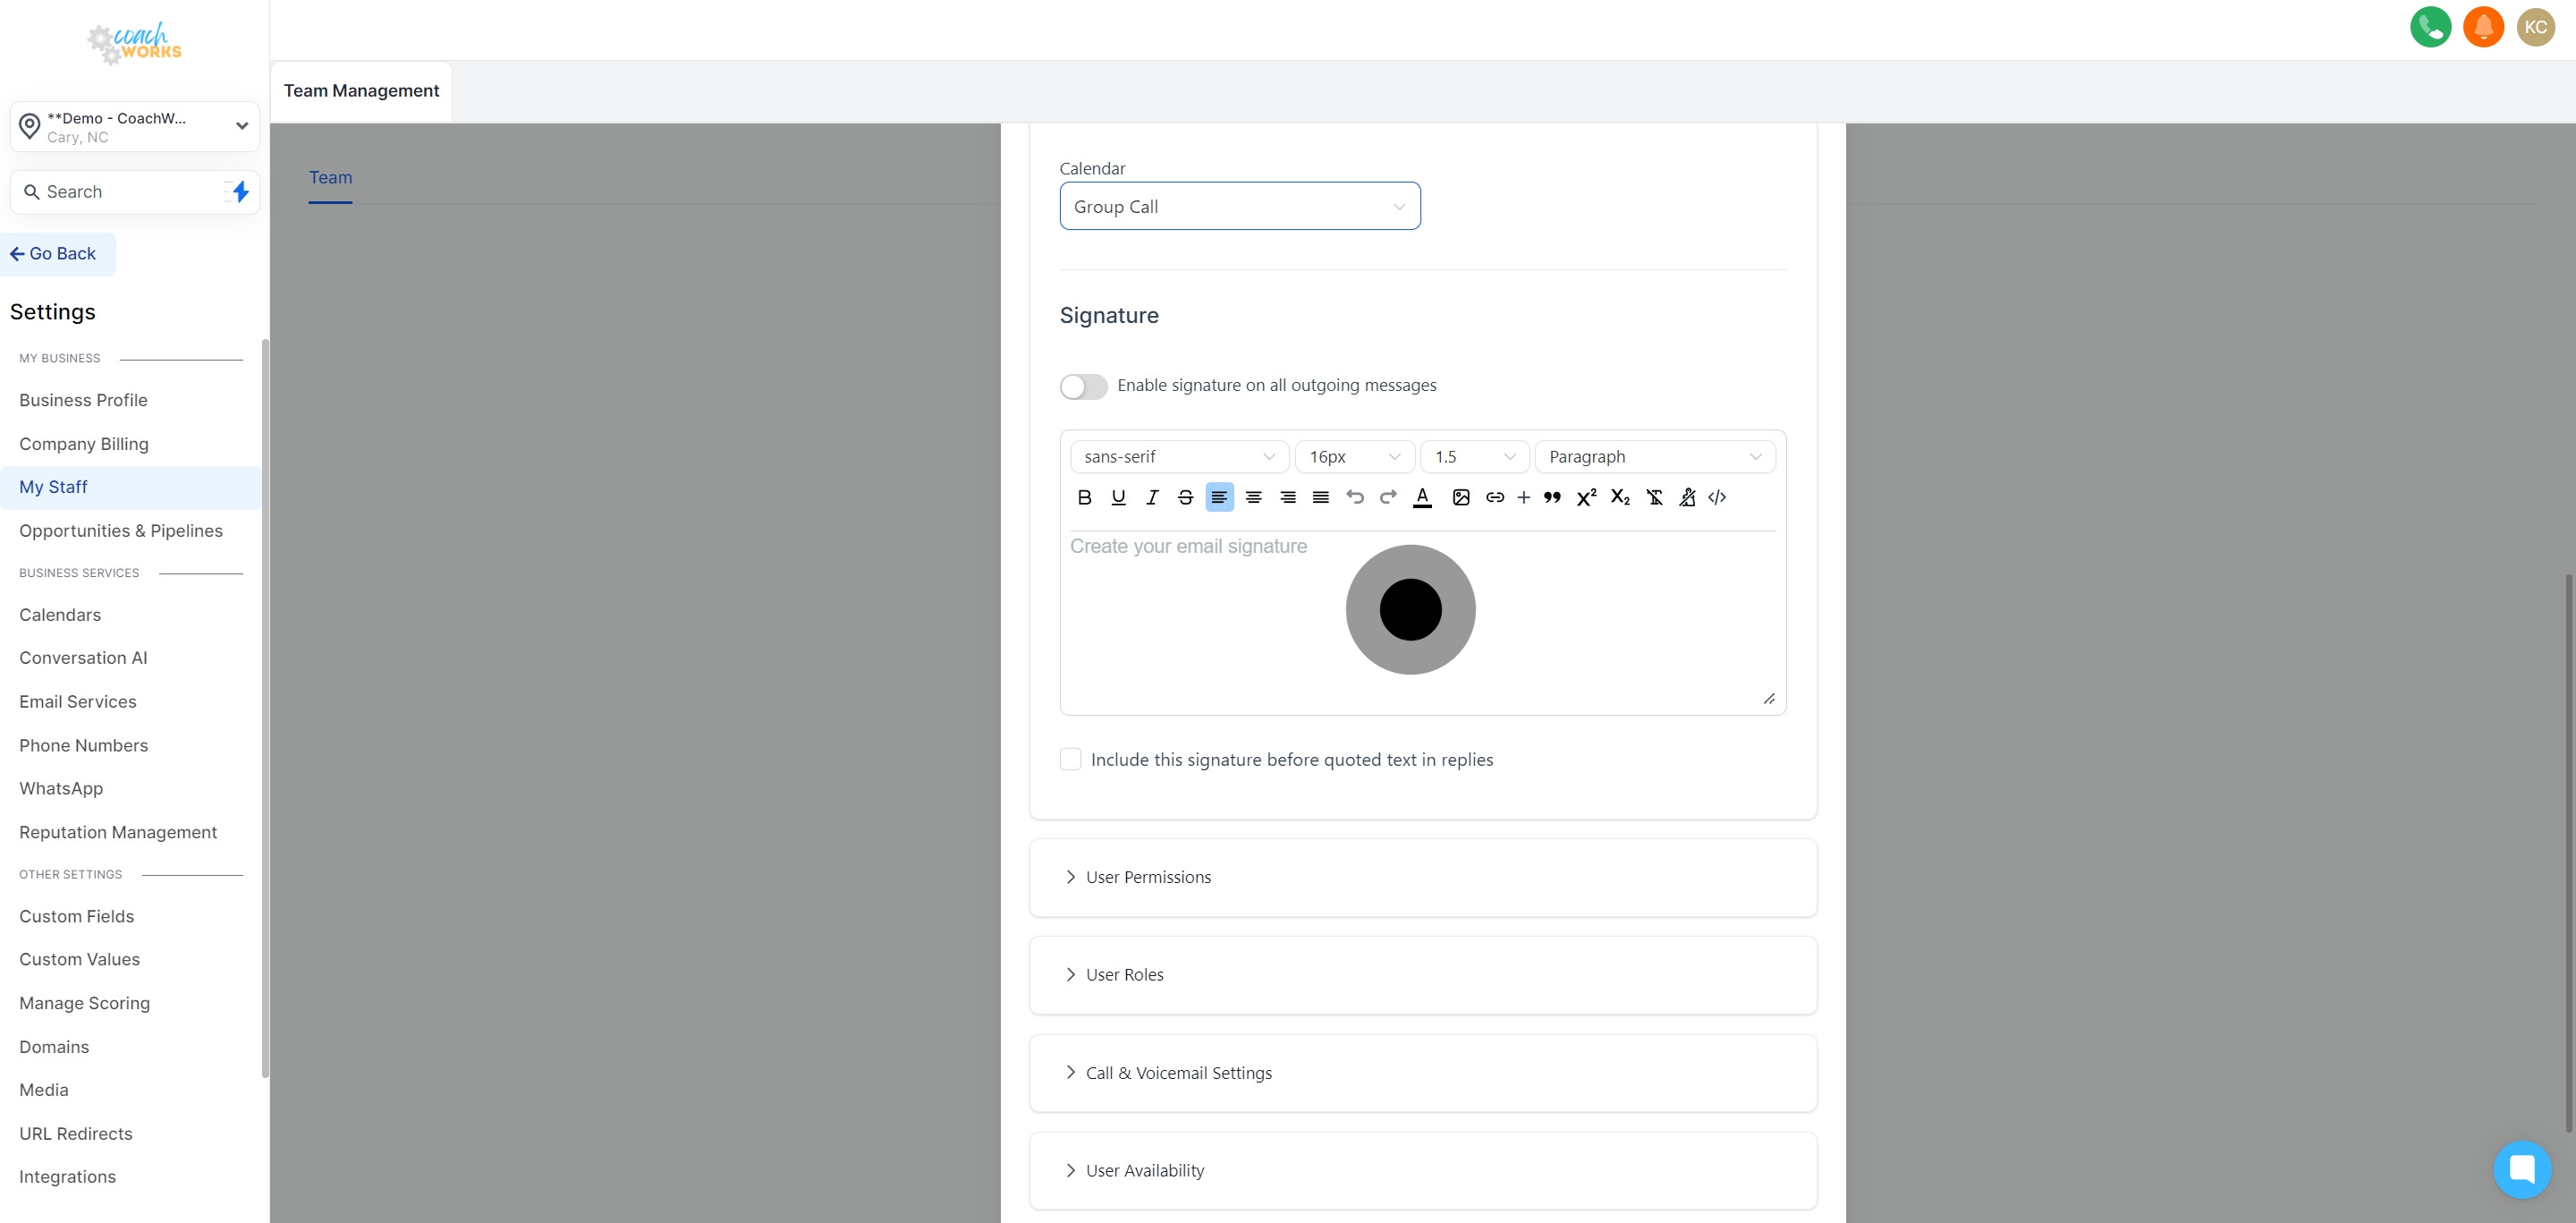
Select the type of calendar that the employee will use.
Opt to activate the feature that attaches a signature to all outgoing messages from this employee.
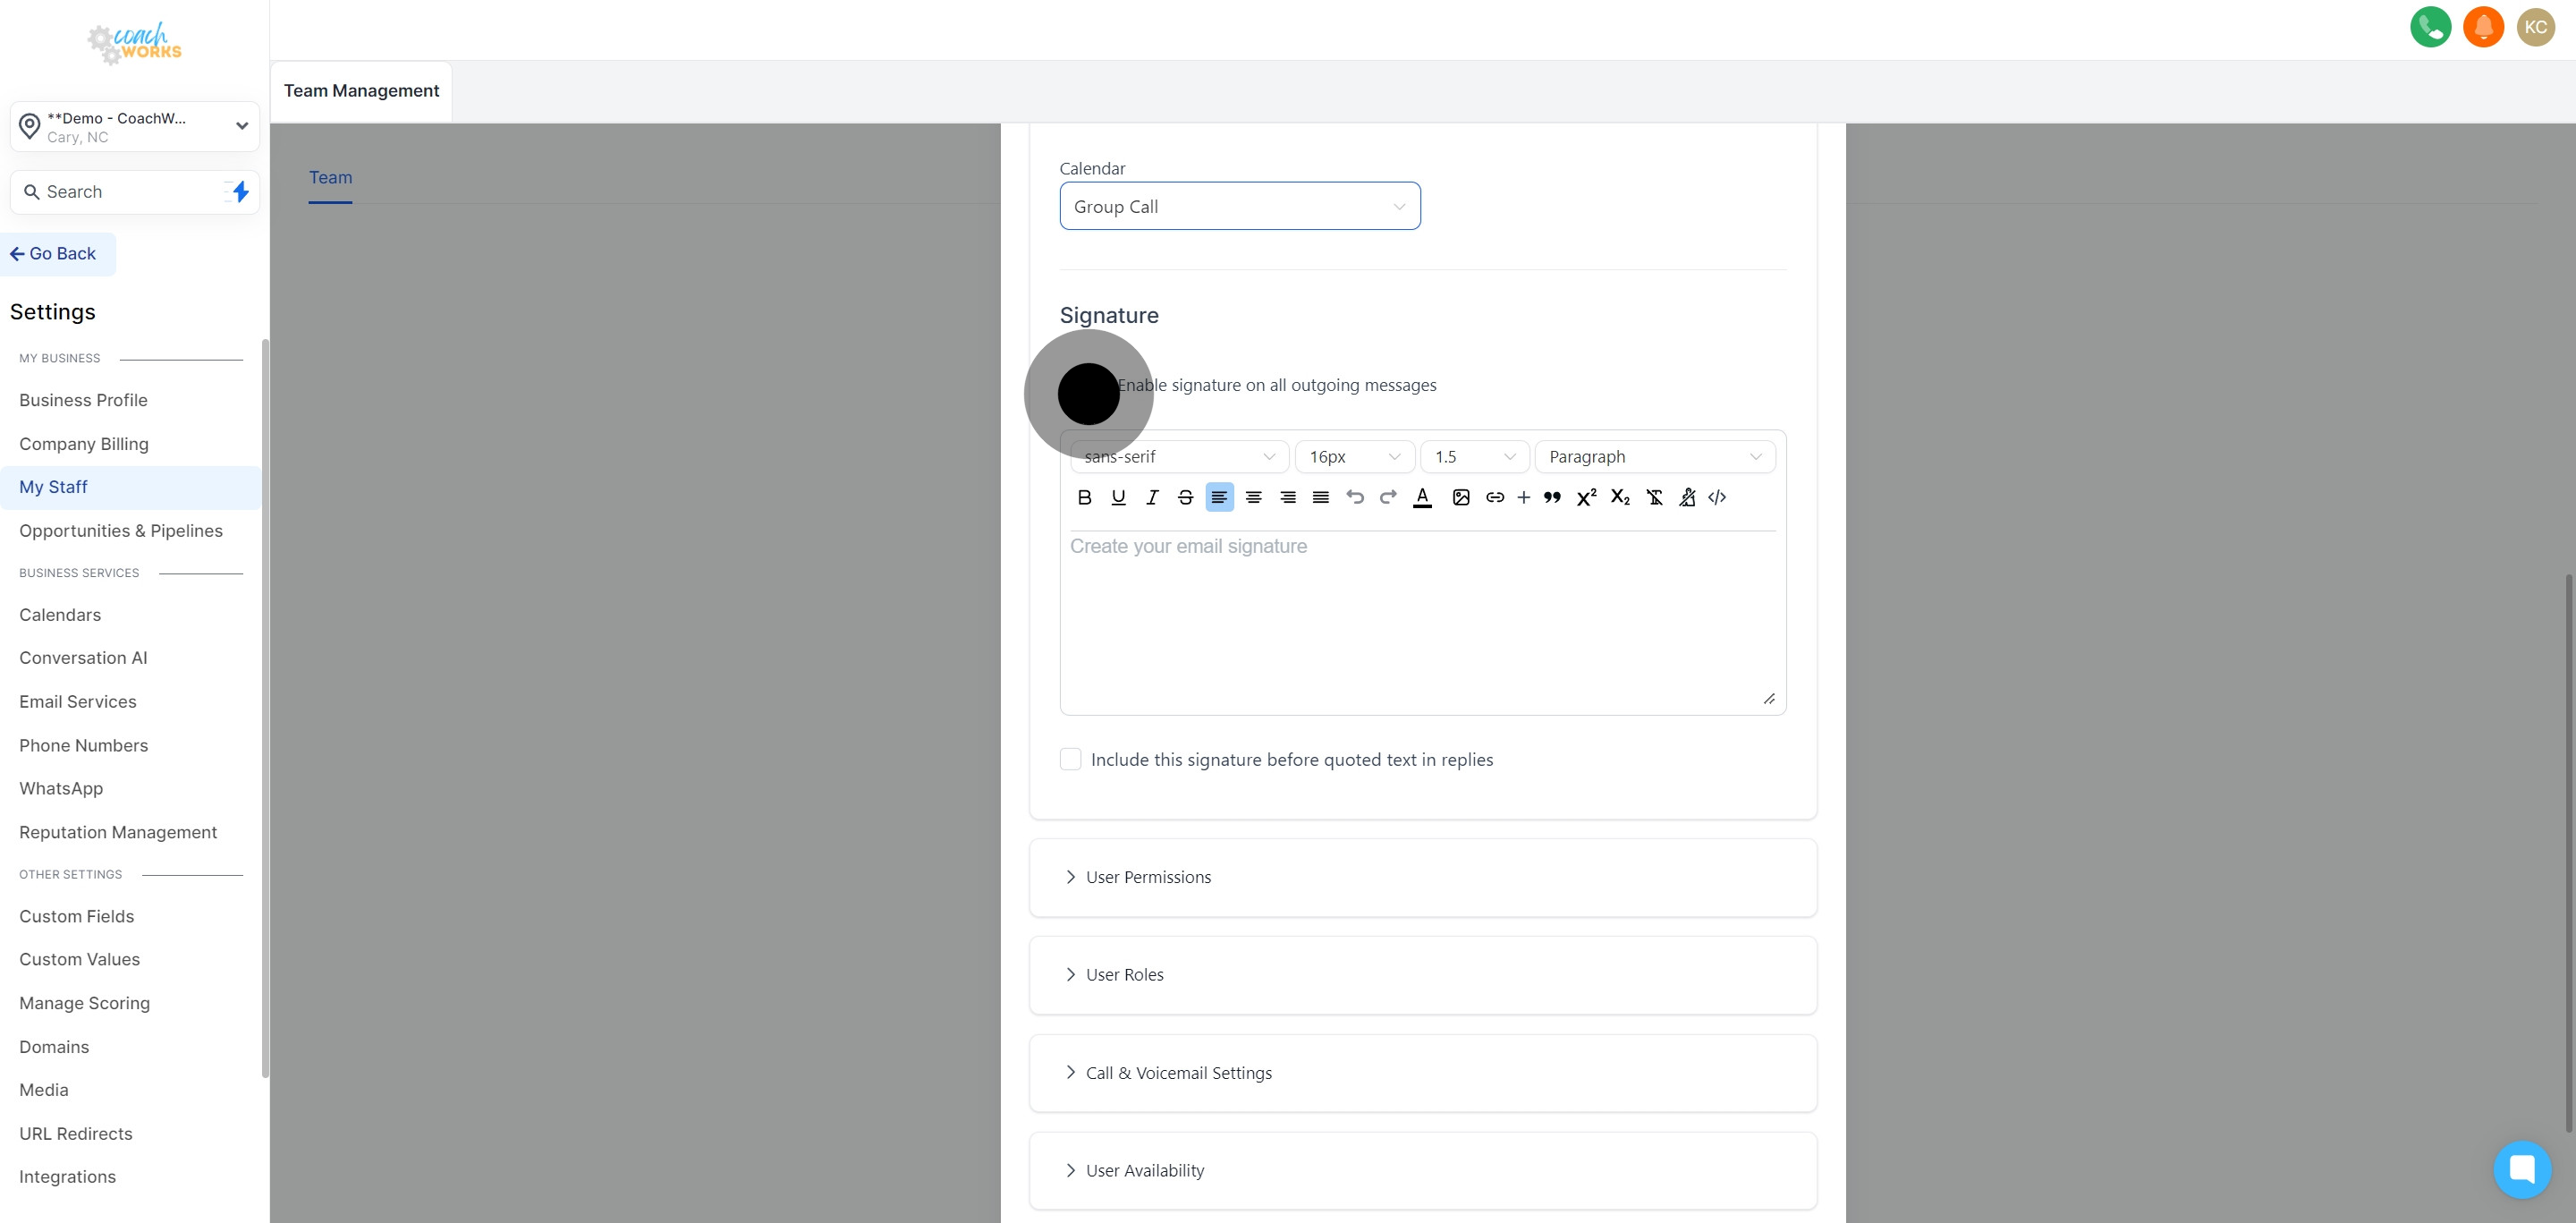
Personalize the signature as required to fit your company’s branding or the employee’s role.
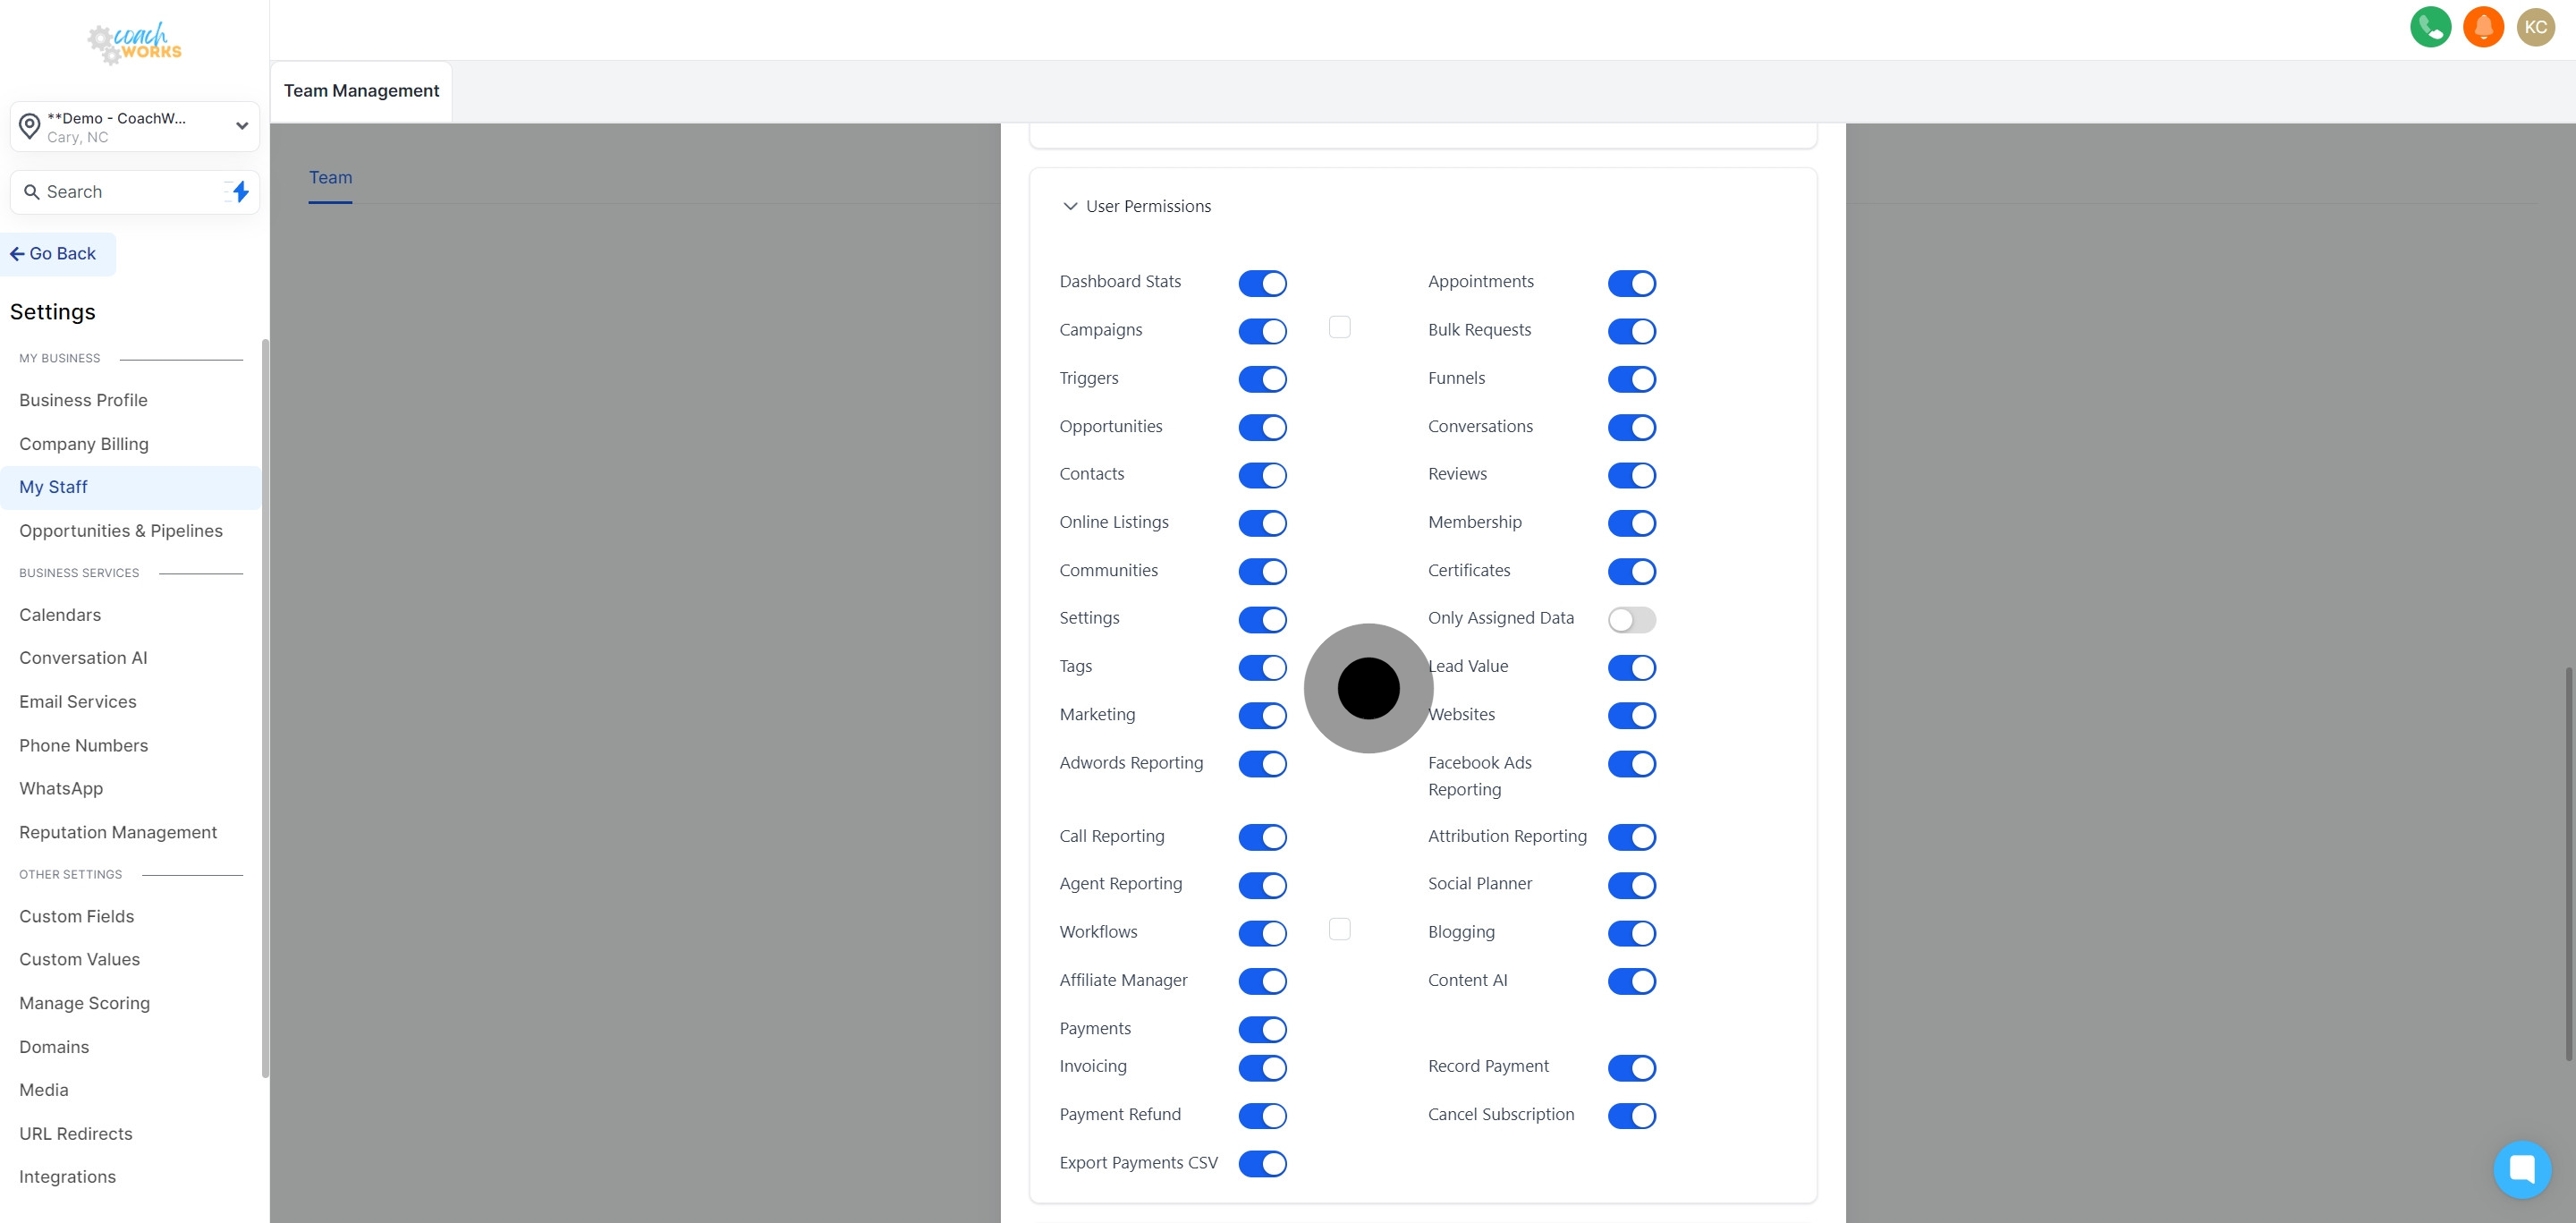
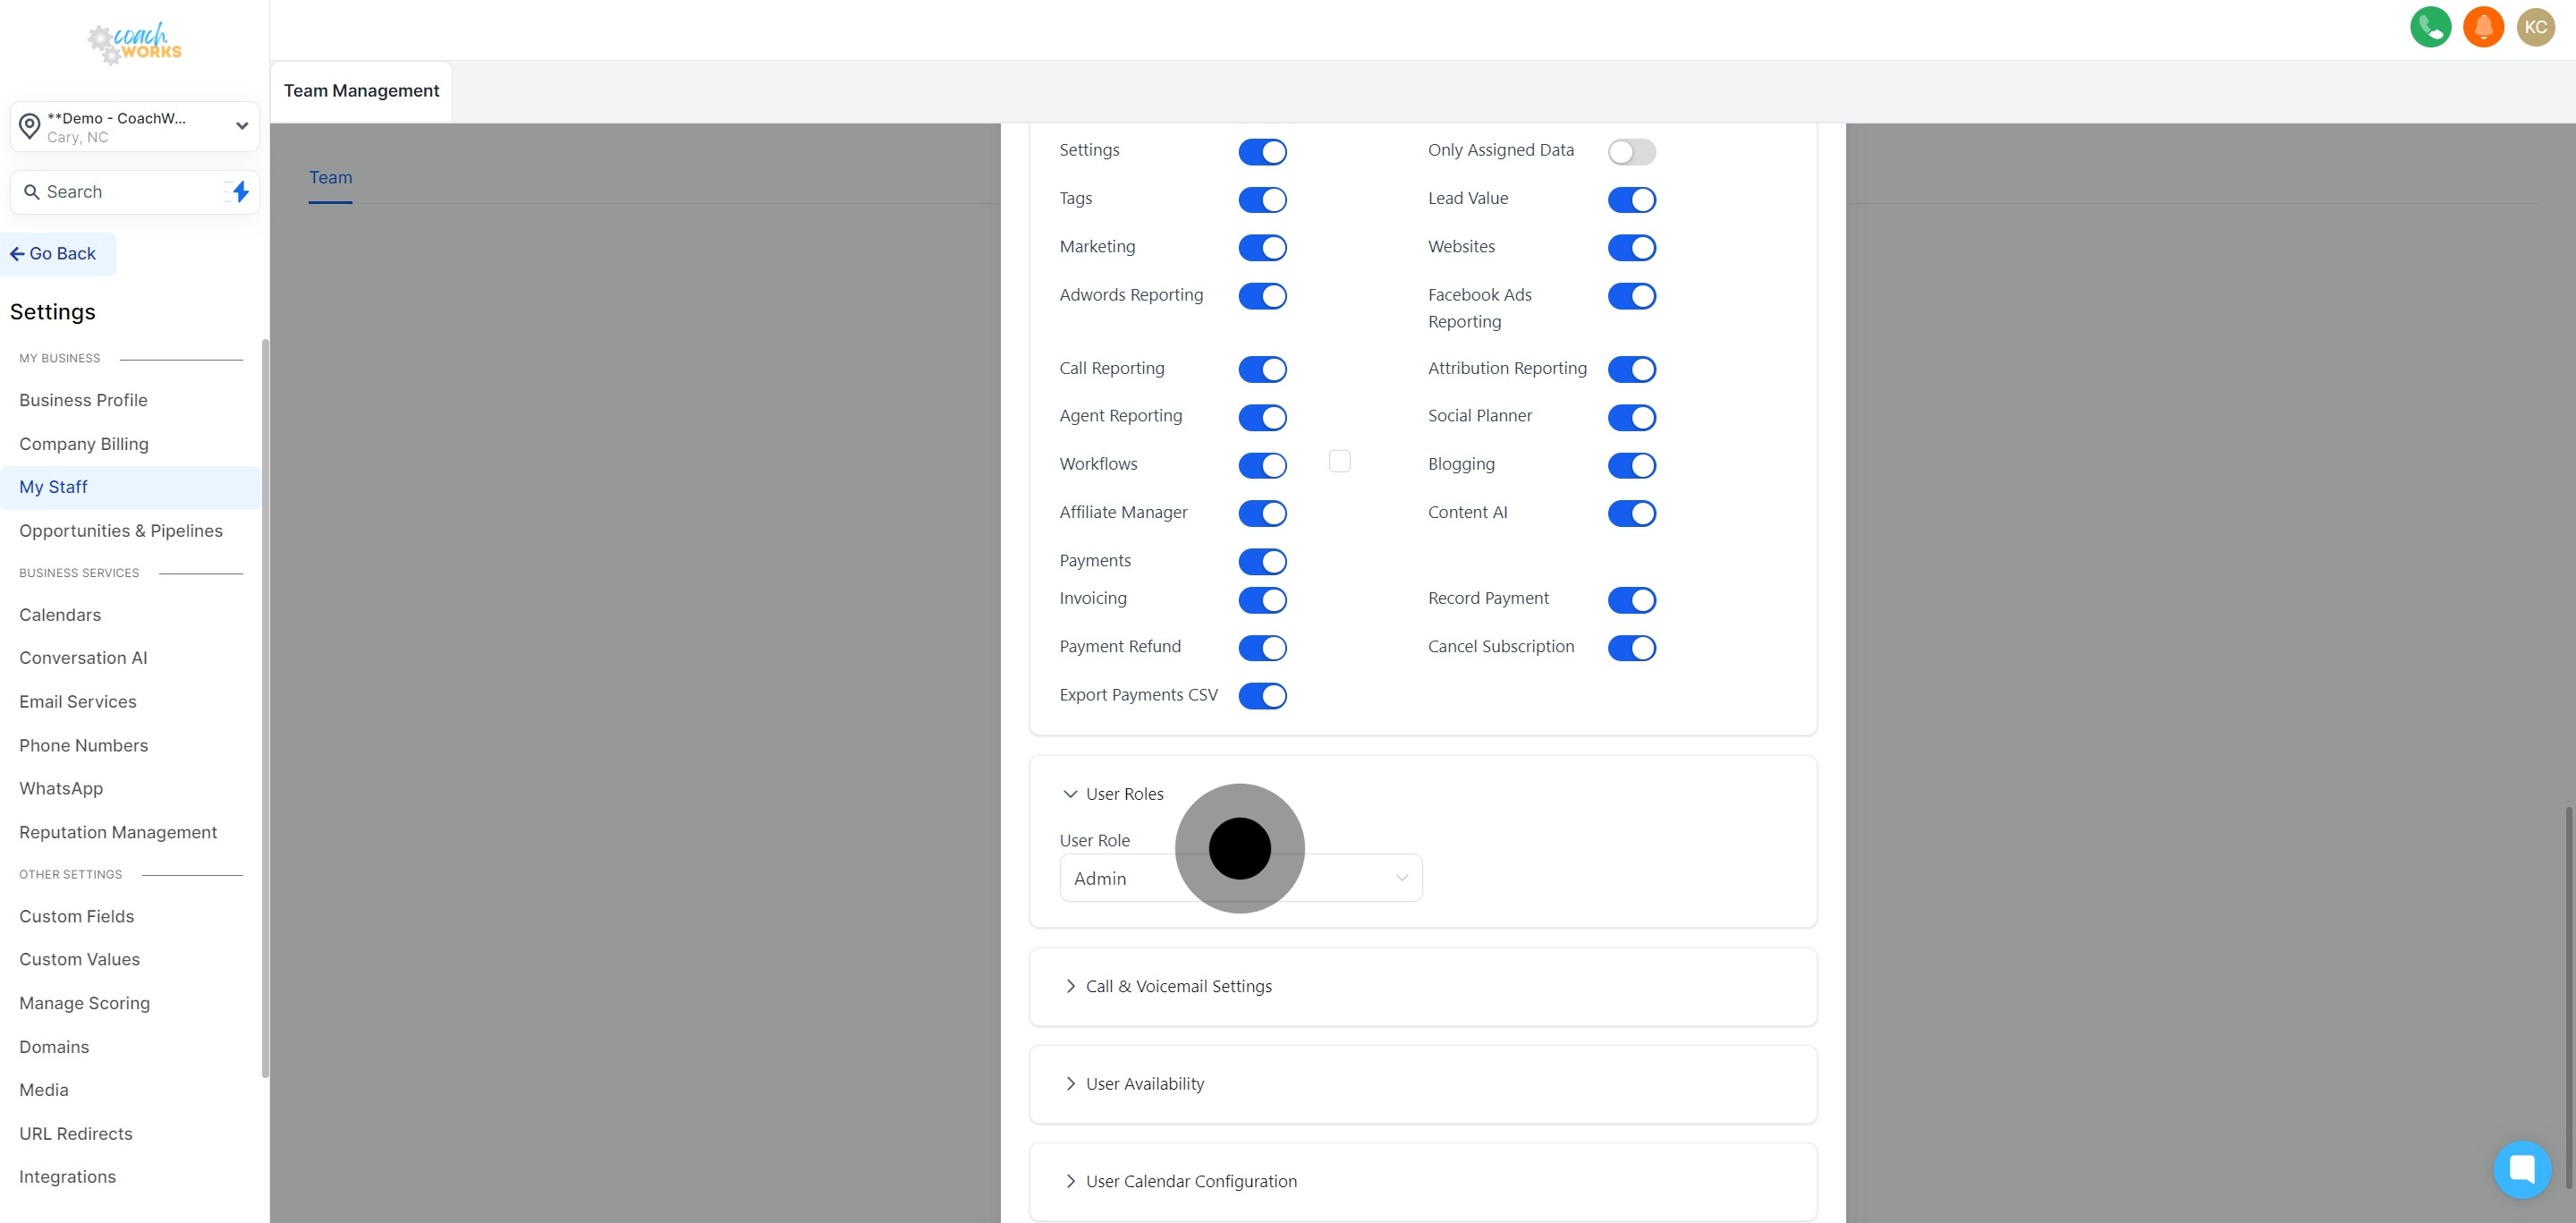
Set and modify access levels to control what data the employee can view or edit.
Determine and assign the appropriate role to the new employee within the CRM system.
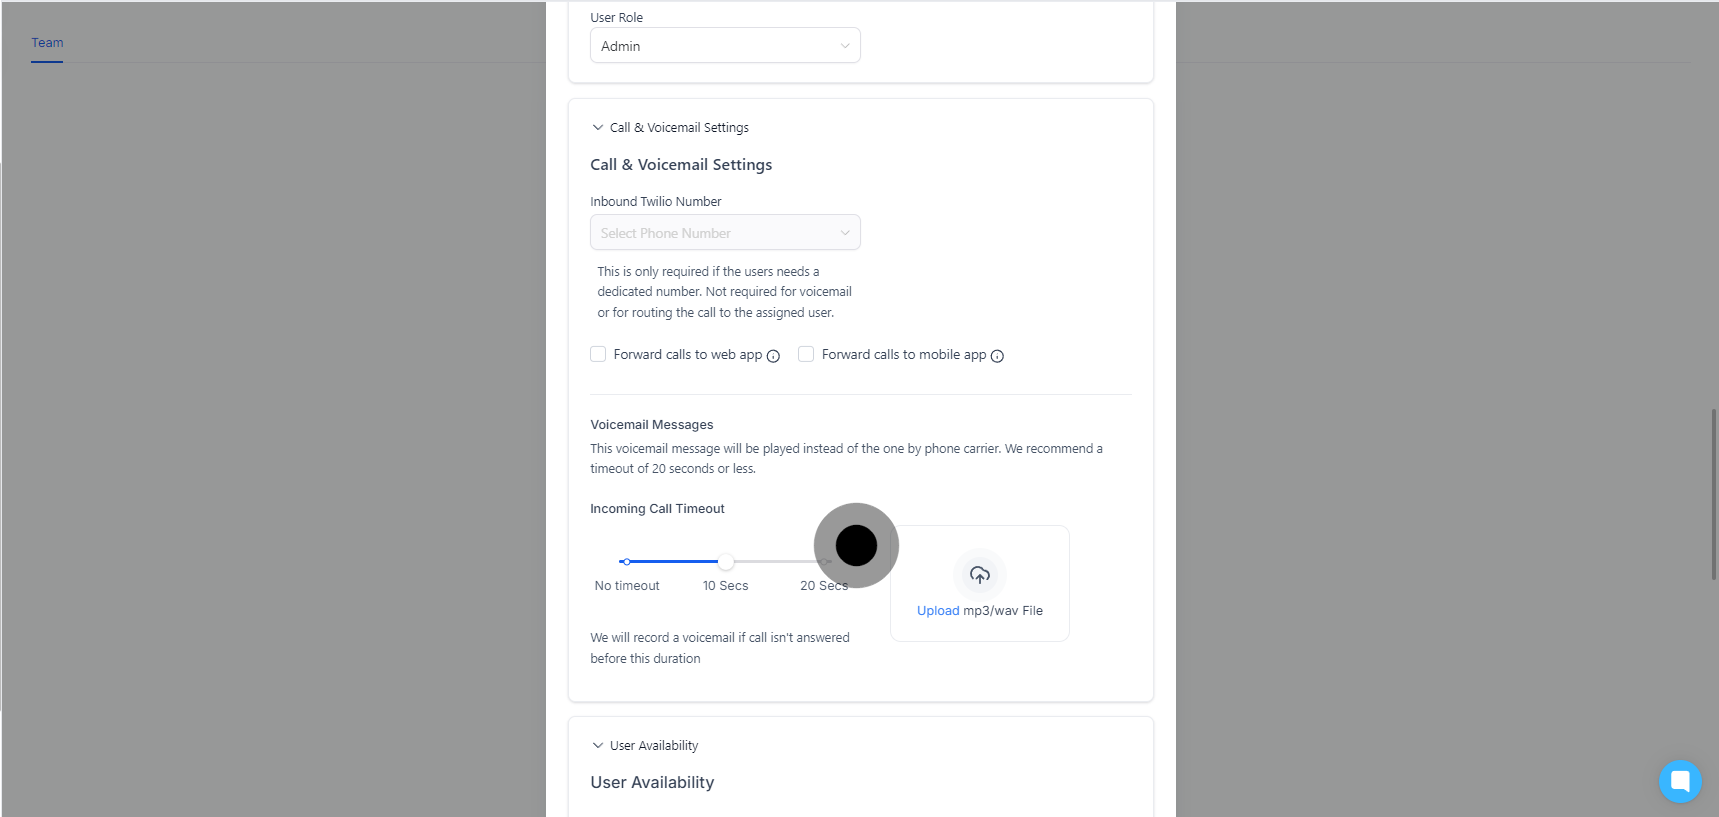
Optionally, assign a Twilio number for dedicated communication.
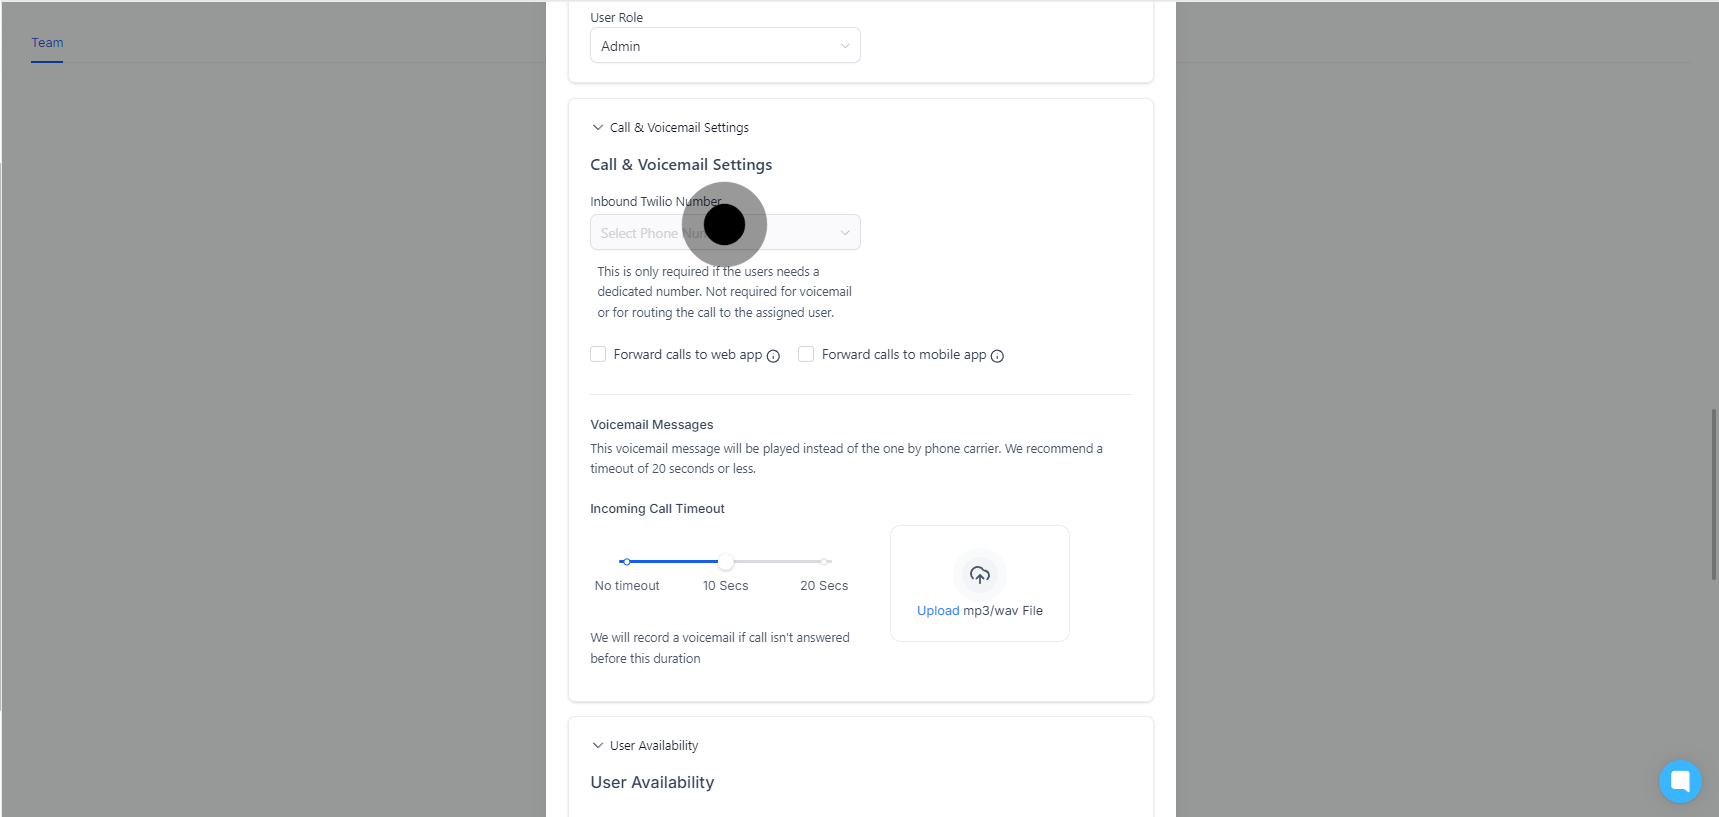
Choose whether calls should be forwarded to the web interface or the mobile app.
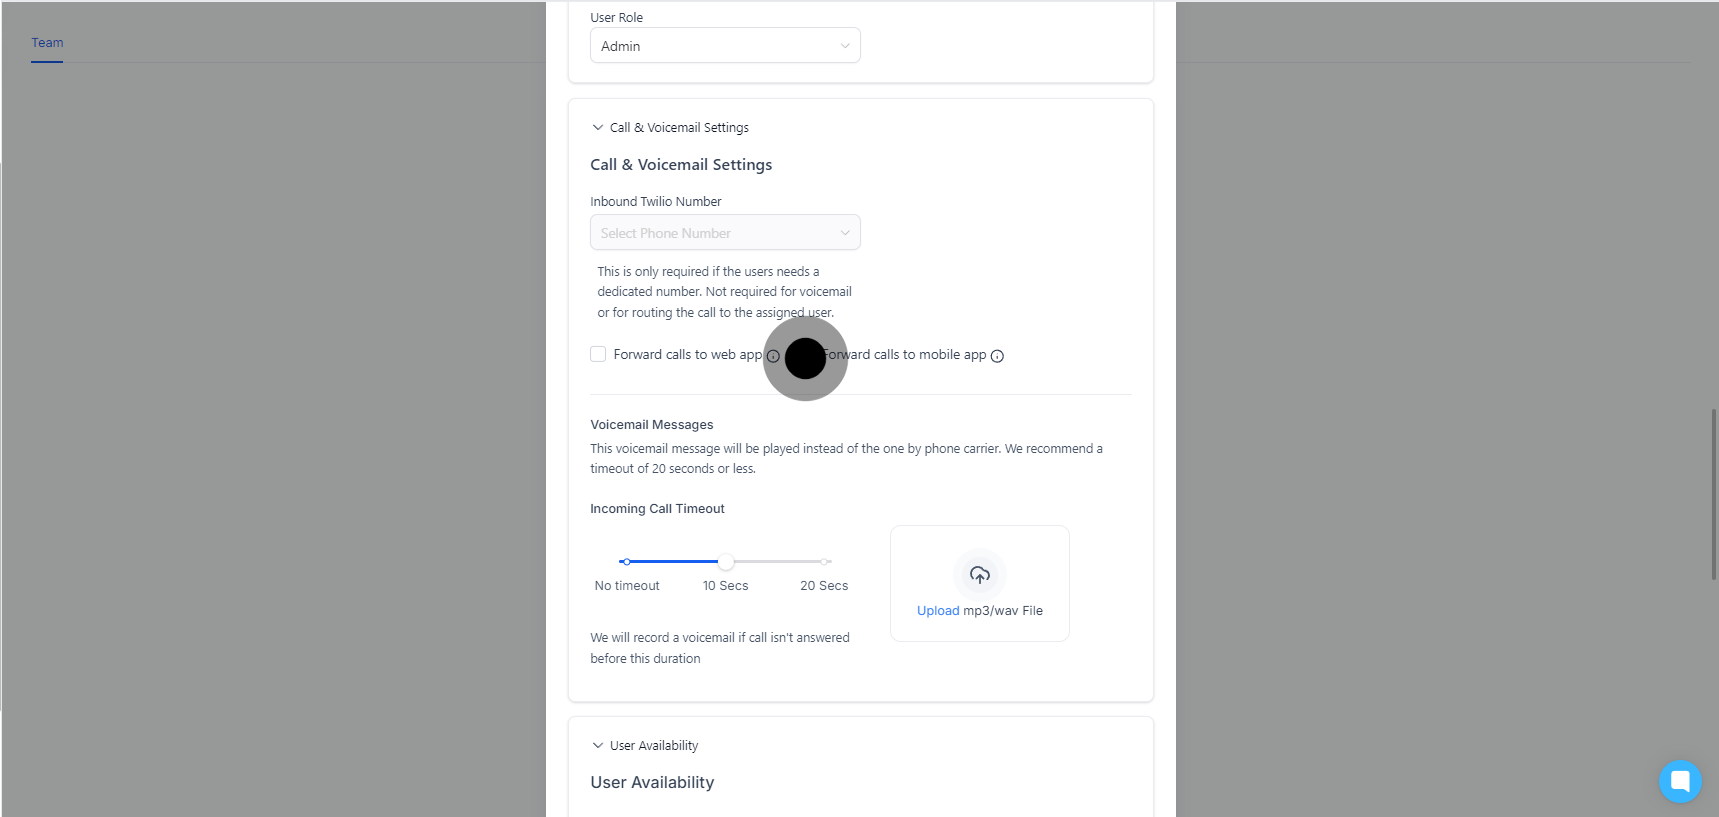
Record or upload a voicemail greeting for the employee.
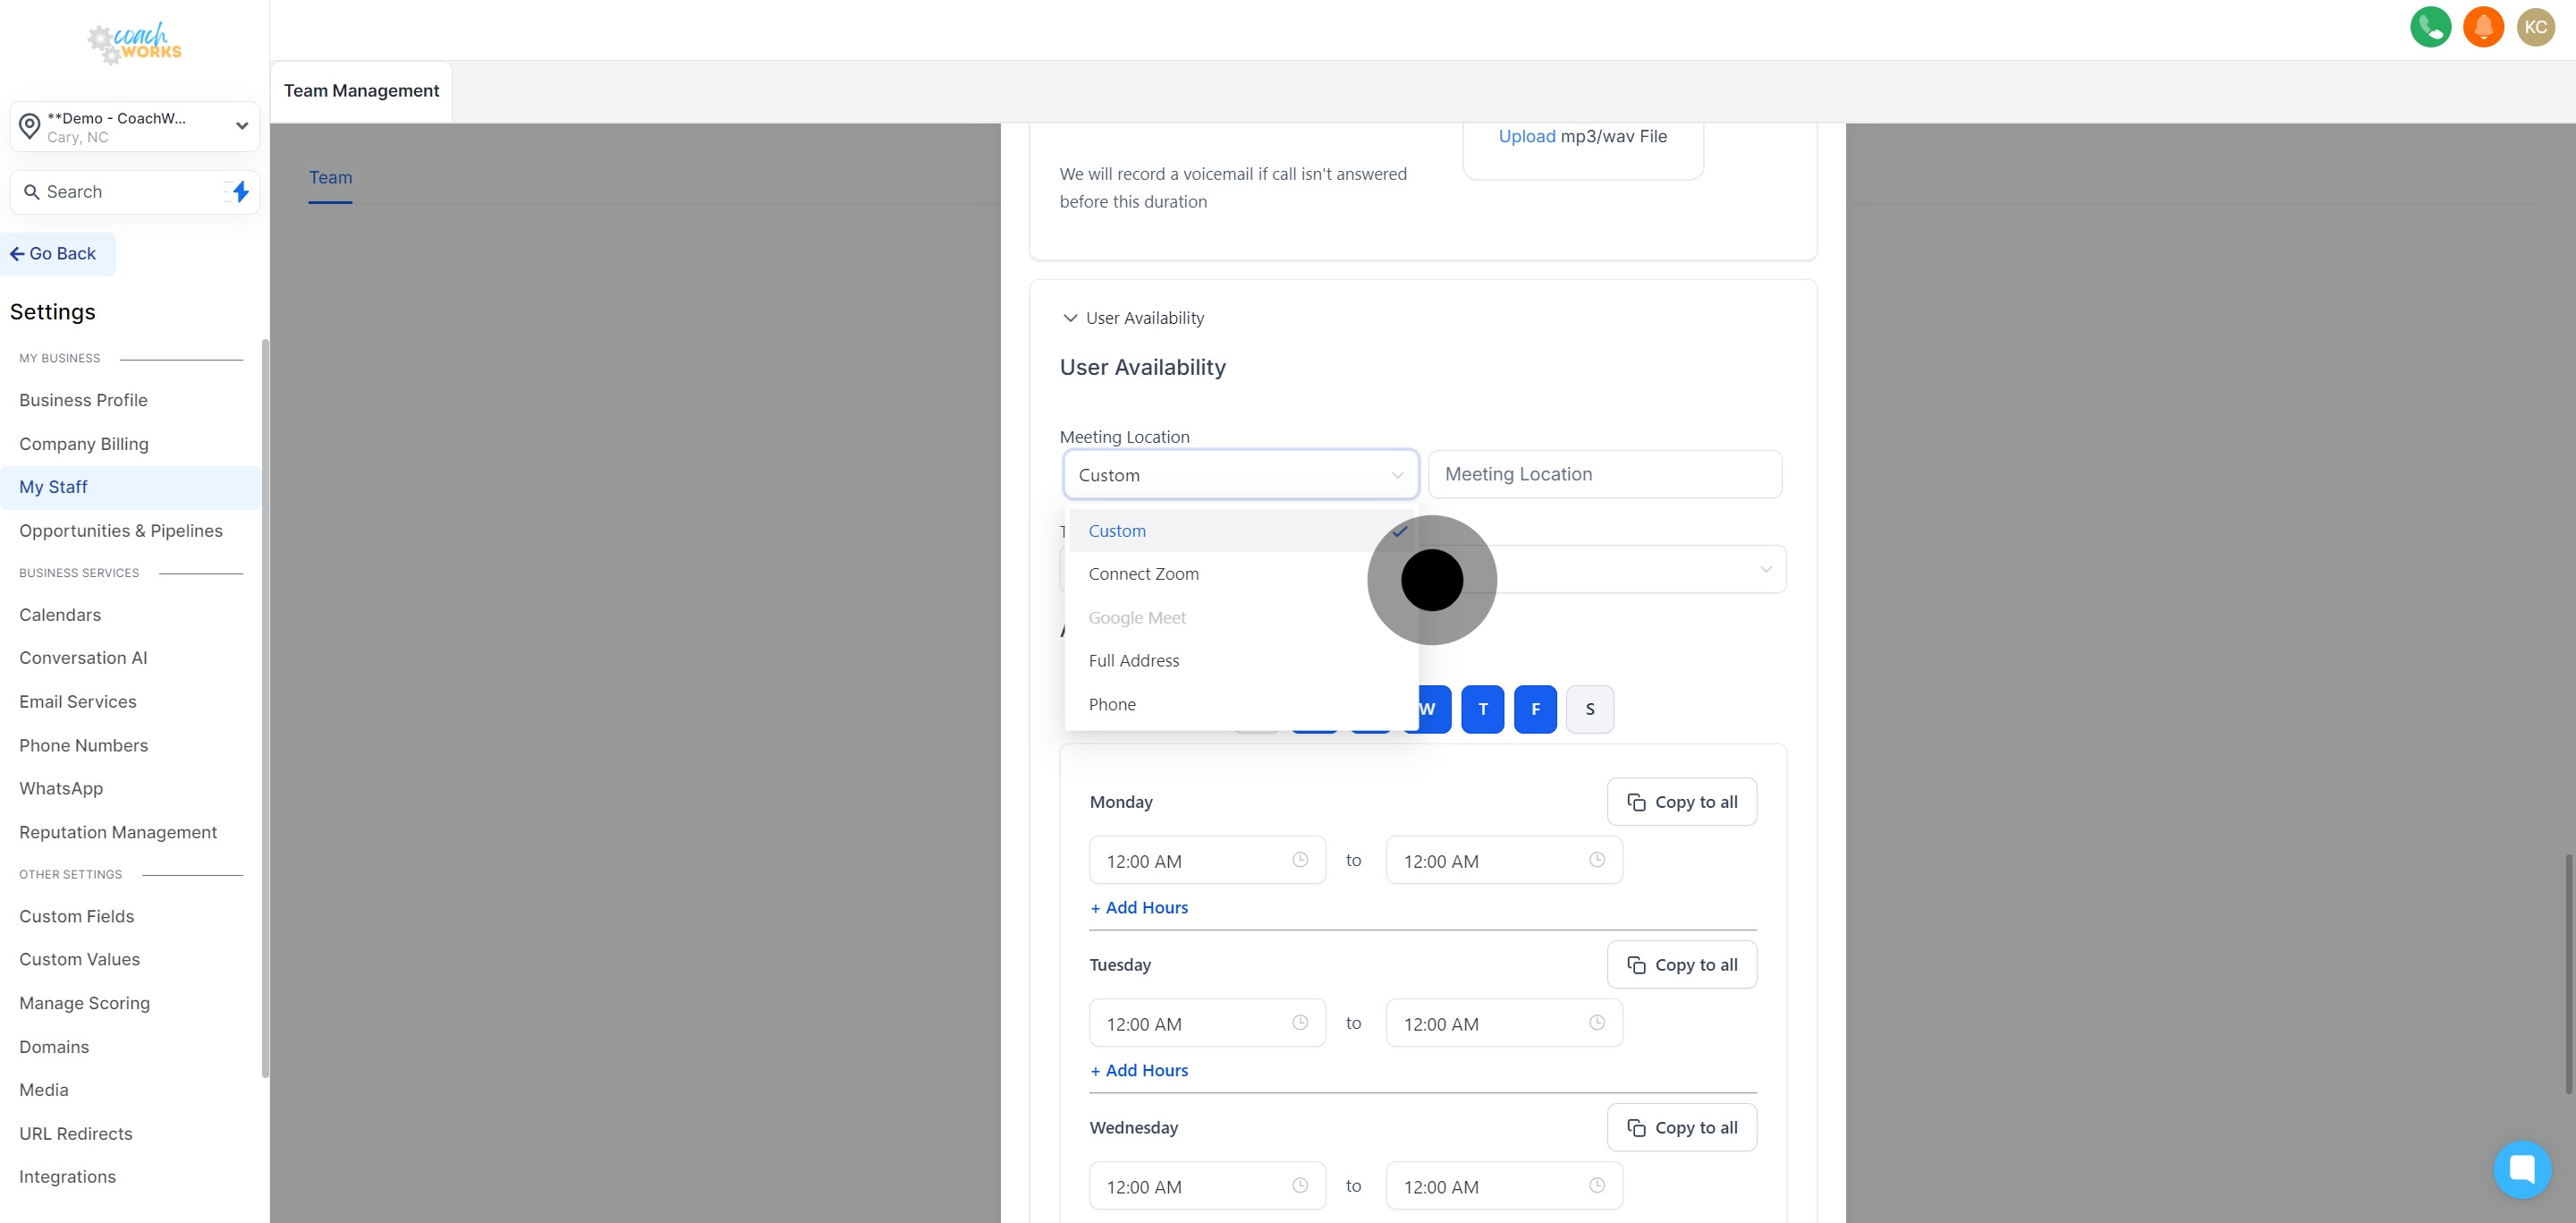
Select the default meeting location from the provided drop-down list.
Adjust the employee’s profile to reflect their time zone based on their geographical work location.
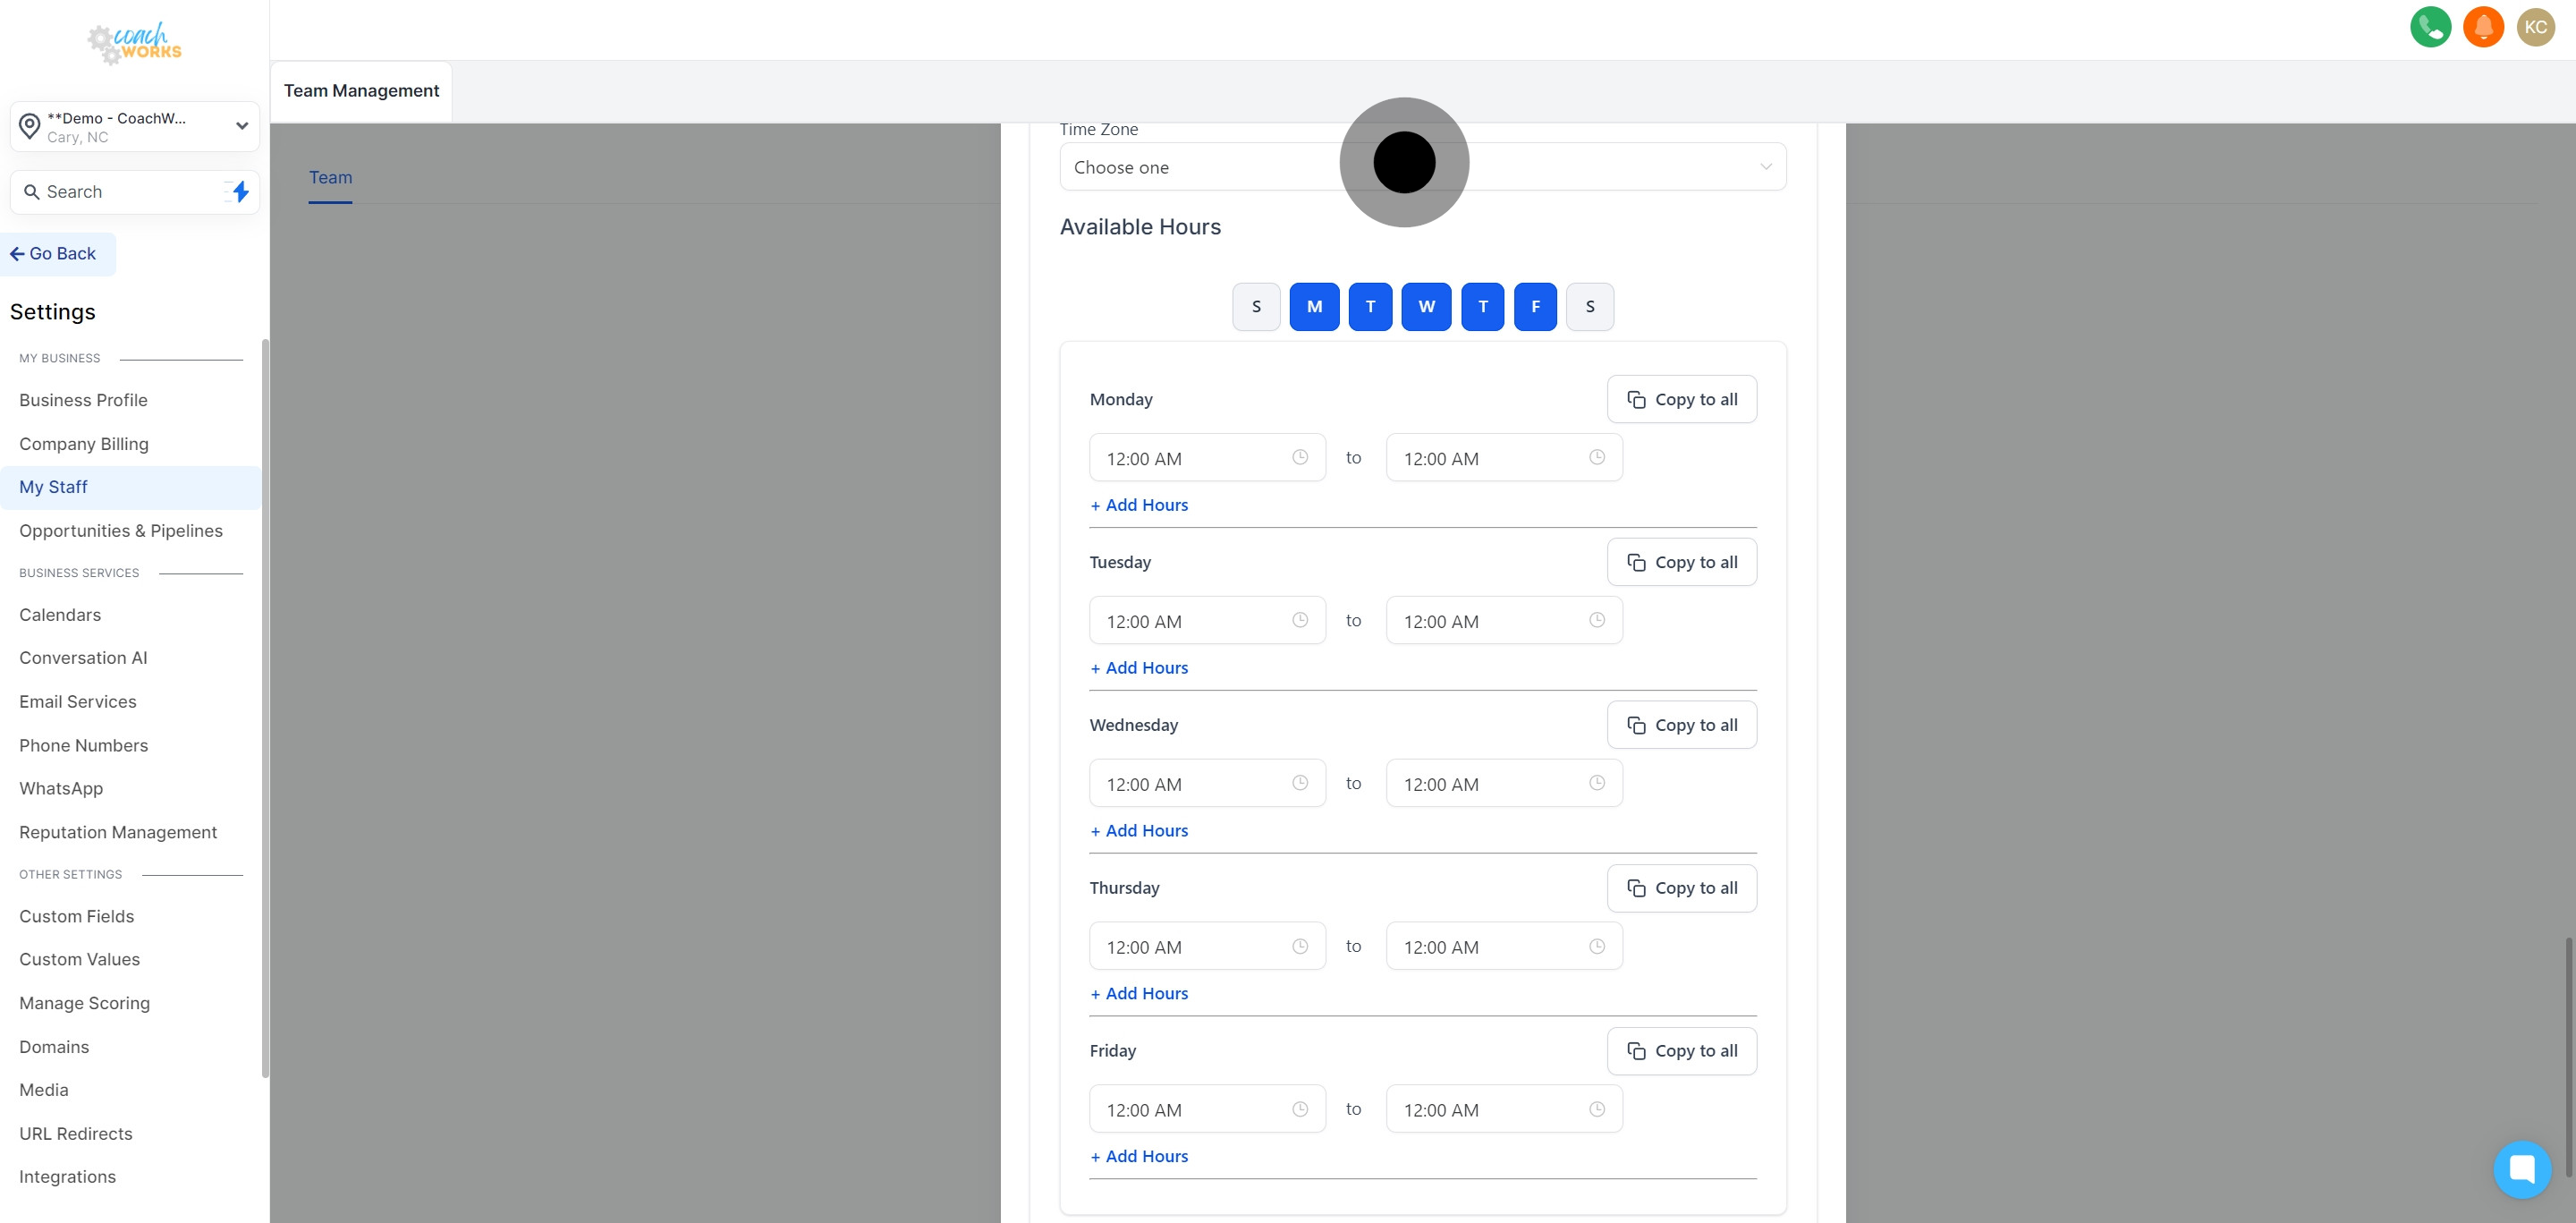
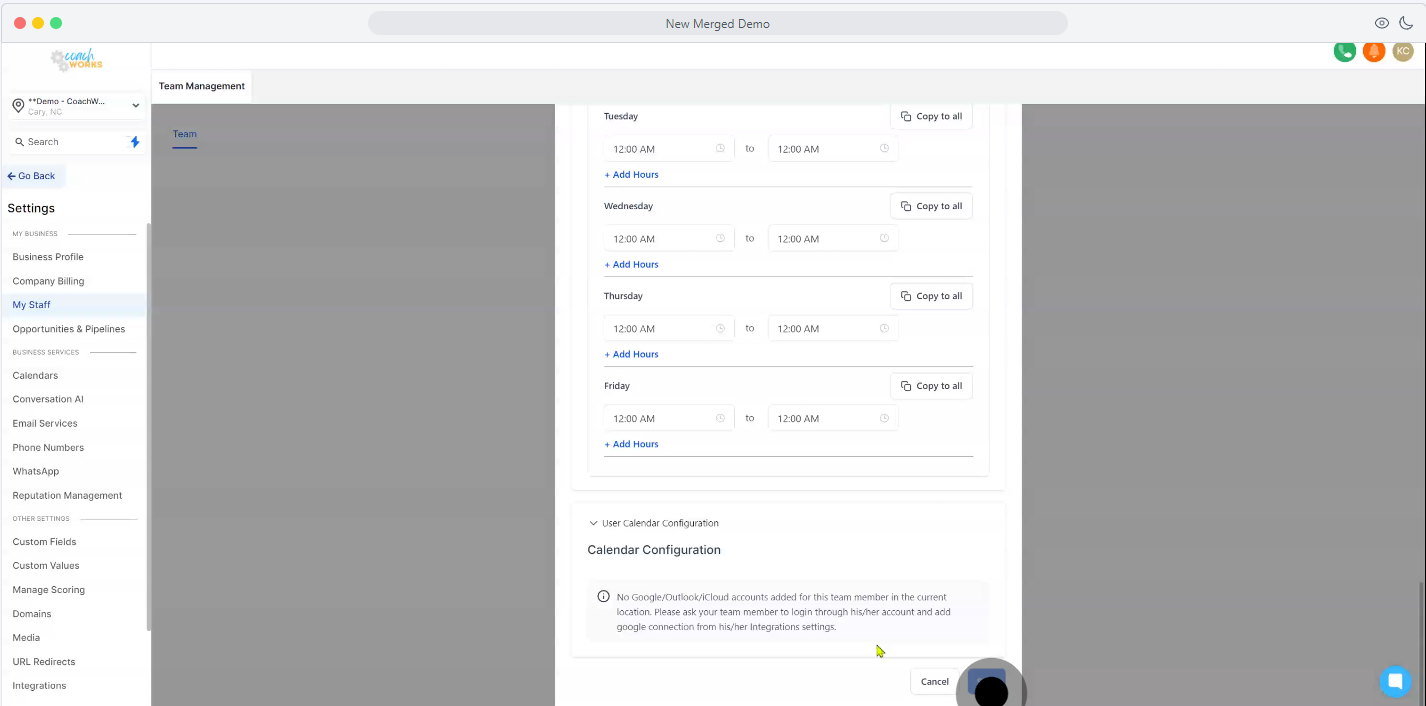
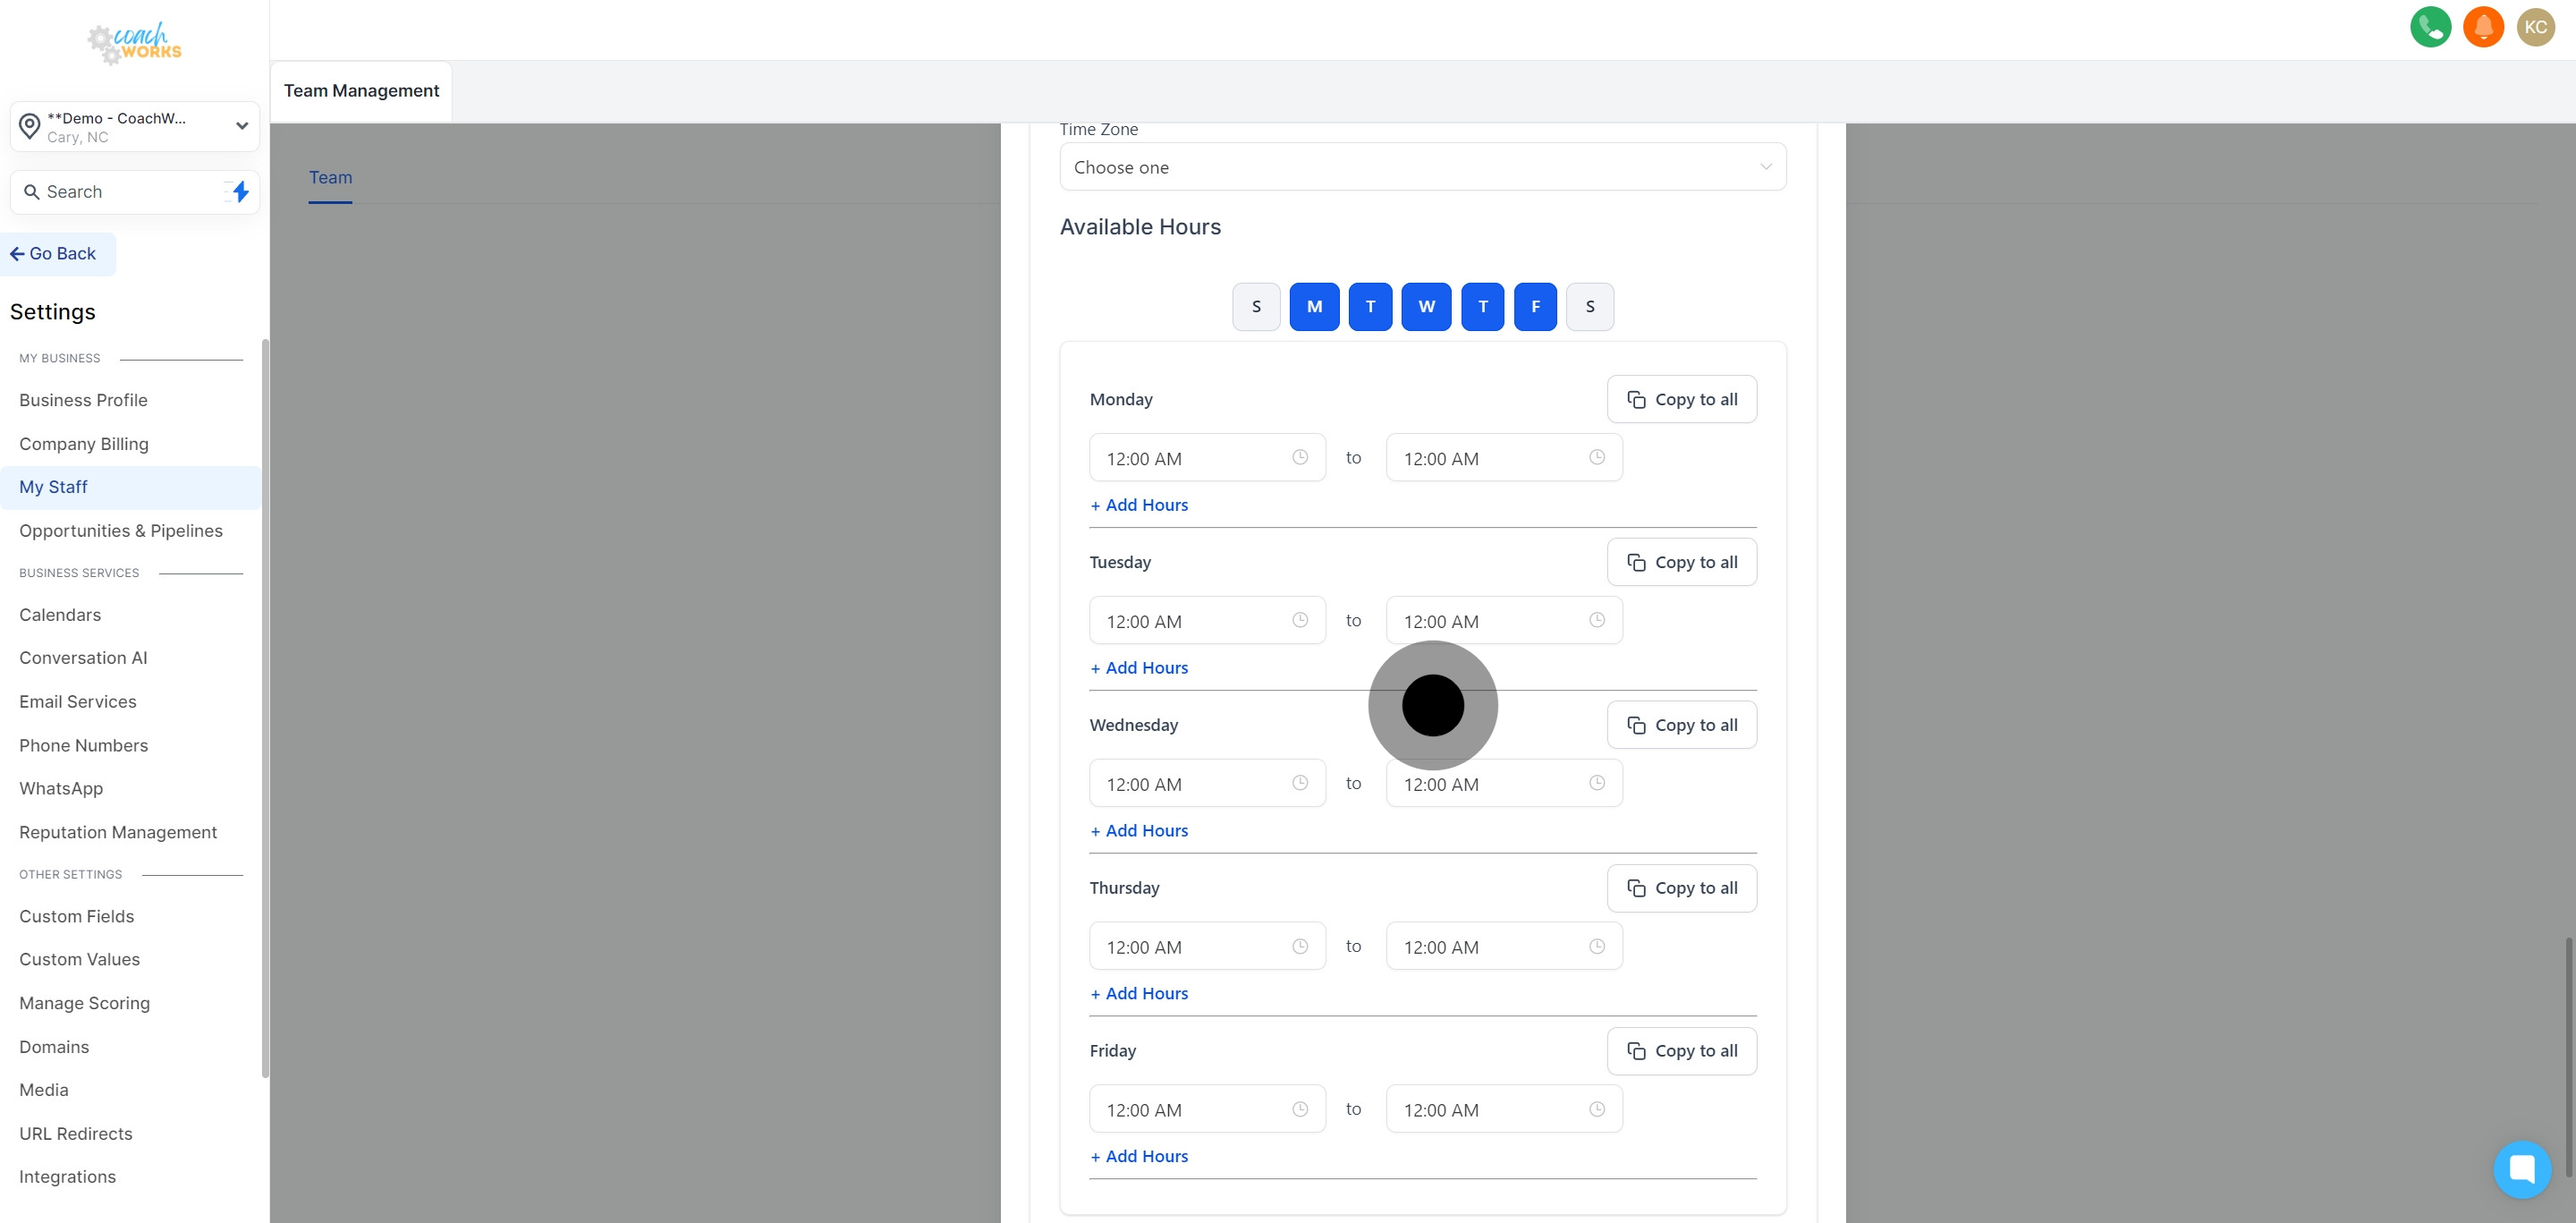
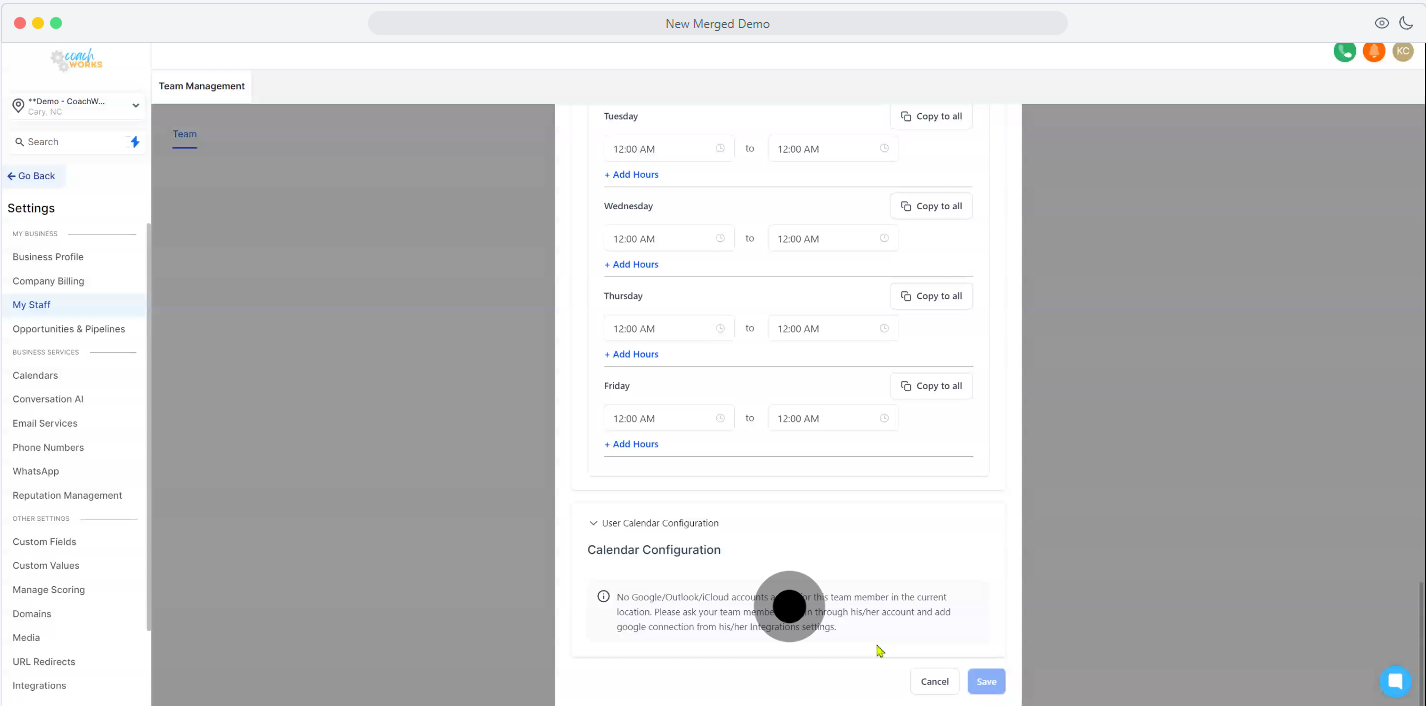
Indicate the days and hours when the employee is available for work tasks and meetings.
Make any necessary customizations to the user’s calendar for ease of scheduling.
Ensure all information is correct and click 'Save' to finalize adding the new employee to the system.