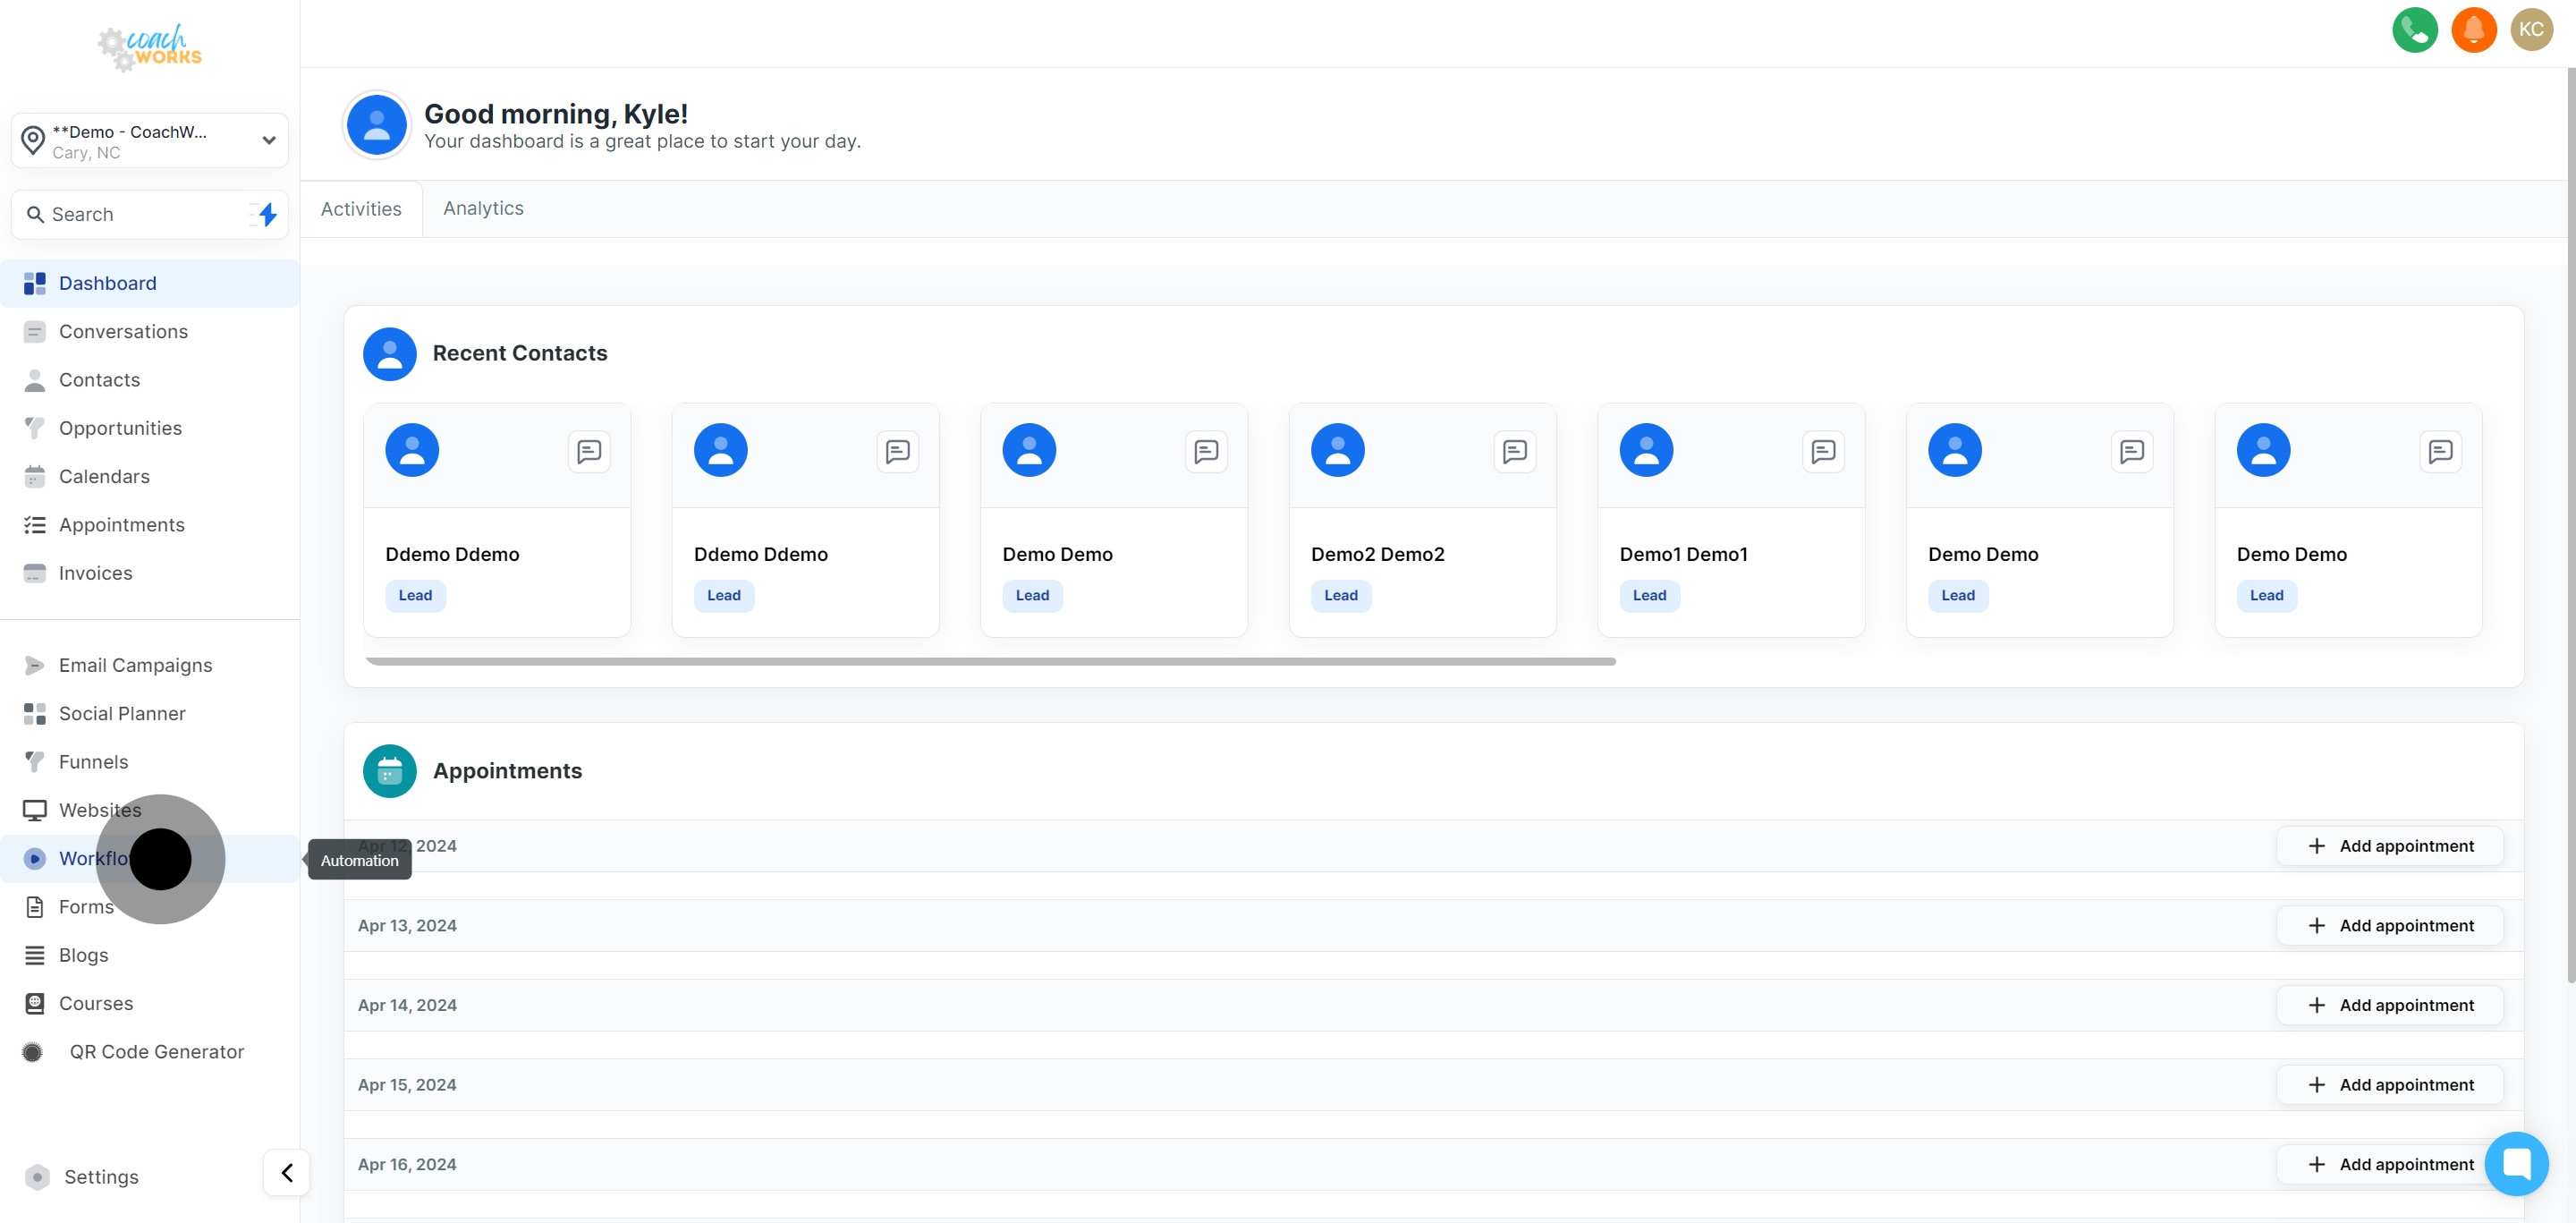
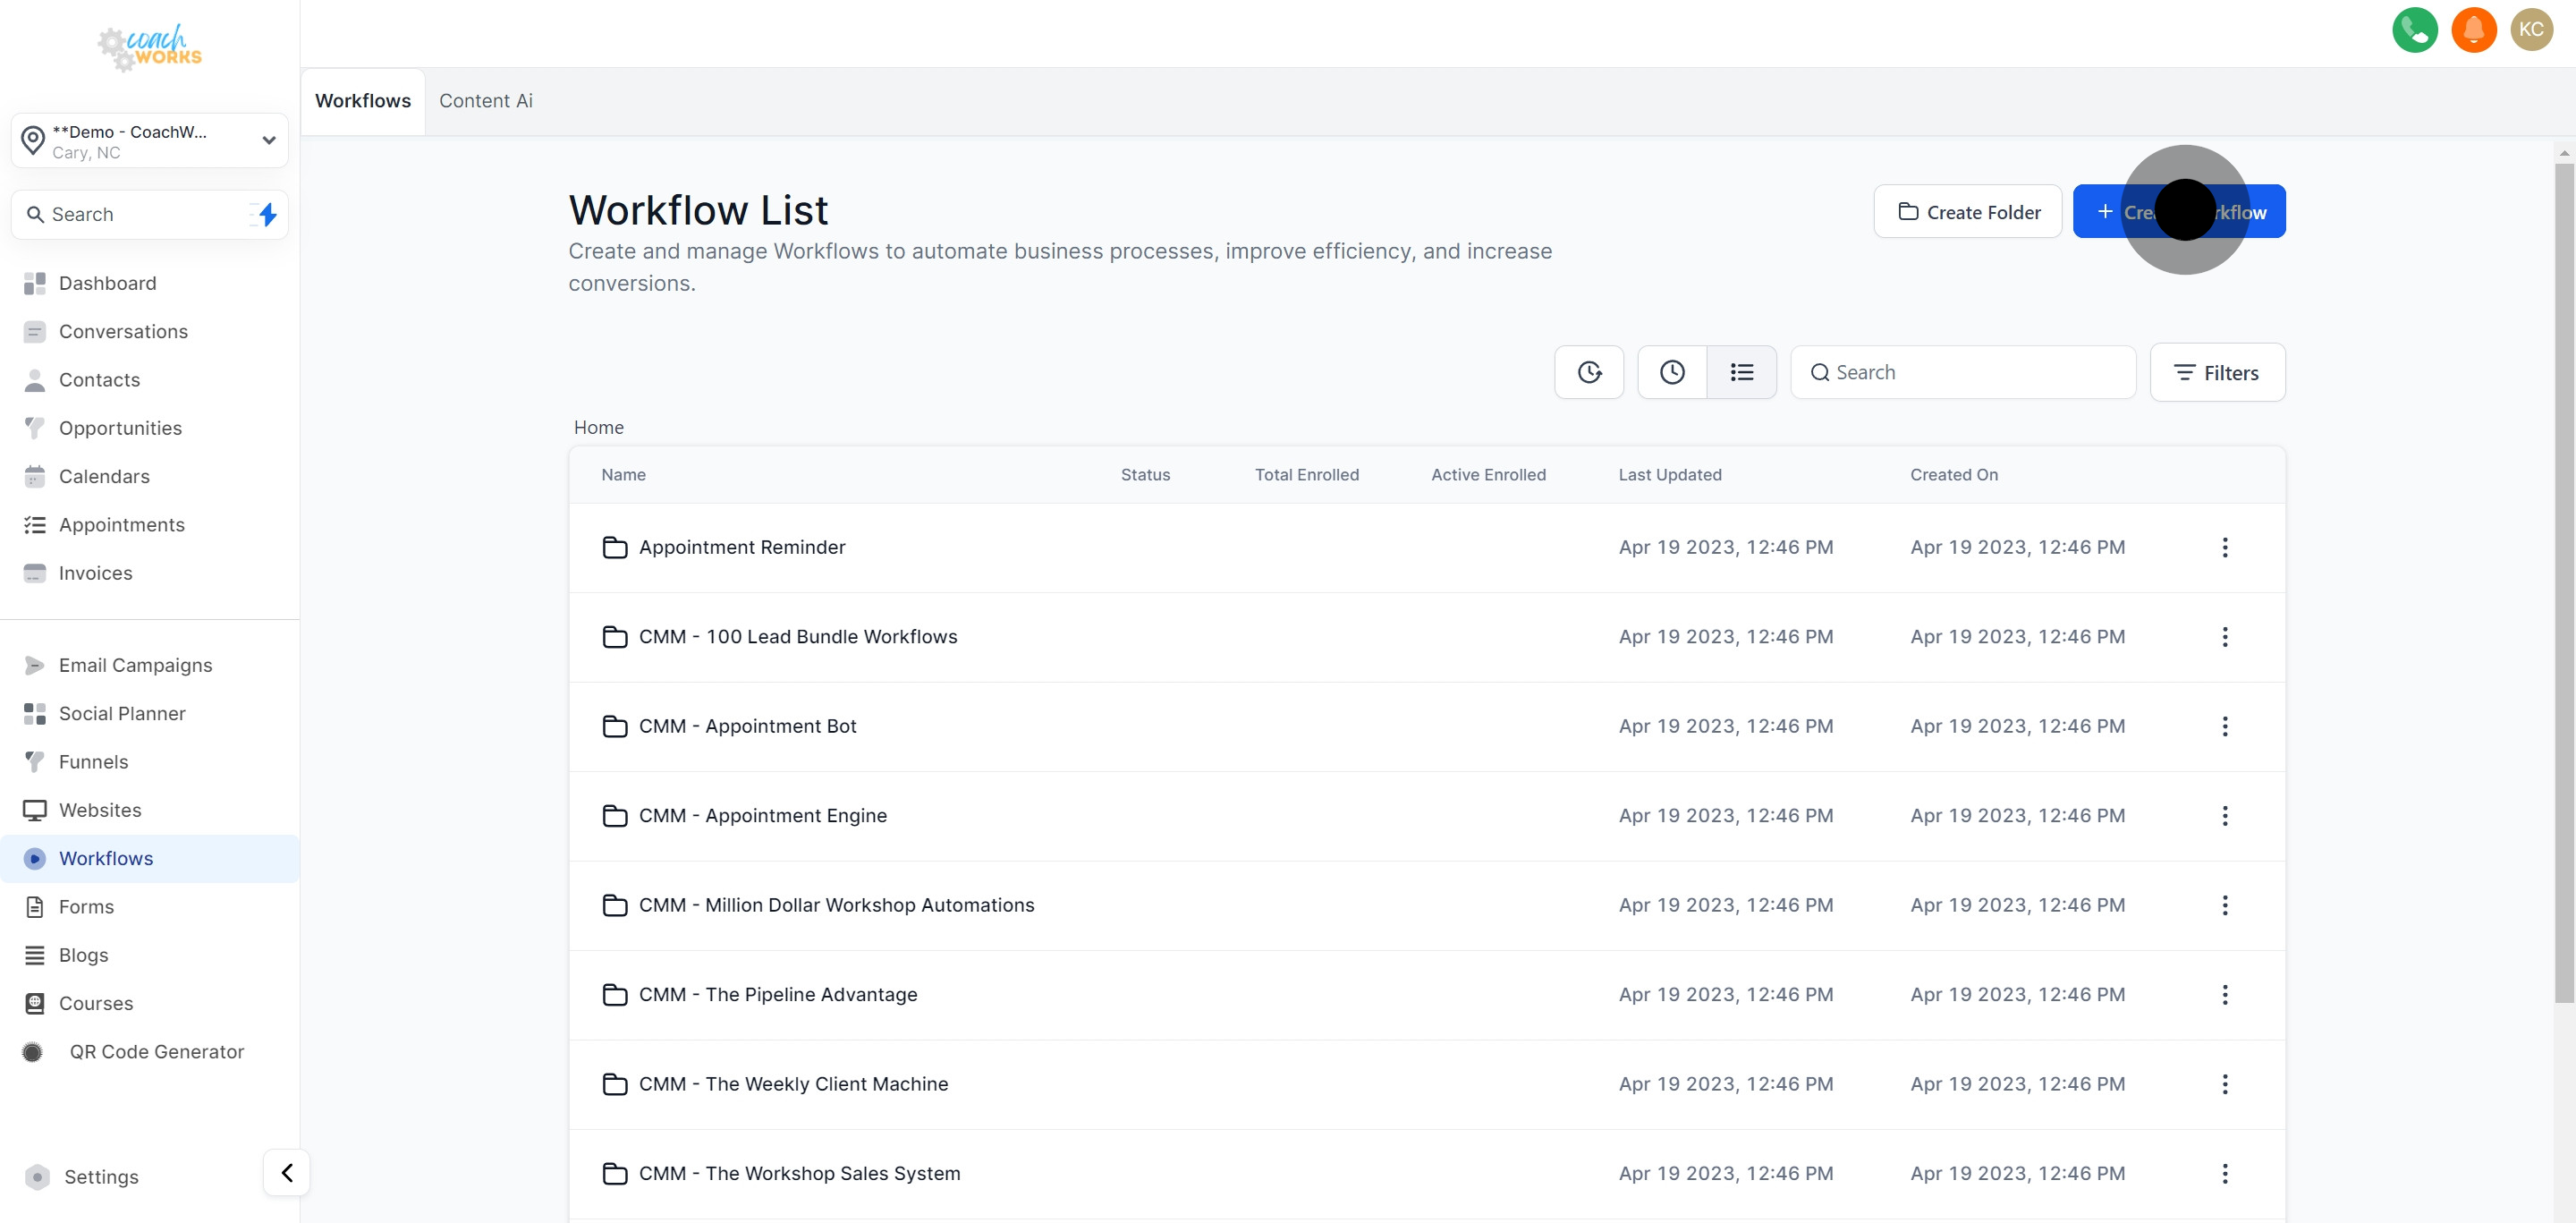
Begin by navigating to the workflow interface within your CoachWorks Marketing account. This is your starting point for creating new automated processes.
Click on the 'Create Workflow' button. This will open up options for starting your new workflow.
At this juncture, you're presented with two options: proceed using one of the pre-designed templates or start from scratch. For a more tailored experience, opt to construct your own workflow.
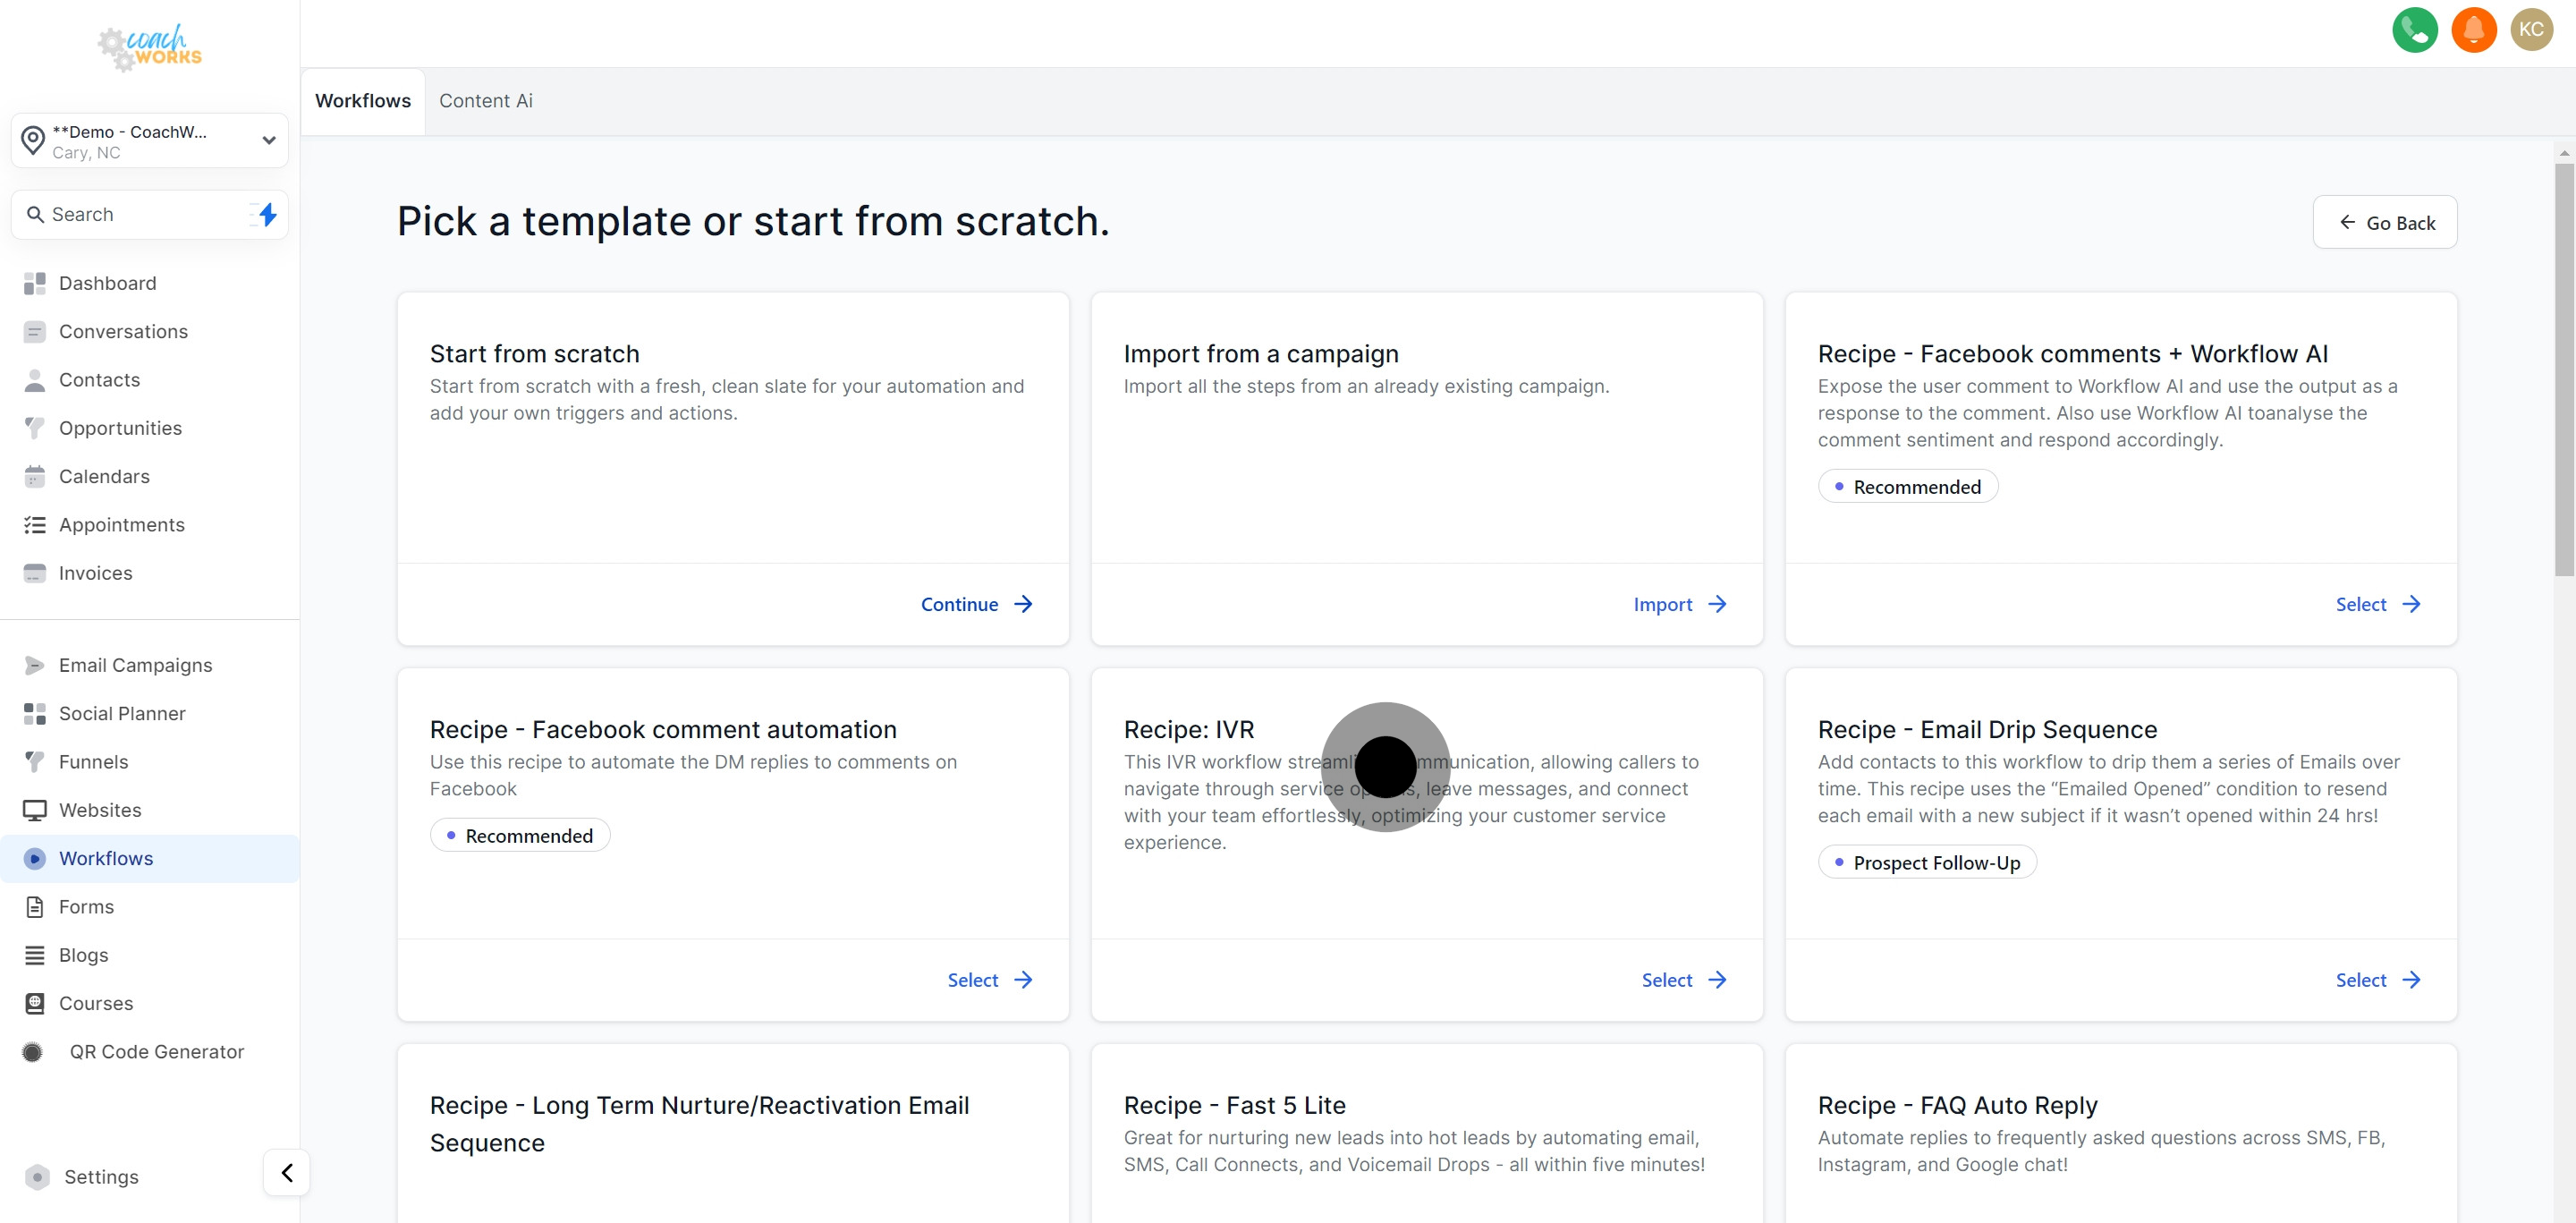
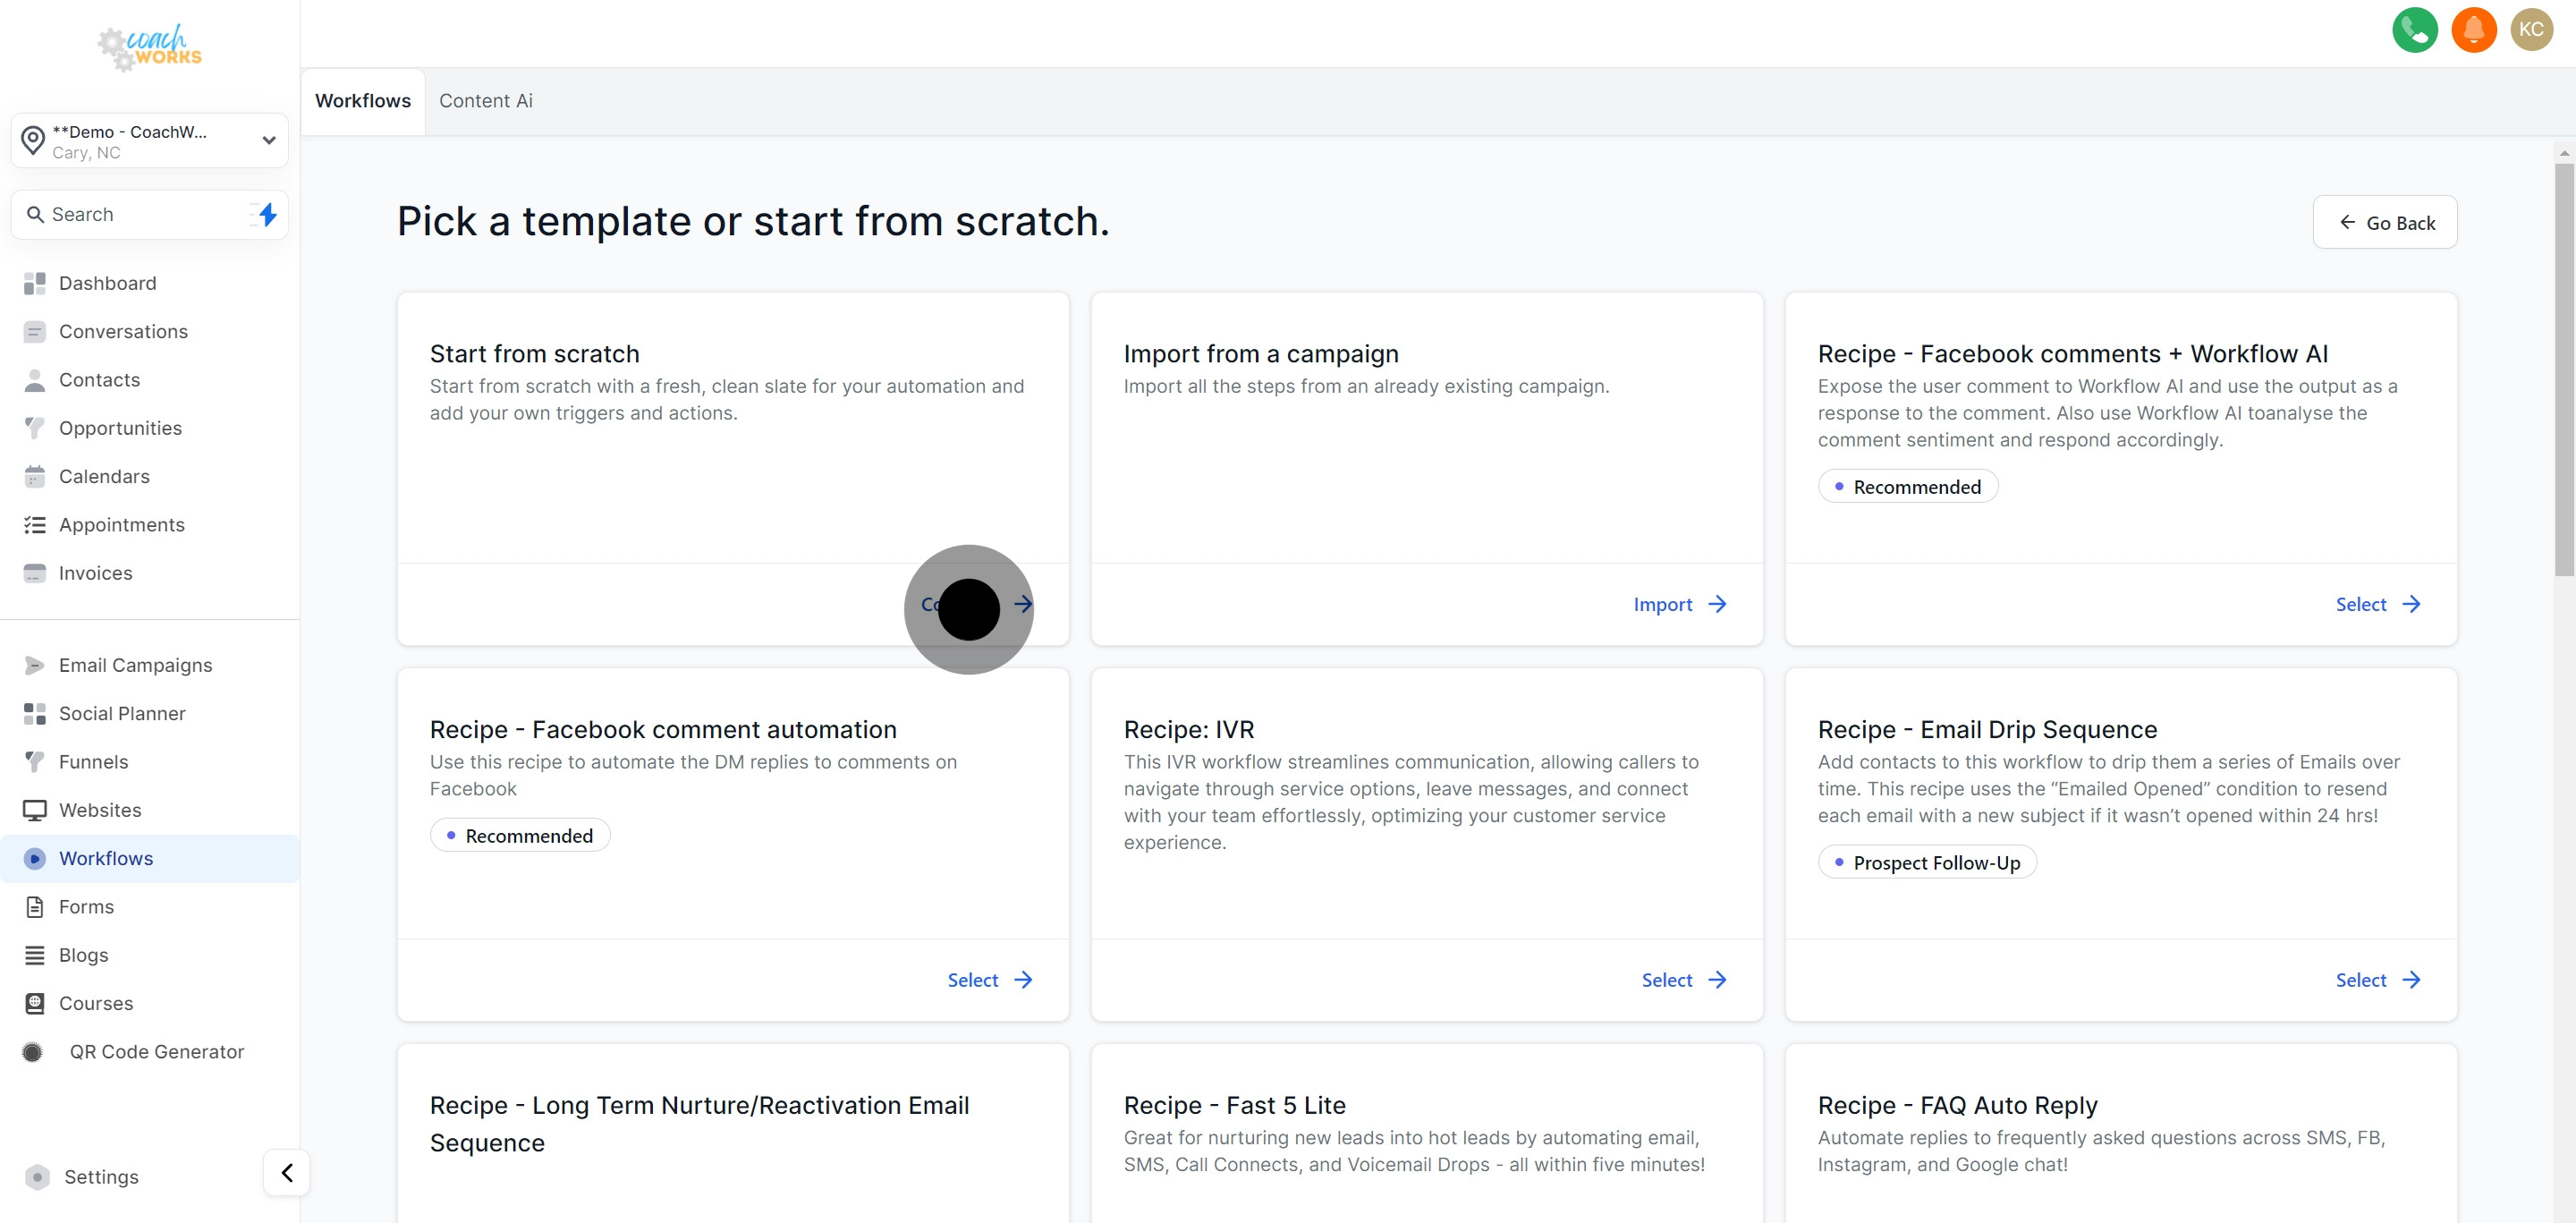
Since we're focusing on custom workflows, choose to start from scratch. This option allows for full customization and flexibility.
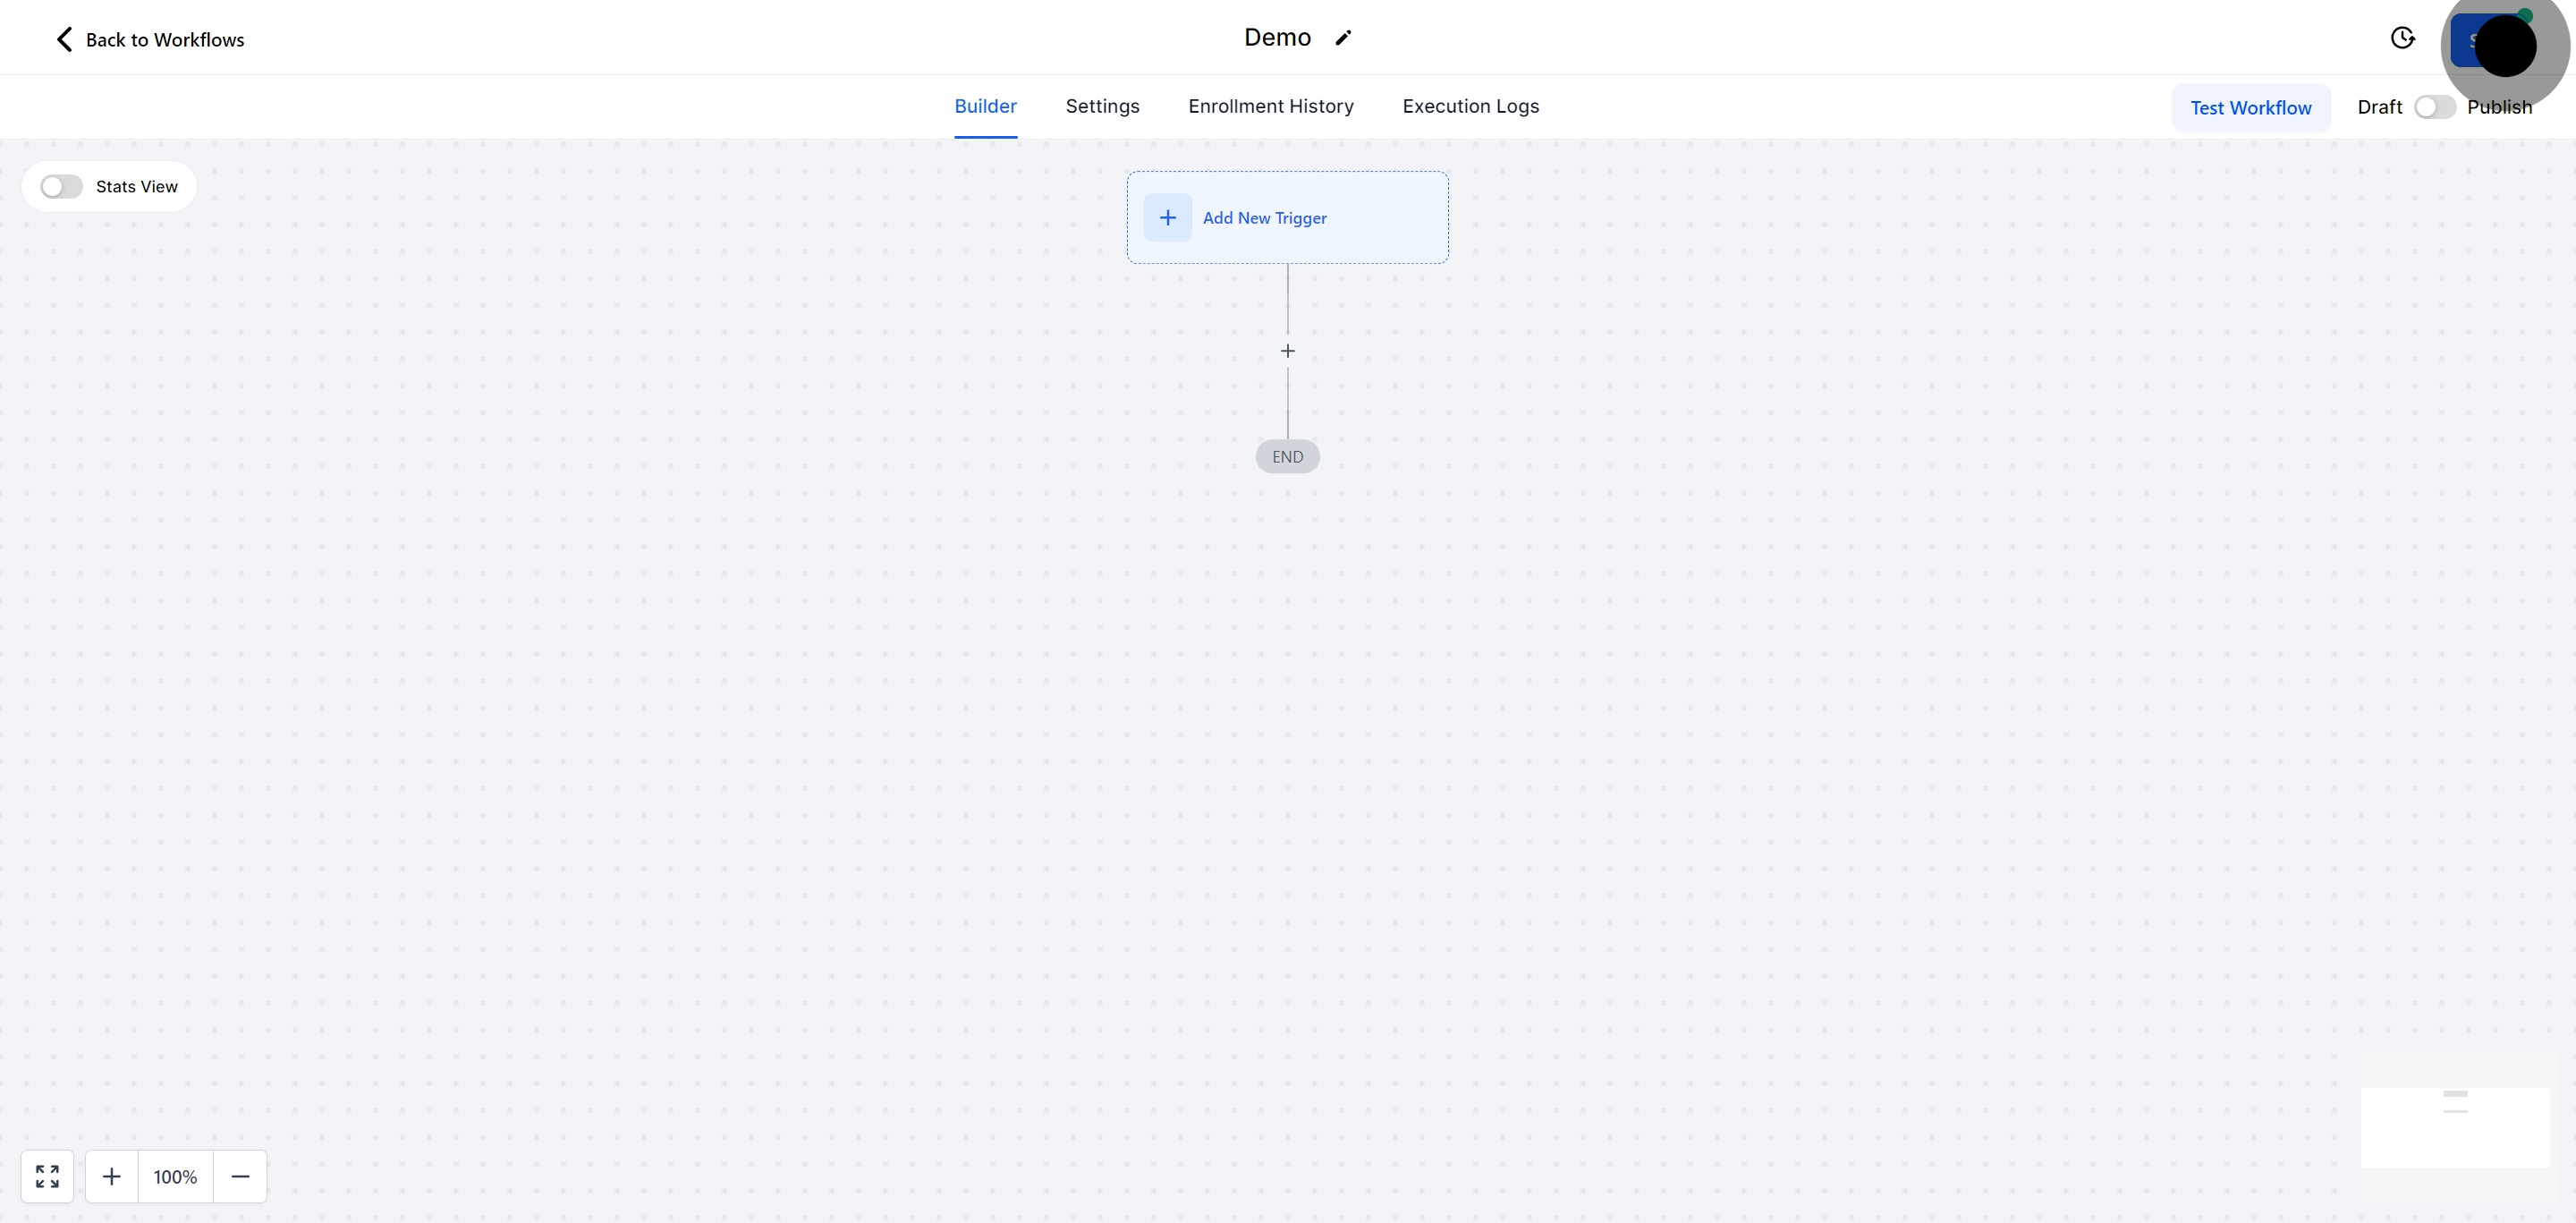
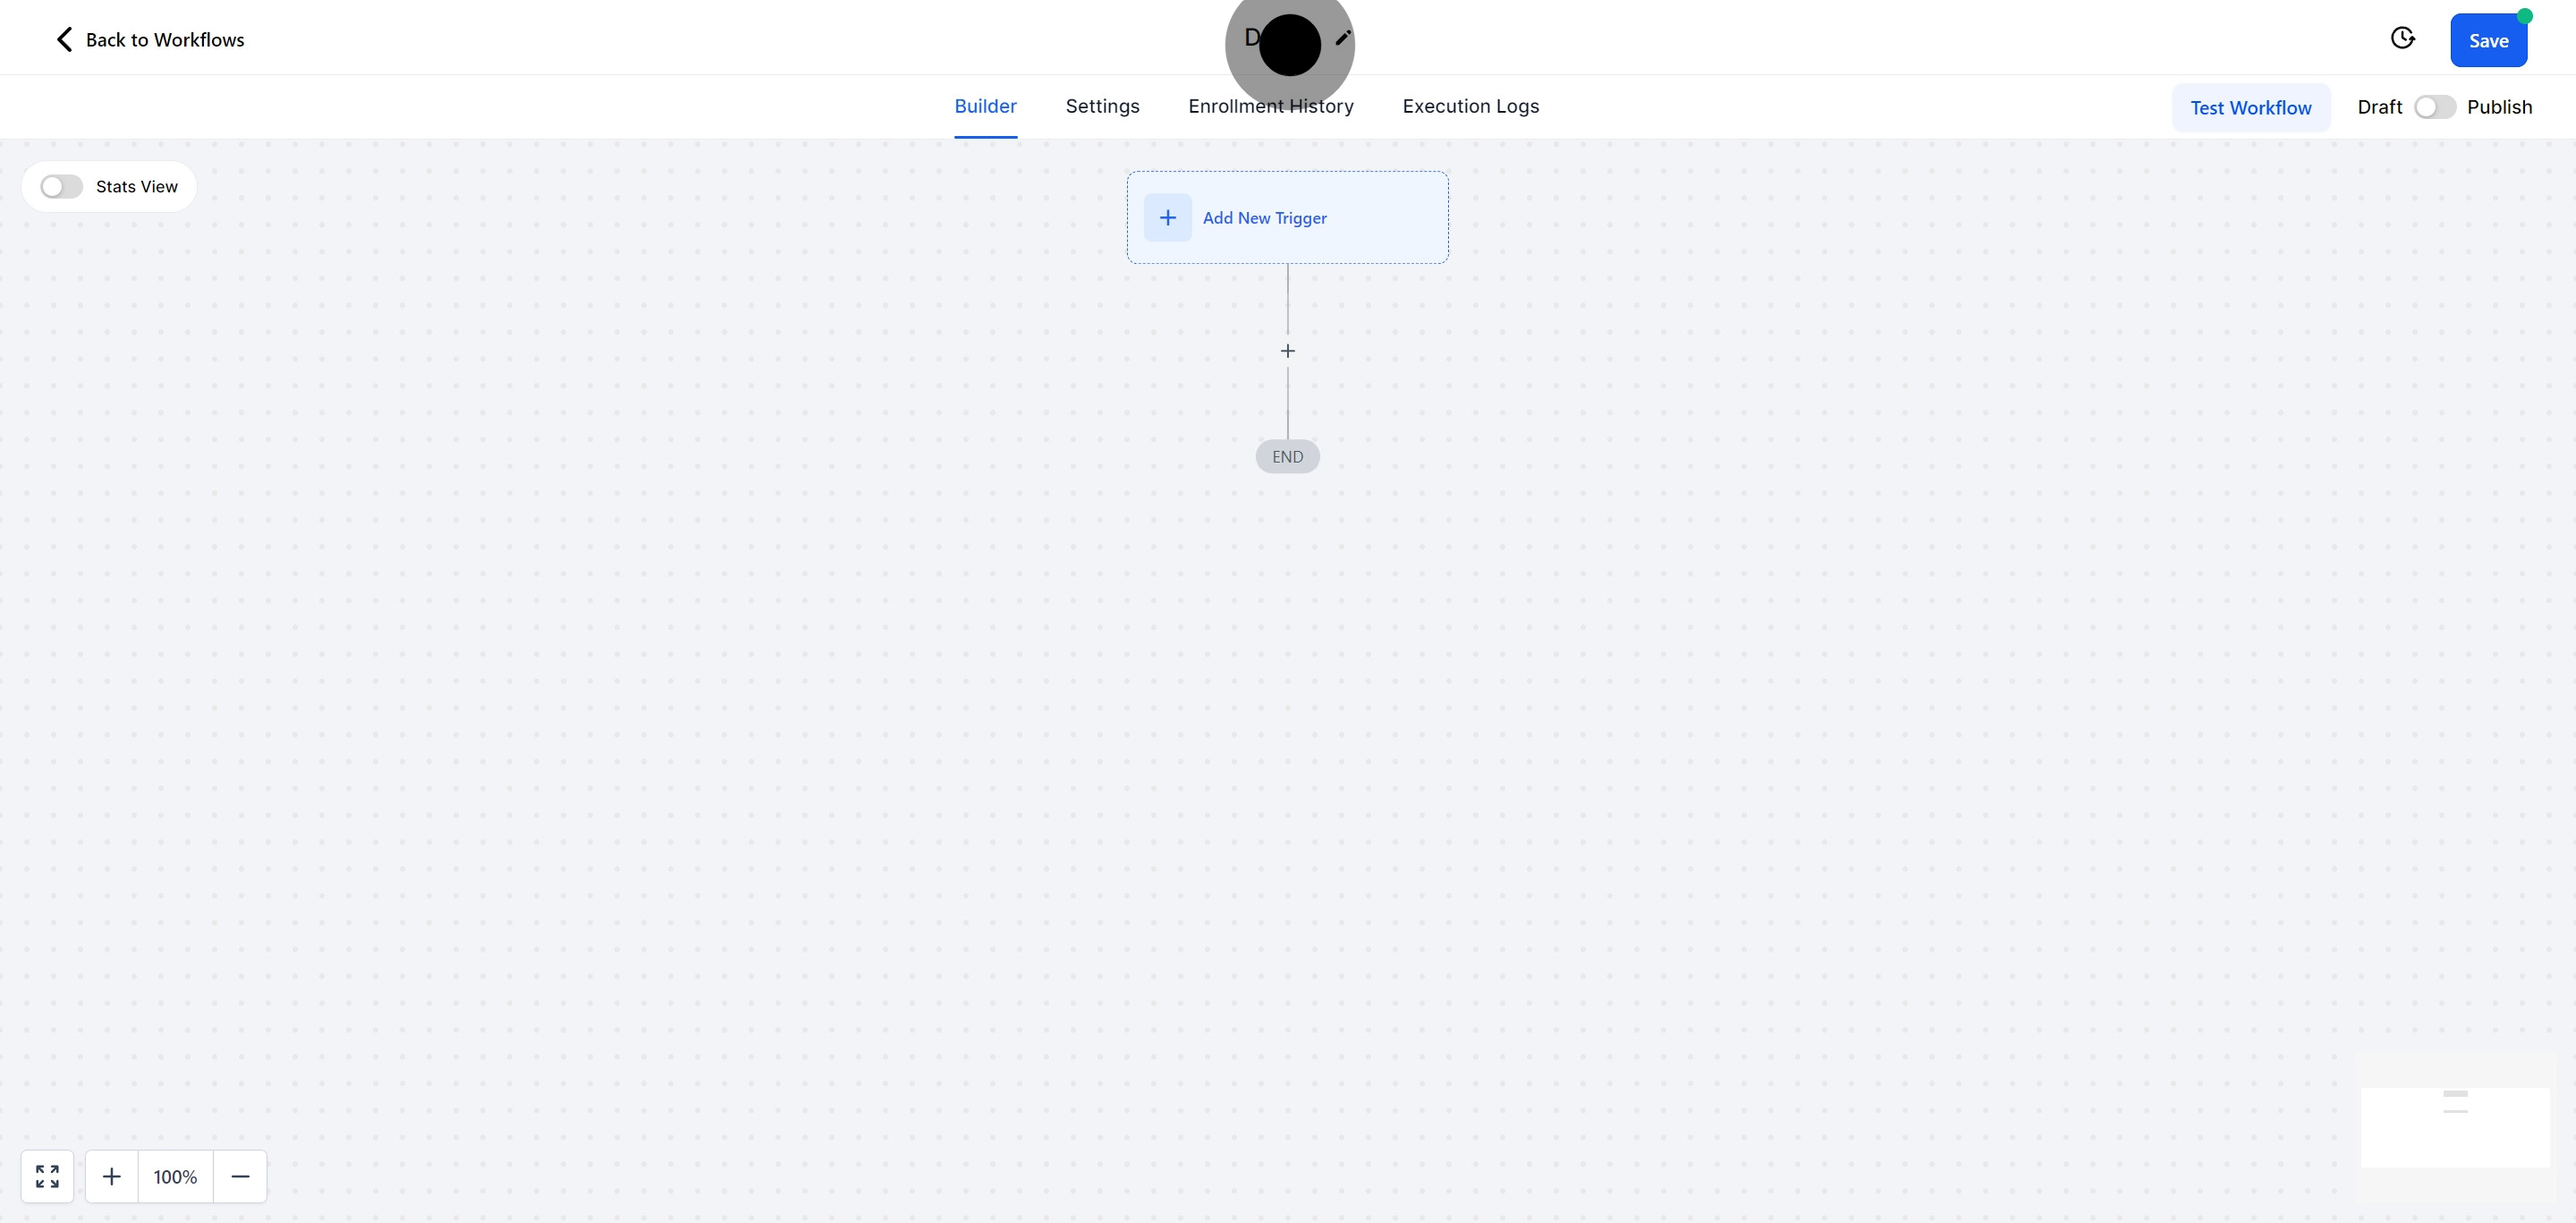
Under the builder tab, find the field to enter or modify your workflow's name. Giving your workflow a clear and descriptive name is crucial for future reference and organization.
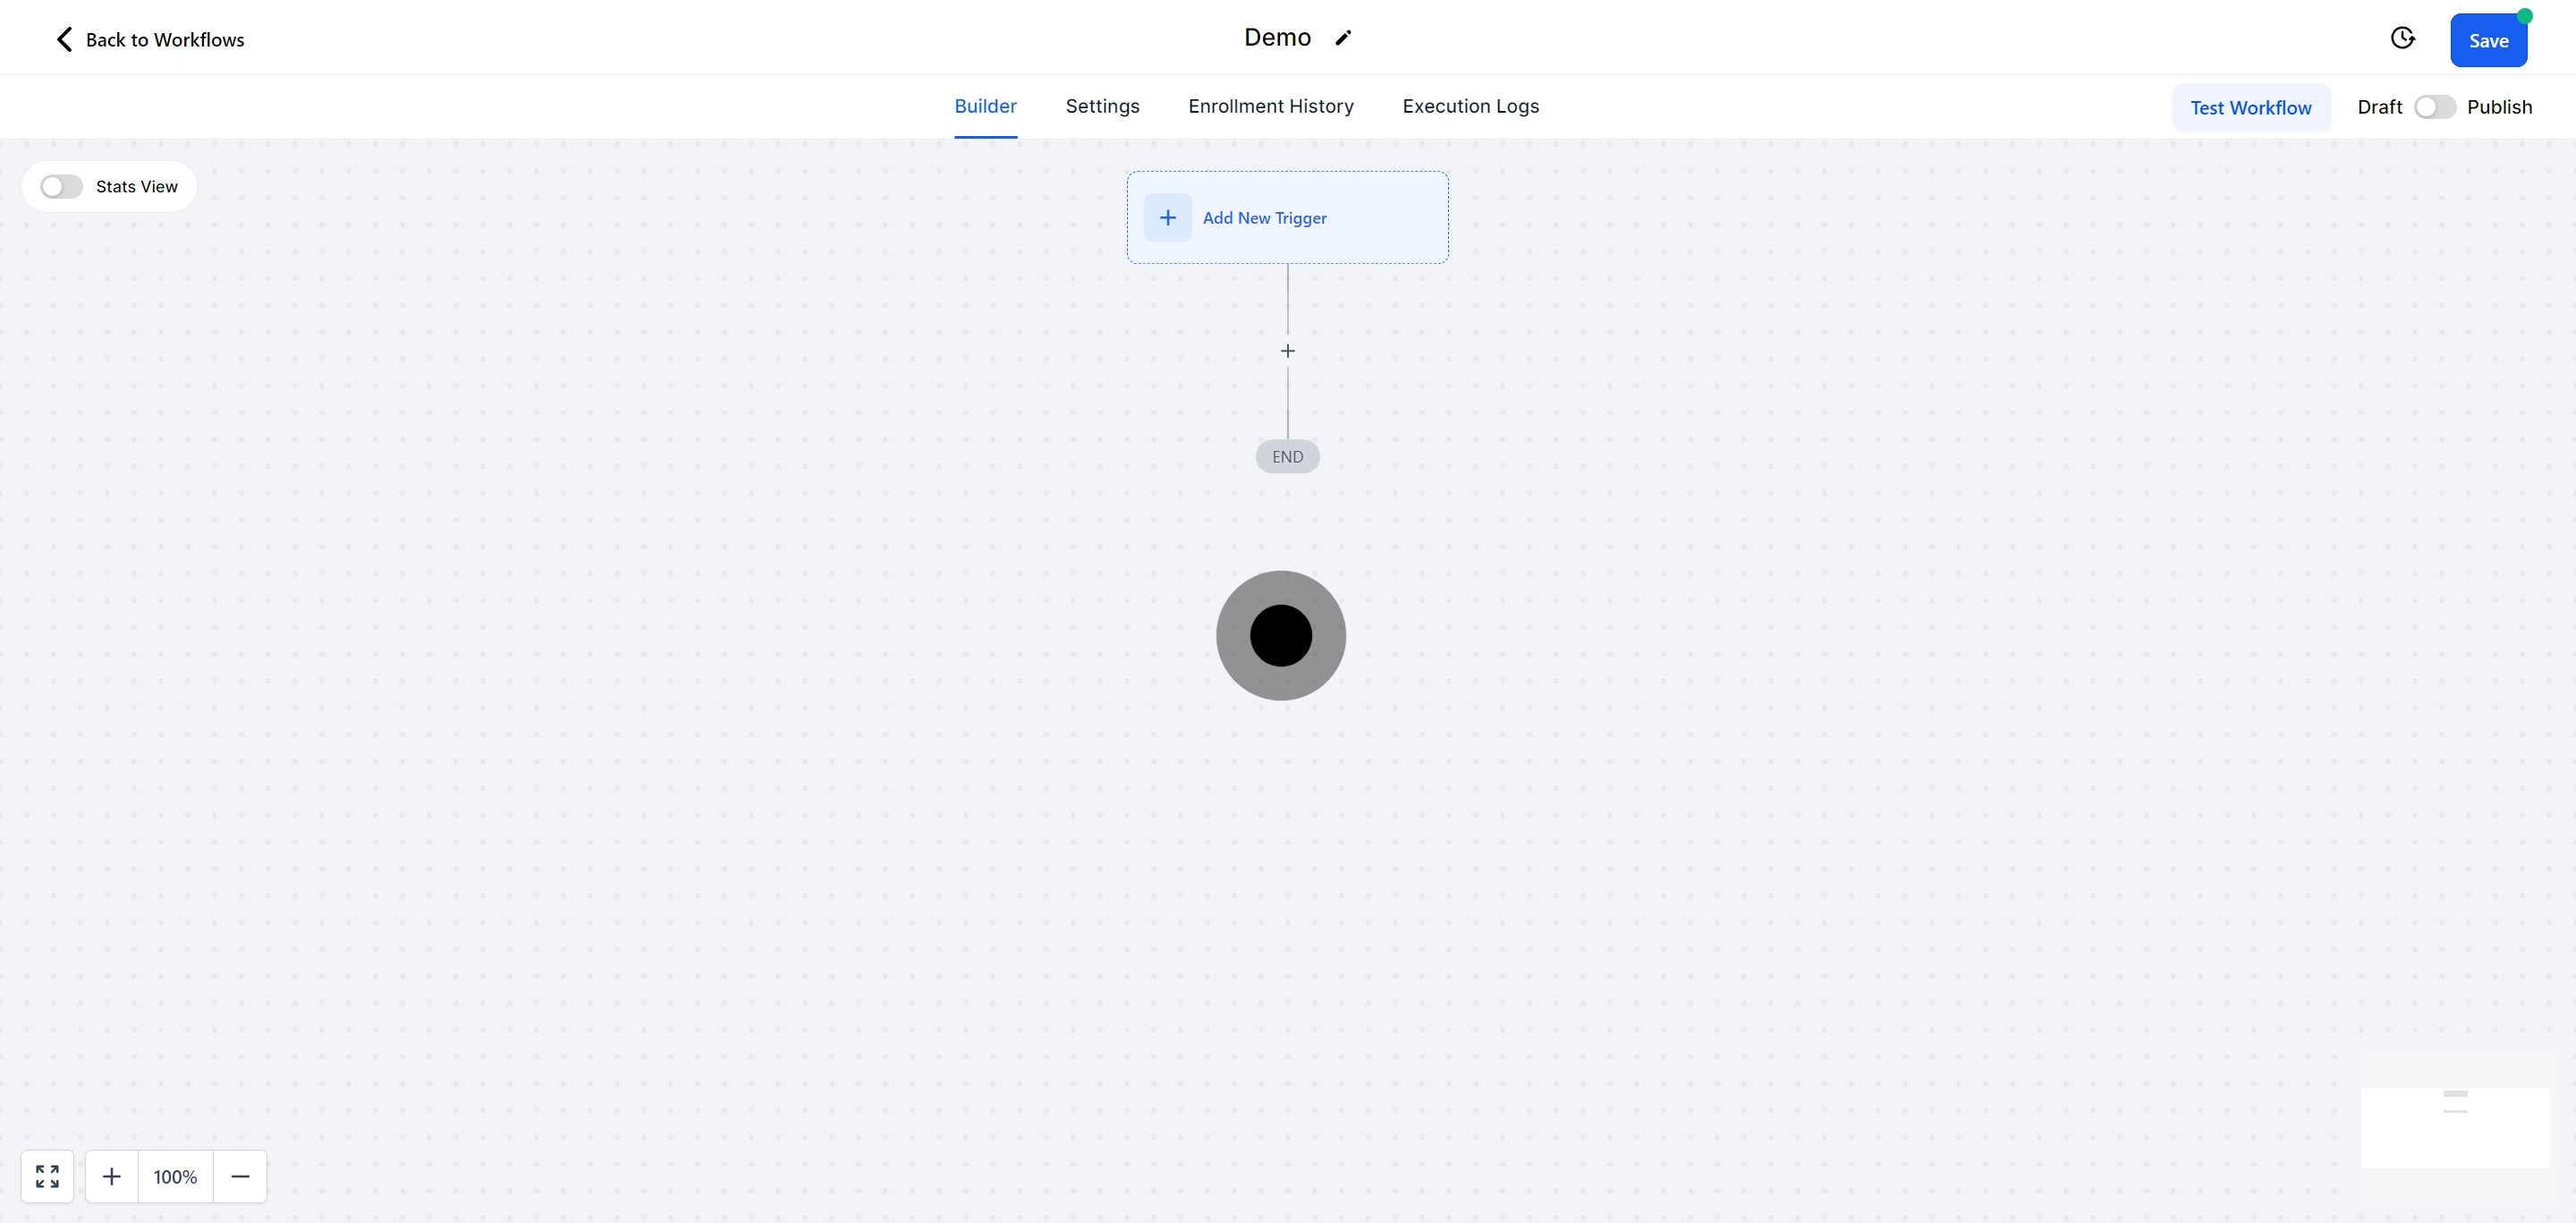
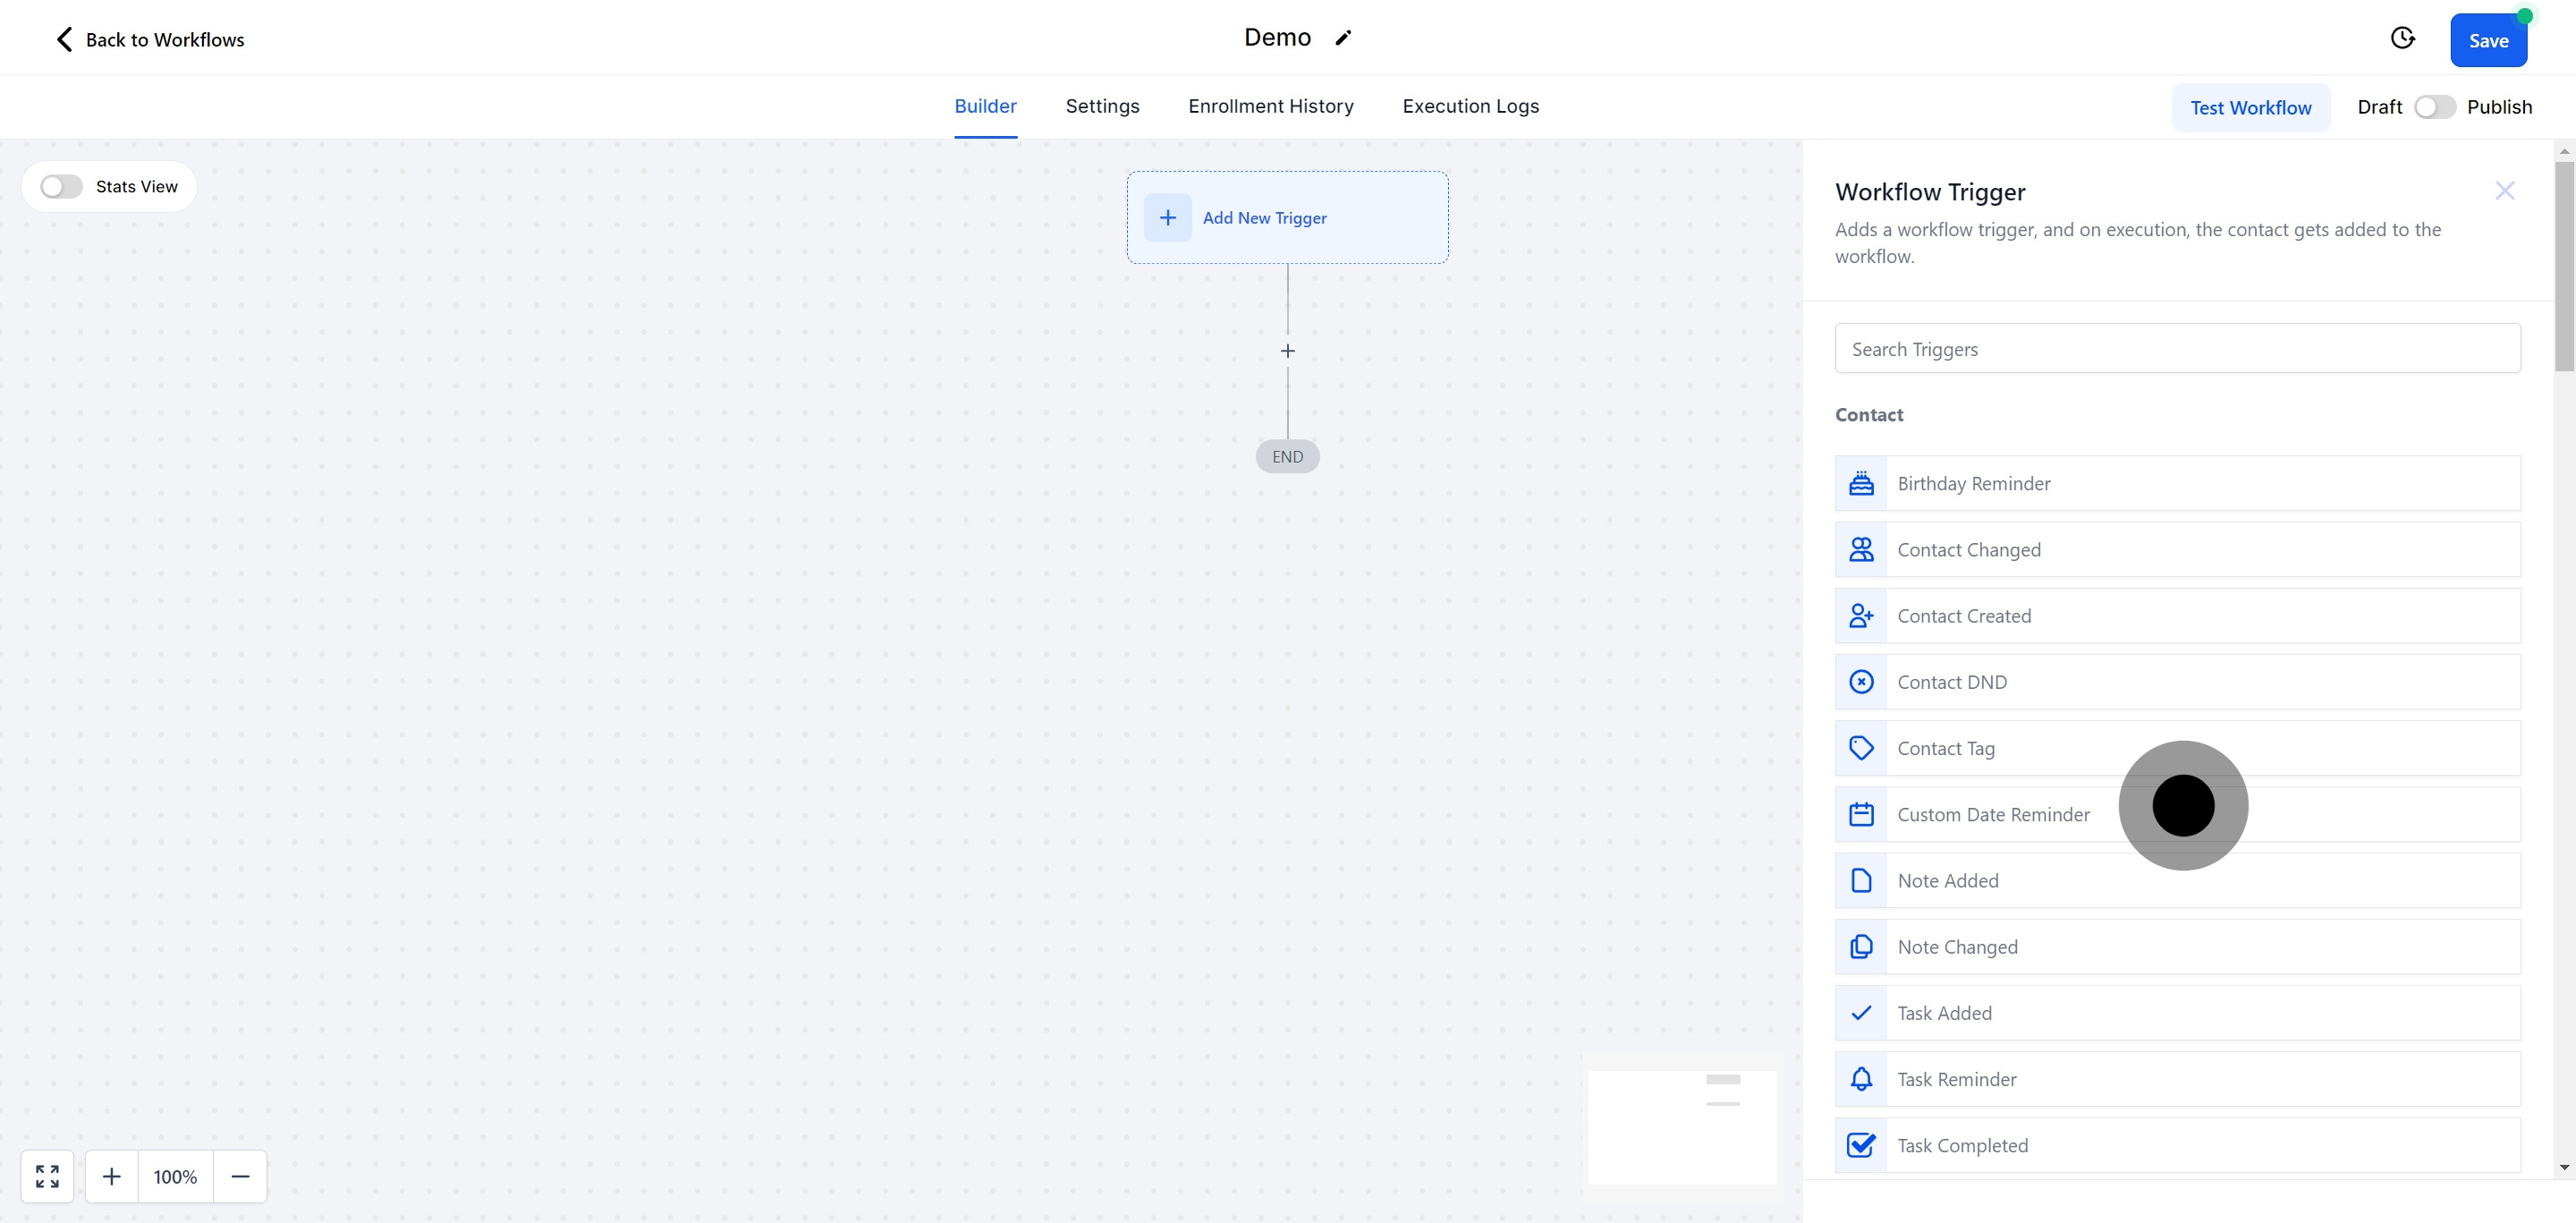
Click to unlock the various options for setting a trigger. Triggers are events that set your workflow in motion.
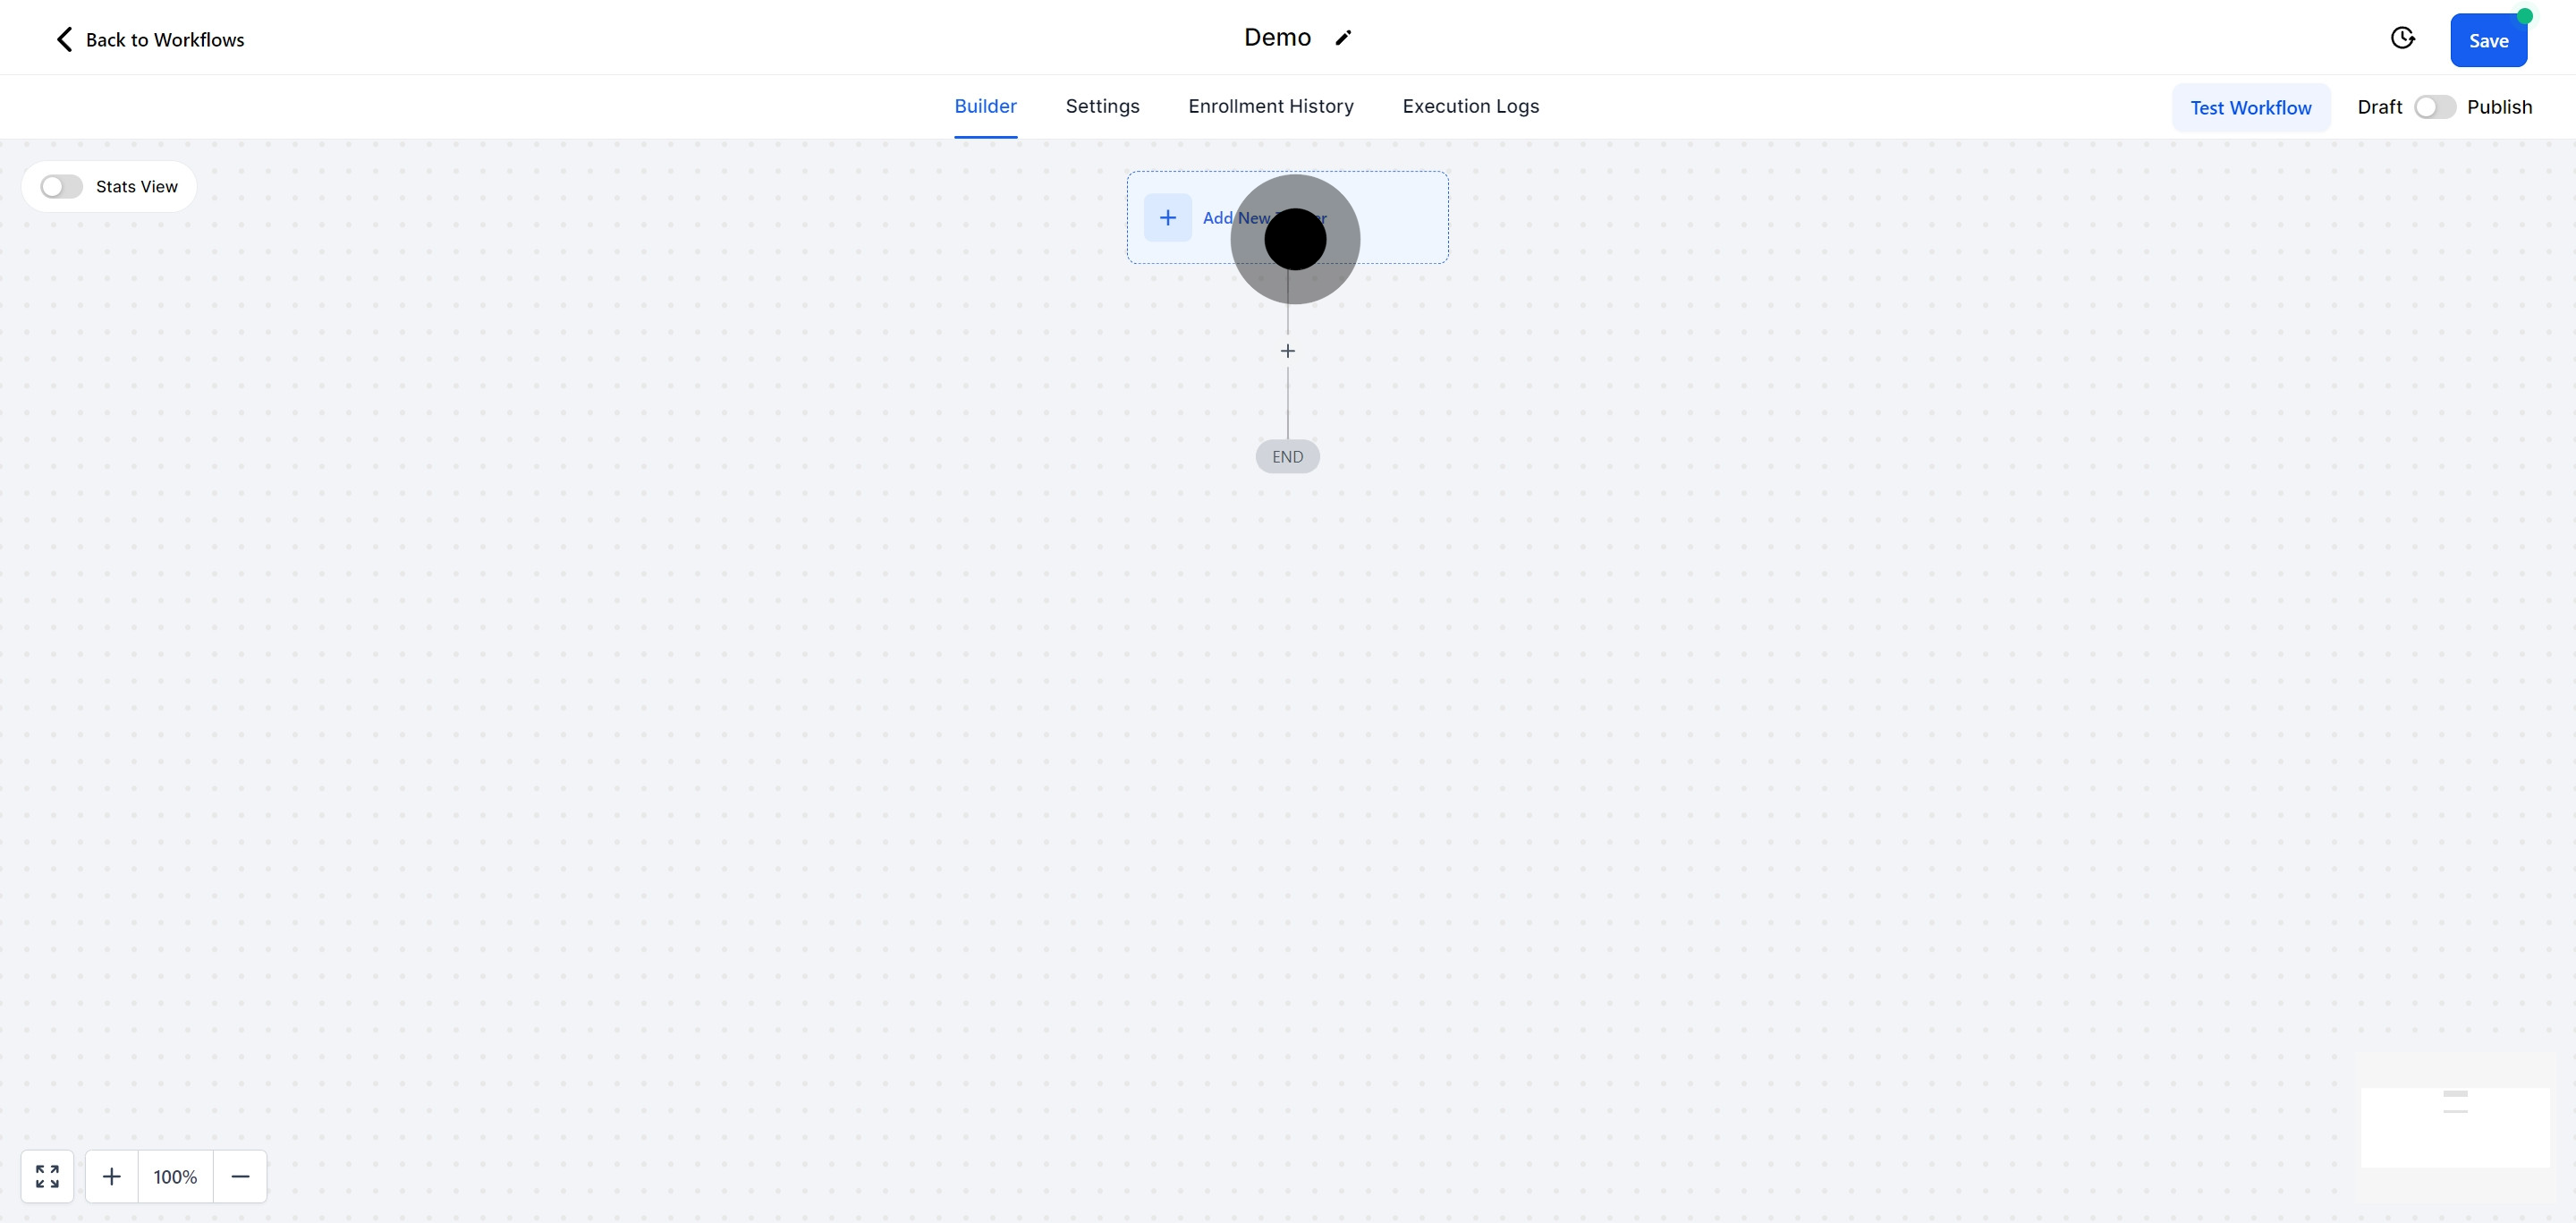
Take a moment to explore all available trigger settings. Choosing the correct trigger aligns your workflow with your specific goals and ensures it activates at the right time.
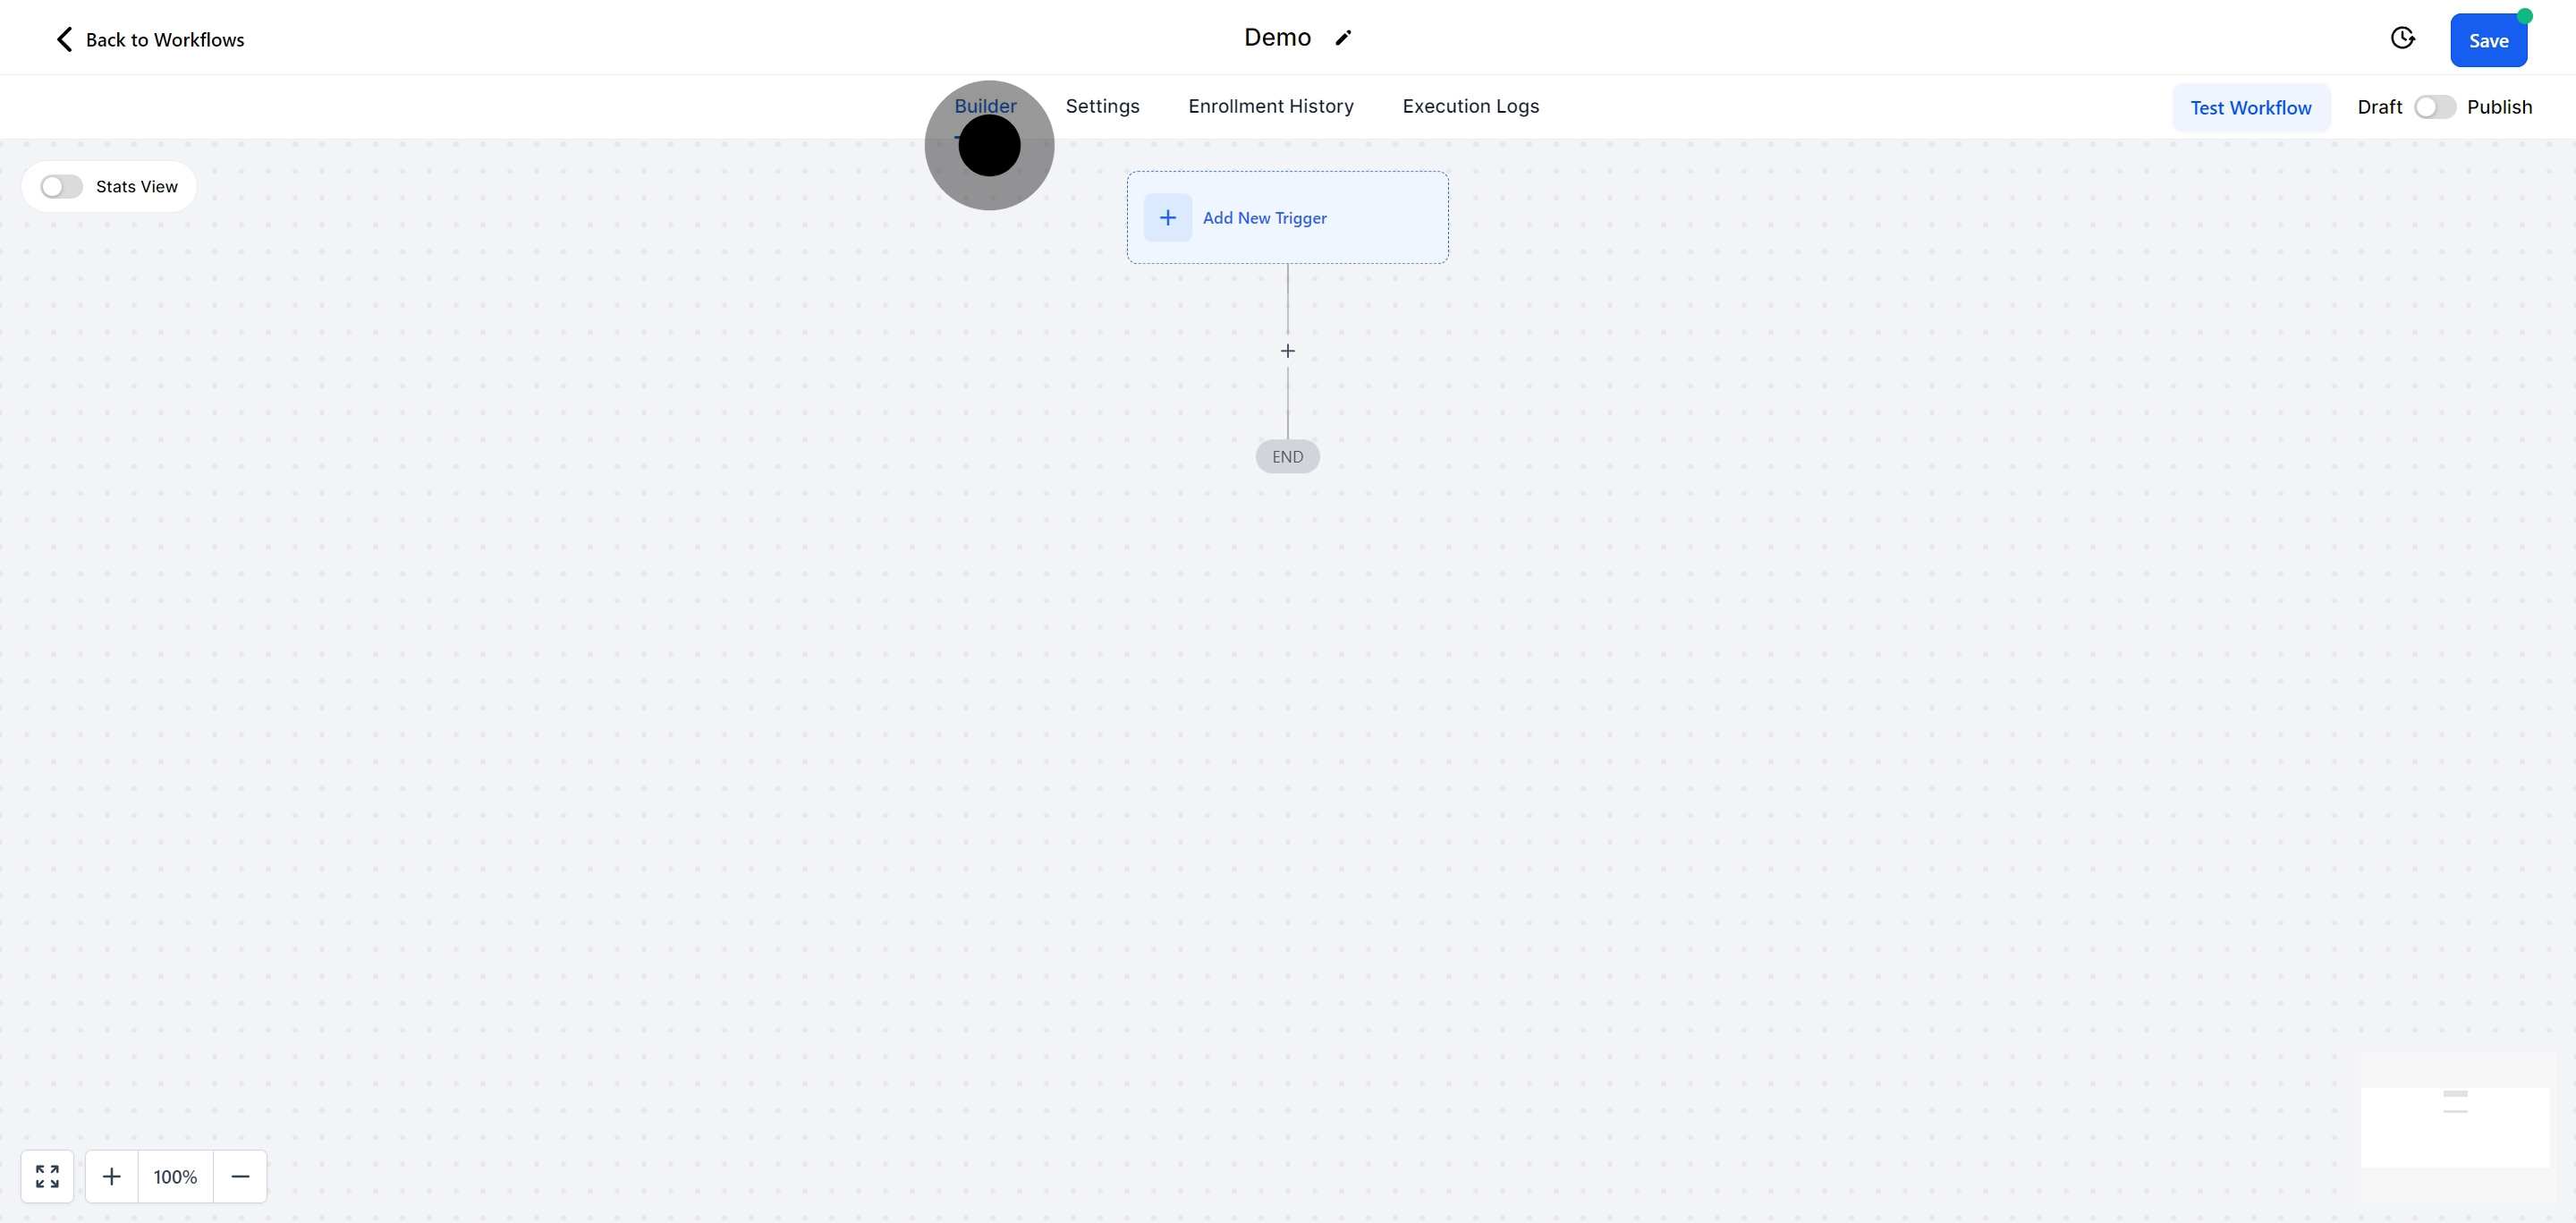
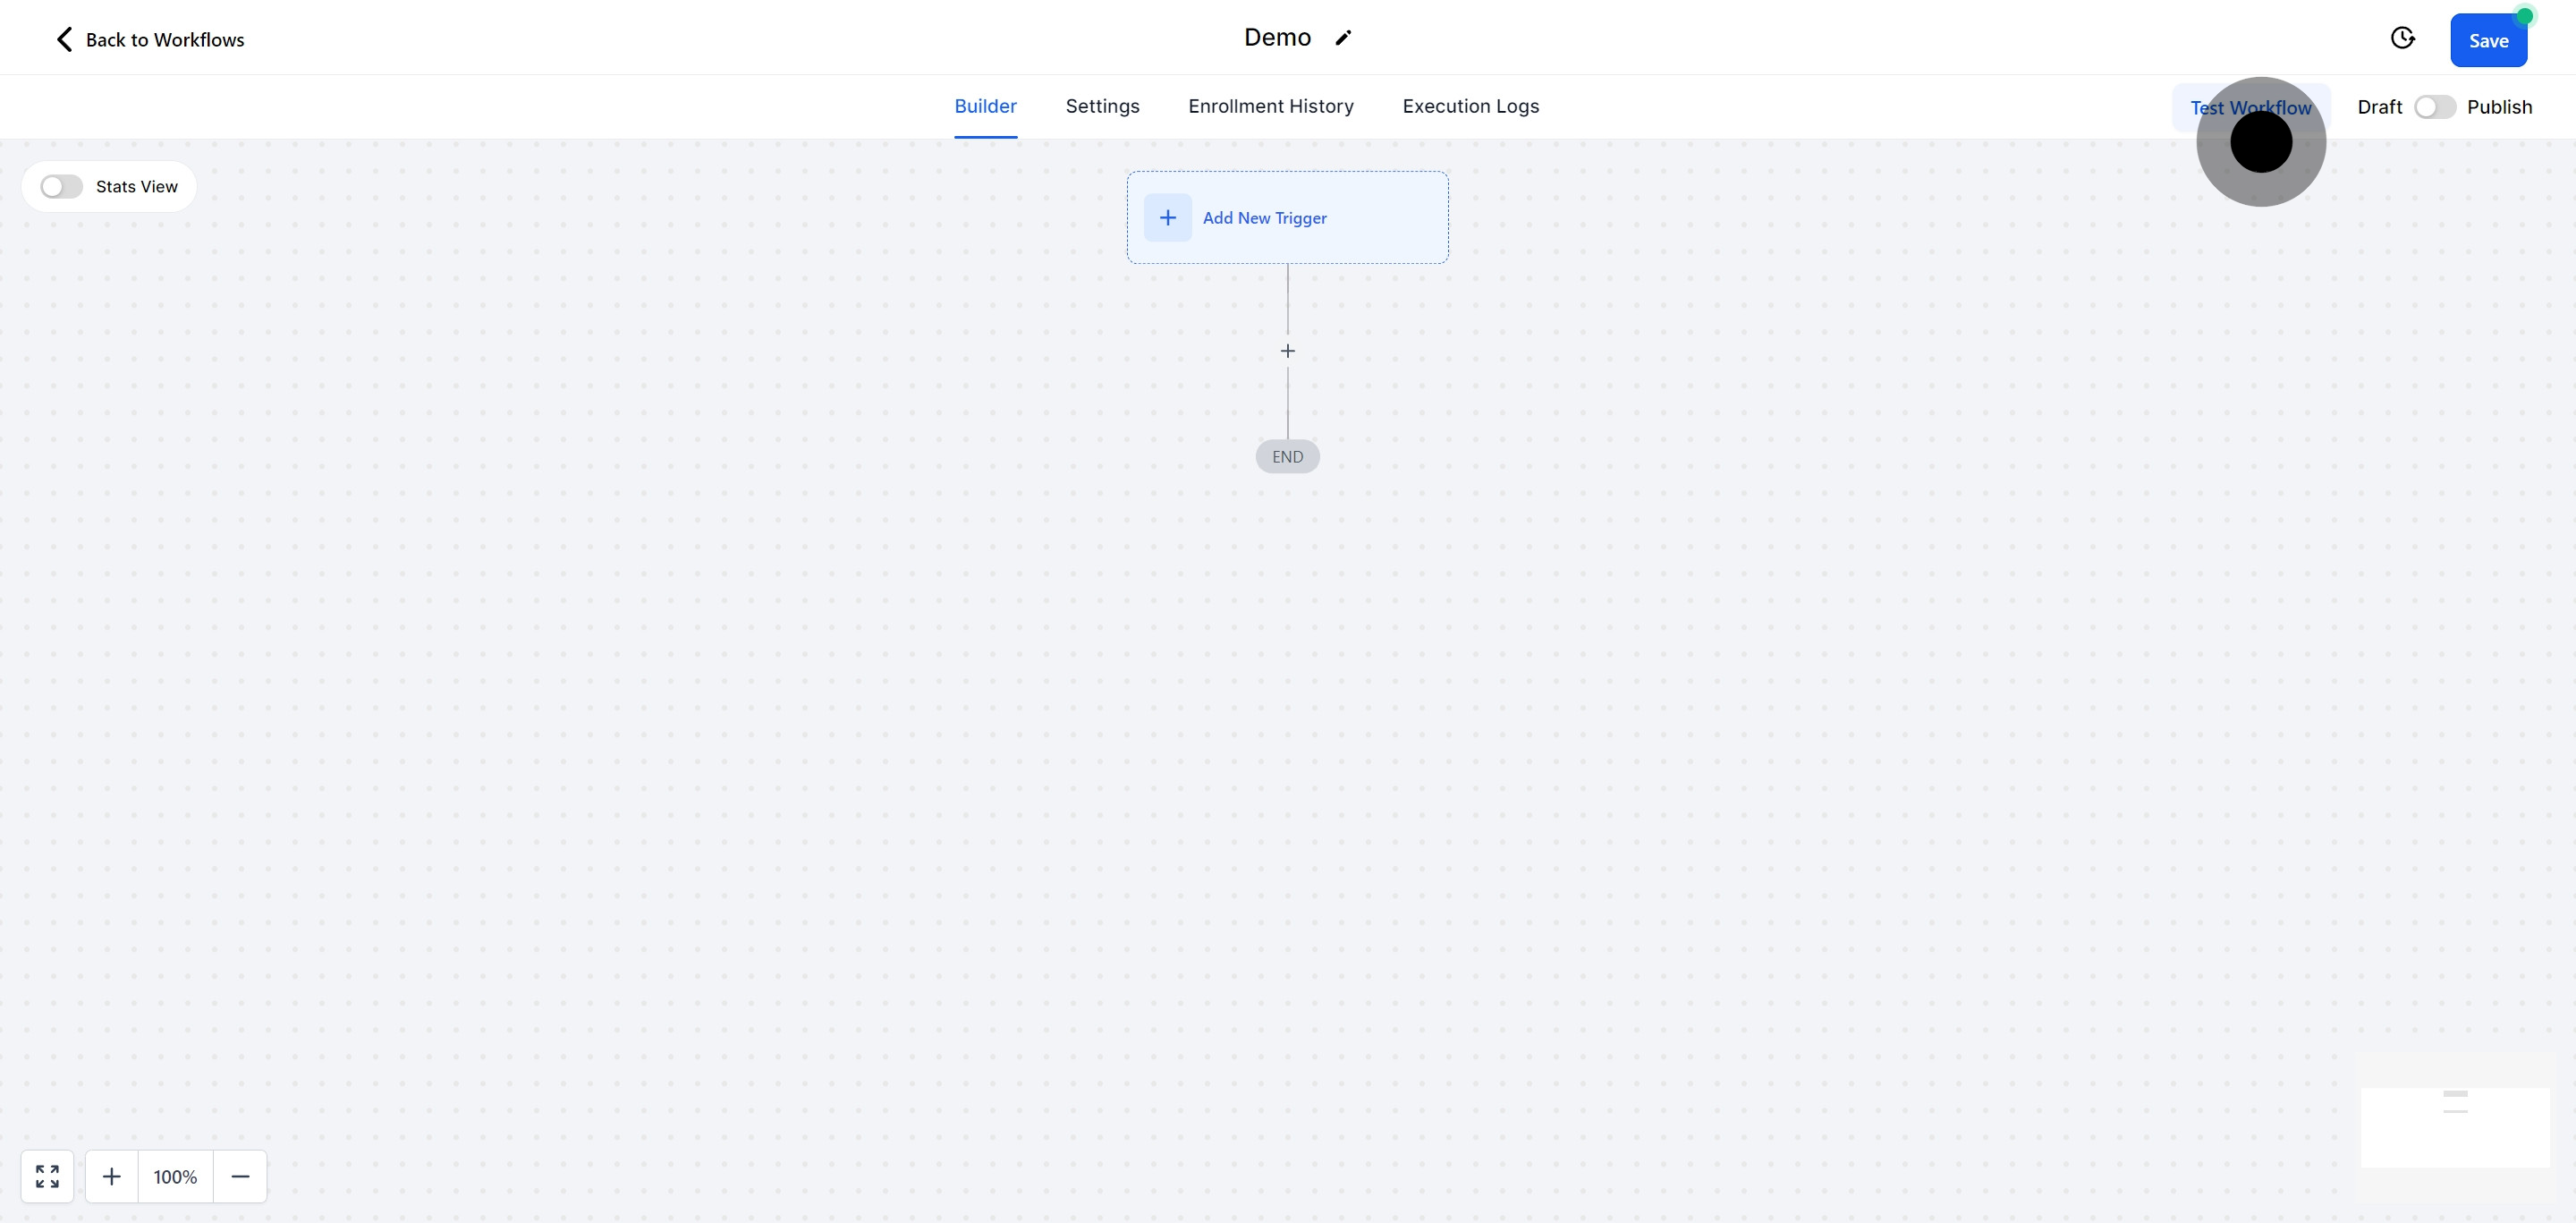
Once your trigger is set and your workflow is structured, continue by testing your workflow. Testing helps identify any issues or adjustments needed before going live.
After testing, you can save your work. You have the option to save it as a draft if you plan to make future edits or publish it to set the workflow live.

Confirm your work and save any final changes by clicking the 'Save' button. This ensures your workflow is stored and operational according to your specifications.